
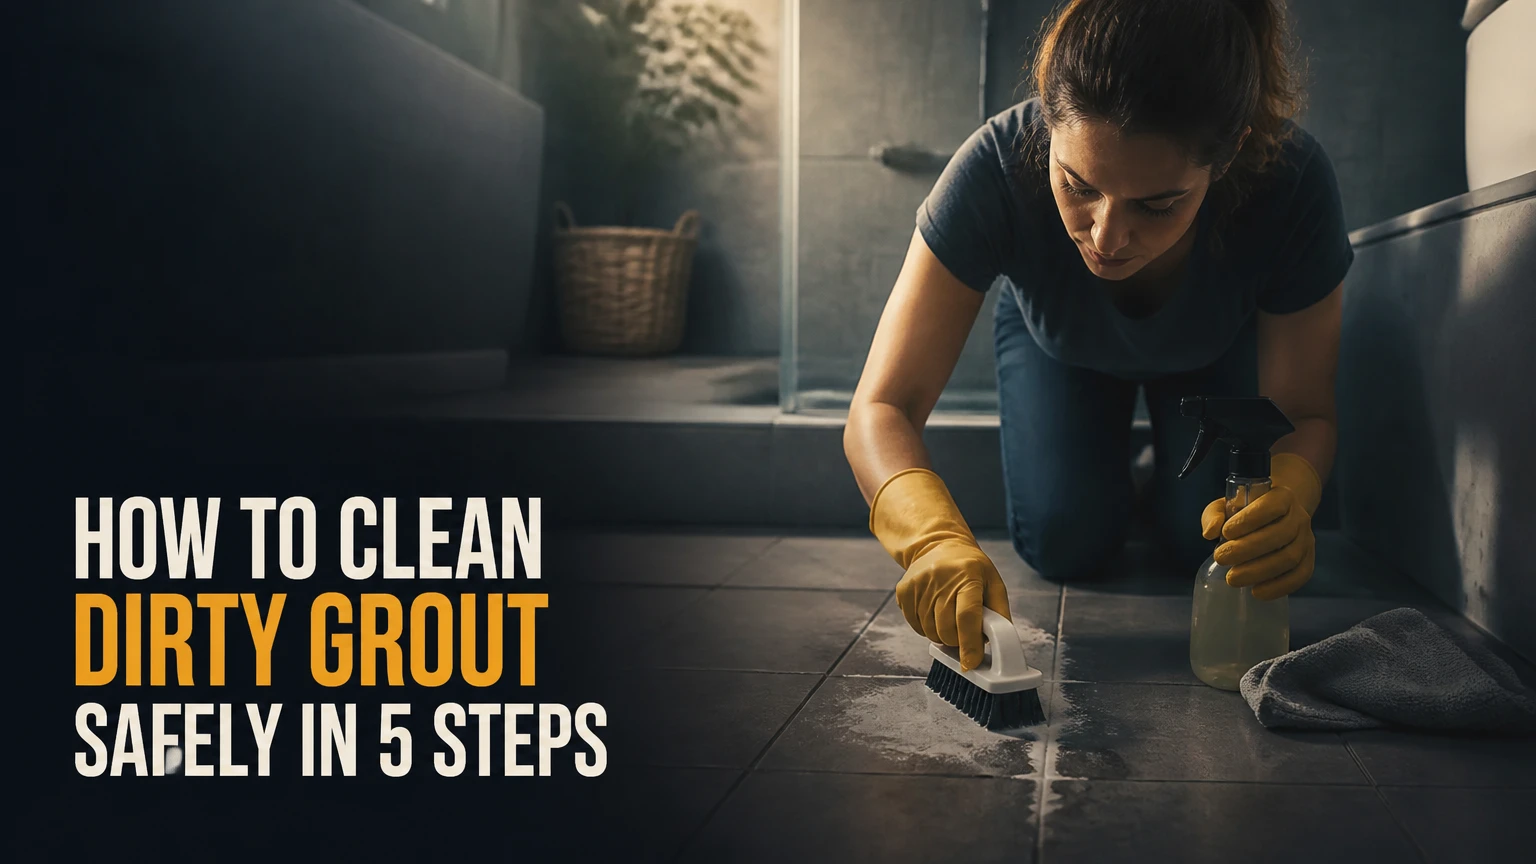
To clean dirty grout, remove loose soil, apply a cleaner matched to the stain, keep it wet for the correct dwell time, scrub with a nylon brush, and extract all residue with clean water. Most ceramic and porcelain tile grout can be restored in 45-90 minutes, but damaged grout requires repair rather than harder scrubbing.
Key facts
Oxygen bleach is the safest general-purpose choice for many cement-based grout lines.
Alkaline cleaners work better than acids on kitchen grease and body oils.
Acidic cleaners dissolve mineral scale but can damage cement grout and natural stone.
A nylon grout brush removes soil without gouging grout like a metal brush can.
Dirty rinse water must be removed completely, or suspended soil can dry back into grout pores.
Sealer slows future staining but does not repair cracked, loose, or missing grout.
Before You Start: Time, Cost, and Materials
A typical DIY grout cleaning job takes 45-90 minutes, excluding drying time, and costs $10-$35 when you already own basic cleaning tools. The main factor controlling the result is dwell time: the cleaner must remain wet long enough to loosen soil before agitation begins.
Materials and prerequisites
Use a vacuum or soft broom, microfiber cloths, a bucket, protective gloves, eye protection, and a stiff nylon grout brush. Add a wet-dry vacuum if you are cleaning a floor, because extraction removes more dirty slurry than repeated wiping.
| Item | Typical quantity or specification | Typical cost |
|---|---|---|
| Oxygen bleach powder | 2-3 tablespoons per 1 gallon of warm water | $8-$18 |
| Alkaline tile cleaner | Manufacturer dilution, often 1:4 to 1:16 | $10-$25 |
| Nylon grout brush | 1 brush, 1/4- to 1/2-inch head | $5-$15 |
| Microfiber cloths | 4-8 cloths for a small bathroom | $6-$15 |
| Penetrating grout sealer | 8-16 ounces for a small room | $12-$30 |
| Wet-dry vacuum rental | 1 day, optional | $30-$50 |
Identify the tile and grout before choosing chemistry. Glazed ceramic and porcelain tolerate more cleaning options than marble, limestone, travertine, terrazzo, metallic tile, or decorative cement tile. Test every product in an inconspicuous area for 5-10 minutes, then rinse and inspect after the surface dries.
Do not begin if grout is soft, missing, visibly cracked, or powdering under light pressure. Cleaning can expose a repair problem, but it cannot rebuild the cement binder.
How to Clean Dirty Grout in 5 Steps
The most reliable process is progressive: begin with dry removal and mild chemistry, then increase chemical strength only when the stain type justifies it. Work in sections of approximately 3-6 square feet so the cleaner does not dry before scrubbing.
Step 1: Remove Loose Soil and Protect Adjacent Surfaces
Vacuum or sweep the tiled area carefully, then wipe walls with warm water and a microfiber cloth. Remove hair, sand, dust, and surface grit before adding liquid, because wet grit can act as an abrasive during brushing.
Cover unfinished wood, painted trim, and nearby metal fixtures if the selected cleaner could affect them. Open a window or run the bathroom exhaust fan when using a commercial product.
Success checkpoint: The tile surface has no visible grit, hair, or loose powder before the grout becomes wet.
Common mistake: Mopping first spreads loose soil across the floor and pushes it toward grout edges.
Step 2: Choose a Cleaner for the Actual Stain
Match chemistry to the contaminant rather than choosing the strongest bottle. Organic stains respond to oxidizers, grease responds to alkaline cleaners, and mineral deposits respond to carefully controlled acids.
| Stain or condition | First choice | Typical dwell time | Avoid or limit |
|---|---|---|---|
| Gray traffic soil | Neutral tile cleaner, then oxygen bleach | 5-20 minutes | Metal brushes |
| Shower mildew staining | Oxygen bleach or labeled mildew cleaner | 10-20 minutes | Mixing products |
| Kitchen grease | Alkaline degreaser | 5-10 minutes | Acidic cleaner |
| White hard-water scale | Compatible sulfamic or phosphoric cleaner | 1-5 minutes | Marble and limestone |
| Rust-colored mineral stain | Stone-safe specialty product | Product label | Unverified acids |
| Permanent dye discoloration | Grout colorant or replacement | Product label | Repeated bleaching |
For routine darkening, dissolve 2-3 tablespoons of sodium percarbonate oxygen bleach in 1 gallon of warm water. Oxygen bleach releases oxygen in water and can break down many organic soils without the fumes associated with chlorine bleach.
Use a labeled alkaline tile-and-grout cleaner for cooking oil, body oil, soap residue, or heavy traffic grease. Commercial concentrates commonly require dilution, and a product labeled pH 10-12 is often effective for grease, but the label takes priority over a generic dilution ratio.
Step 3: Saturate the Grout and Allow Dwell Time
Apply enough solution to wet the entire grout line without flooding adjacent rooms or allowing liquid to stand under cabinets. Oxygen bleach usually needs 15-30 minutes; an alkaline degreaser commonly needs 5-10 minutes; acidic products often require only 1-5 minutes.
Keep the cleaner visibly wet during dwell time. Add a small amount to drying areas rather than leaving the product unattended for an extended period.
Success checkpoint: Soil begins to look brown, gray, or cloudy in the solution before brushing, which indicates that the cleaner has suspended contaminants.
Common mistake: Scrubbing immediately after application removes mostly surface residue and leaves embedded soil behind.
Never mix chlorine bleach with acids, ammonia, or another cleaning product. The Centers for Disease Control and Prevention states, “Never mix bleach with other household cleaners or disinfectants.” Rinse one product away completely before using a different chemistry on a later day.
Step 4: Scrub With Nylon and Extract the Slurry
Scrub along the grout line with a stiff nylon brush using short back-and-forth strokes. Apply enough pressure to flex the bristles into the joint, but stop if grains of grout appear in the cleaning liquid.
A narrow hand brush gives better control on walls and narrow joints. A drill-mounted nylon brush can reduce labor on large floors, but use the lowest practical speed and avoid holding the spinning head over one spot.
Success checkpoint: The grout color becomes more uniform after brushing, and the dirty solution can be seen leaving the joint rather than merely moving across the tile.
Common mistake: Using a wire, brass, or abrasive brush removes grout from the joint and can leave rust-colored metal fragments.
Immediately wipe or wet-vacuum the dirty slurry. Rinse the area with clean water, change the rinse water when it becomes cloudy, and dry the surface with microfiber cloths. Two light rinses are often more effective than one heavily contaminated mop pass.
Step 5: Dry Completely and Seal Suitable Grout
Allow cement-based grout to dry for at least 24 hours before sealing, or follow the sealer manufacturer’s moisture requirement. Some floors need 48-72 hours after deep wet cleaning, especially when joints are wide, shaded, or poorly ventilated.
Apply a penetrating sealer with a small roller, foam applicator, or narrow brush. Keep sealer on the grout rather than leaving a film on tile faces, and wipe tile residue within the time stated on the label, often 5-10 minutes.
Success checkpoint: Water beads briefly on the grout rather than immediately darkening and soaking into the joint. A water test is indicative, not a laboratory measure of seal performance.
Common mistake: Sealing damp grout traps moisture and can produce haze, uneven color, or poor adhesion.
Which Grout Cleaner Should You Use?
Oxygen bleach is the best general starting point for ordinary soil and mildew on compatible ceramic or porcelain installations. Alkaline cleaner wins for grease, while a carefully selected acid is reserved for mineral deposits on acid-resistant surfaces.
| Cleaner type | Best stain target | Typical action time | Main risk |
|---|---|---|---|
| Neutral cleaner | Loose dust and light soil | 5-10 minutes | Insufficient for embedded grease |
| Oxygen bleach | Organic soil and mildew staining | 15-30 minutes | Limited effect on mineral scale |
| Alkaline degreaser | Cooking oil, soap, body oil | 5-10 minutes | Irritation and residue if unrinsed |
| Sulfamic acid cleaner | Cement scale and efflorescence | 1-5 minutes | Grout erosion and stone etching |
| Steam cleaner | Surface soil and some grease | 1-2 passes | Does not remove all discoloration |
| Grout colorant | Permanent color change | Product-specific | Changes appearance rather than cleaning |
Acidic cleaners require the most caution. Sulfamic acid and phosphoric acid can dissolve calcium deposits, but acid may also roughen or weaken cementitious grout and can permanently etch marble, limestone, travertine, and other calcium-based stone.
The claim that acidic cleaners belong only on unsealed, sanded grout is too broad. Compatibility depends on the acid, grout binder, joint condition, tile material, concentration, and manufacturer instructions. Never use acid on natural stone unless the stone-care manufacturer explicitly approves that product.
Chlorine bleach may lighten some surface stains, but whitening is not the same as soil extraction. Repeated exposure can weaken or discolor some grout and surrounding materials, so oxygen bleach or a labeled grout cleaner is usually a better first choice.
What Changes for Showers, Kitchens, and Floors?
Shower grout needs moisture and mildew control, kitchen grout needs degreasing, and floor grout needs extraction because foot traffic embeds abrasive soil. The same brush-and-rinse sequence applies, but the contaminant and drying conditions change the product choice.
Shower grout with black or pink staining
Clean surface soap film first, then apply oxygen bleach or a product specifically labeled for grout and mildew. Black discoloration can be embedded organic staining, but it can also indicate persistent moisture behind grout, failed caulk, or water intrusion.
Do not treat silicone caulk as grout. If black growth remains inside flexible caulk after cleaning, remove and replace the caulk rather than repeatedly applying stronger chemicals.
Dry the shower after use with ventilation and a squeegee. Cleaning cannot compensate for a leaking valve, failed waterproofing, or a bathroom that stays humid for hours.
Kitchen grout with greasy dark lines
Use a diluted alkaline degreaser, allow 5-10 minutes of dwell time, and agitate with nylon. A second application is safer than increasing concentration beyond the label, because excess alkalinity can leave residue and damage nearby finishes.
Rinse kitchen floors twice. Grease-rich slurry can leave a nearly invisible film that attracts new soil and makes grout appear dirty again within days.
Floor grout in high-traffic areas
Vacuum first and use a wet-dry vacuum during rinsing. Floor joints commonly contain fine sand and grit, so a dry removal stage prevents the brush from grinding abrasives into the grout surface.
Large floors may justify a low-speed scrubber with a soft nylon pad, but test the pad first. Aggressive rotary equipment can remove weak grout faster than a hand brush reveals the damage.
Can Steam Cleaning Replace Chemical Grout Cleaning?
Steam cleaning can loosen surface soil and some grease without chemical residue, but steam cannot reliably remove mineral scale, permanent dye, or grout that is structurally failing. Steam also does not automatically prove that a surface has been disinfected to a particular percentage.
Use a detail nozzle and make slow passes, typically about 1 inch per second, while holding the nozzle according to the machine manufacturer’s instructions. Wipe the loosened soil immediately instead of allowing dirty condensate to dry in the joint.
A steam cleaner may deliver vapor above 200°F, but temperature at the grout surface falls with distance, movement, and heat loss through tile. The often-repeated “99.9% bacteria” claim applies only to specific machines, organisms, exposure times, and test conditions, not to every household steam cleaner or every grout joint.
Stop if steam lifts loose grout, forces water into cracked joints, or causes adjacent caulk to soften. Steam is a useful low-residue option, not a universal replacement for chemistry and extraction.
Why Does Grout Stay Dark After Cleaning?
Grout that stays dark after drying usually has one of four causes: embedded oil, moisture, permanent pigment, or failed cement. A dark appearance while wet is normal because water temporarily changes the optical color of porous grout.
| Symptom after cleaning | Likely cause | Practical next action |
|---|---|---|
| Dark only while wet | Normal water absorption | Improve drying and test later |
| Dark halo around shower edges | Moisture or failed caulk | Inspect leaks and replace caulk |
| Brown or gray kitchen joints | Embedded grease | Repeat with alkaline cleaner |
| White powder on the surface | Efflorescence or residue | Dry, brush, then use compatible mineral cleaner |
| Grout particles in rinse water | Weak or eroding joint | Stop scrubbing and assess repair |
| Even but permanently wrong color | Dye or aged pigment | Use grout colorant or regrout |
Efflorescence appears as white, powdery mineral salts that migrate through cement-based grout as moisture evaporates. Dry brushing can remove light deposits; recurring deposits require moisture diagnosis, because acid alone treats the symptom.
If grout crumbles under a nylon brush, stop cleaning. Remove loose material, identify the moisture source, and regrout the affected section when the substrate is dry and stable.
Common Mistakes and How to Fix Them
Using vinegar or lemon juice repeatedly
Acetic and citric acids can dissolve mineral deposits, but repeated exposure can roughen cement-based grout and increase porosity. If vinegar was used once on compatible tile, rinse thoroughly; if joints are soft or eroded, cleaning will not reverse the loss.
Leaving dirty solution on the floor
Suspended soil settles back into pores when the slurry dries. Wet-vacuum or wipe immediately, then rinse with fresh water until the cloth remains relatively clean.
Applying acid to natural stone
Acid can etch marble, limestone, and travertine within minutes. Stop, rinse with clean water, and contact a stone-care professional if the surface becomes dull or develops lighter patches.
Overusing chlorine bleach
Chlorine bleach can lighten organic staining without extracting all the soil underneath. Repeated use may affect grout color, nearby metals, sealers, and indoor air quality, so select a labeled grout product instead.
Scrubbing harder when grout is failing
More pressure cannot restore missing binder. If the joint is recessed, cracked, or powdery, cleaning should end and repair should begin.
Sealing before the grout dries
Sealer applied to damp grout can trap moisture and create uneven results. Wait at least 24 hours, then confirm dryness according to the sealer instructions.
How Much Does Grout Cleaning Cost?
DIY cleaning typically costs $10-$35 for basic supplies, while machine rental commonly adds $30-$50. Professional tile-and-grout cleaning often falls around $0.75-$3 per square foot, with small-job minimums that can make a bathroom cost approximately $150-$400.
| Approach | Typical price | Typical time | Best use |
|---|---|---|---|
| DIY hand cleaning | $10-$35 | 45-120 minutes | One bathroom or small floor |
| DIY steam rental | $30-$50 per day | 1-3 hours | Low-chemical maintenance |
| DIY electric scrubber | $40-$100 rental or purchase | 30-90 minutes | Larger floor areas |
| Professional cleaning | $150-$400 minimum | 2-5 hours | Heavy soil or difficult access |
| Regrouting | $500-$2,000 typical room range | 1-3 days | Missing or failing joints |
Prices vary by region, access, tile condition, and whether sealing or repairs are included. A quote that includes extraction, grout repair, and sealing is not directly comparable to a basic surface wash.
When Should You Regrout Instead of Clean?
Regrout when joints are missing, loose, deeply cracked, persistently damp, or soft enough to remove with a plastic tool. Clean first when grout is intact and merely discolored, because replacement creates dust, labor, curing time, and a risk of damaging tile edges.
Permanent chemical staining can sometimes be corrected with grout colorant. Colorant changes the visible shade, while regrouting removes the old joint and installs new material; neither solution fixes an active leak.
Professional assessment is appropriate when mold returns quickly, tiles move, water appears below a shower, or grout failure extends across a large area. Those signs can indicate substrate or waterproofing problems rather than a cleaning problem.
How Do You Keep Grout Clean?
Sweep or vacuum floors at least weekly, wipe shower walls after use, and clean spills before they dry. Use a pH-neutral tile cleaner for routine maintenance, then deep-clean only when visible soil accumulates.
Sealed grout still absorbs some moisture and can stain. Reapply penetrating sealer according to the product label and traffic level, commonly every 1-3 years, but test absorption rather than sealing automatically on a calendar.
Avoid waxy soaps and residue-forming products. They can create a film that makes grout look darker even after the underlying joint is clean.
FAQ
Is baking soda safe for grout?
Baking soda is mildly abrasive and alkaline, so a damp paste can remove light surface soil from many ceramic-tile grout installations. Baking soda will not dissolve hard-water scale or extract deep grease as effectively as a dedicated cleaner, and vigorous scrubbing can still wear weak joints.
How often should grout be deep-cleaned?
Most occupied homes need grout deep cleaning every 6-12 months, while busy kitchens, entry floors, and humid showers may need it every 3-6 months. Weekly dry soil removal and prompt spill cleaning reduce the need for aggressive chemical treatment.
Can hydrogen peroxide clean dirty grout?
Hydrogen peroxide can help with some organic discoloration, especially when combined with a compatible labeled cleaner, but household concentrations vary and results are inconsistent. Test first on colored grout, rinse thoroughly, and never combine peroxide with chlorine bleach, acids, or unknown products.
Does grout sealer make grout waterproof?
Penetrating grout sealer reduces absorption and staining but does not make a cement-based joint waterproof. Sealer cannot stop water passing through cracked grout, failed caulk, or defective shower waterproofing, so moisture problems require repair.
How do professionals clean grout?
Professionals typically combine vacuuming, a chemistry matched to the contaminant, controlled dwell time, mechanical agitation, and high-volume extraction. Equipment improves soil removal and reduces rinse residue, but professional cleaning cannot restore grout that has already eroded or replace failed waterproofing.
Can dirty grout be painted?
Grout colorant can recolor intact, clean, and dry grout when the original pigment is permanently stained. Colorant is unsuitable for crumbling or damp joints, and excess product must be removed from tile faces before it cures.
The Bottom Line
The safest way to clean dirty grout is to remove dry soil, match the cleaner to the stain, keep the joint wet during dwell time, scrub with nylon, and extract every trace of dirty rinse water. Start with oxygen bleach for ordinary organic staining, use alkaline chemistry for grease, reserve acid for compatible mineral deposits, and regrout any joint that is failing rather than scrubbing it harder.