
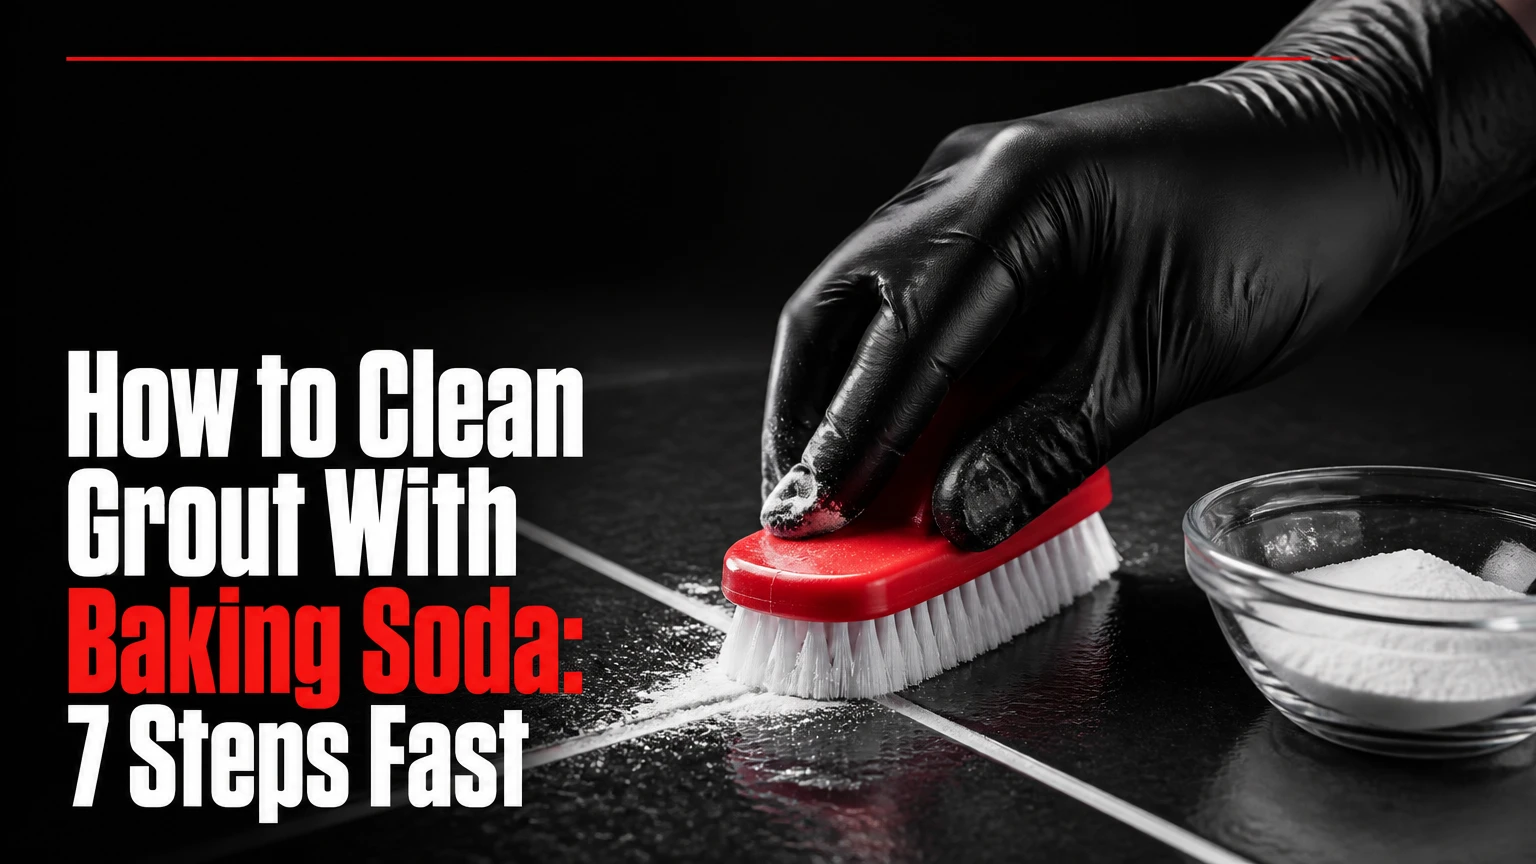
To clean grout with baking soda, make a thick paste from three parts baking soda and one part water, spread it on damp grout, wait 10-15 minutes, scrub with a nylon brush, and rinse thoroughly. Baking soda works best on surface dirt, soap residue, and light grease on ceramic or porcelain tile, but it cannot repair crumbling grout or remove every deep mold stain.
Key Facts at a Glance
A 3:1 baking soda-to-water ratio produces a workable grout-cleaning paste.
A 10-15 minute dwell time loosens ordinary soil before scrubbing.
Nylon bristles are safer than metal brushes for cementitious grout and glazed tile.
Baking soda is mildly alkaline and mildly abrasive, not a disinfectant or grout repair product.
Typical cleaning time is 20-30 minutes per 50 square feet, excluding drying.
Vinegar should not be used on acid-sensitive stone, and no cleaner should be mixed with chlorine bleach.
Why Baking Soda Helps Clean Grout
Baking soda, or sodium bicarbonate, removes grout soil through mild alkalinity, water absorption, and controlled mechanical abrasion. The powder can help loosen greasy residue and surface dirt, while a nylon brush supplies most of the cleaning force.
Most household tile grout is cementitious, meaning it contains cement, fine aggregate, pigments, and water after installation. Cementitious grout has microscopic pores that can hold soil, soap scum, cooking grease, and moisture. Epoxy grout has a resin-based structure and resists absorption more effectively, so baking soda is usually less important than a compatible neutral cleaner.
Baking soda does not dissolve every contaminant. Mineral scale, rust, dye transfer, and established fungal growth require different treatment, and aggressive scrubbing can remove weak grout rather than the stain. The powder also does not reseal porous joints after cleaning.
What Does the Vinegar Fizz Actually Do?
The fizz from vinegar and baking soda is a neutralization reaction, not proof that the mixture is a powerful deep-cleaning chemical. Acetic acid in vinegar reacts with sodium bicarbonate and produces carbon dioxide, water, and sodium acetate; the bubbles can agitate loose soil, but the two ingredients largely consume each other.
The practical result is important: baking soda paste followed by diluted vinegar may provide brief bubbling and some surface agitation, yet it is not automatically stronger than baking soda and water. Vinegar’s acidity can also damage calcium-based stone and gradually affect cementitious grout or grout sealer. Use the least aggressive method that matches the soil.
What You Need Before Cleaning Grout
A basic grout-cleaning job costs approximately $5-$20 in common household supplies when a brush is already available. Typical regional prices vary substantially; a baking soda box may cost BDT 80-150, vinegar BDT 100-200, and a grout brush BDT 150-400, with a small project often staying below BDT 800.
Before You Start
| Item | Typical quantity or specification | Purpose |
|---|---|---|
| Baking soda | 1 cup per 20-30 linear feet of grout | Cleaning paste |
| Warm water | 1/3 cup initially, then adjust | Paste and rinsing |
| Nylon grout brush | 1 brush, 1-2 inch head | Controlled scrubbing |
| Microfiber cloths | 2-4 cloths, 300-500 GSM | Wiping and drying |
| Rubber gloves | 1 pair, nitrile or rubber | Skin protection |
| Vacuum or broom | 1 tool with soft head | Loose soil removal |
| Spray bottle | 1 bottle, 16-24 ounces | Optional water application |
Wear gloves and ventilate a bathroom or kitchen. Test the paste in a hidden joint for five minutes, especially when grout is colored, recently installed, soft, or previously sealed.
How Do You Identify the Tile and Grout First?
Identify the surface before adding vinegar, peroxide, or any acidic cleaner. Ceramic and porcelain tile generally tolerate diluted baking soda paste, while marble, limestone, travertine, and other calcium-based stones can etch when exposed to vinegar.
Check the grout by pressing a clean, dry cotton swab against a joint. If pigment transfers, the grout may be poorly cured or deteriorated. Look for pinholes, cracks, loose edges, powdering, and hollow-sounding tile, because those conditions require repair assessment rather than harder scrubbing.
| Surface or grout type | Baking soda with water | Vinegar | Hydrogen peroxide | Main caution |
|---|---|---|---|---|
| Glazed ceramic tile | Usually suitable | Diluted only | Spot-test | Avoid flooded joints |
| Porcelain tile | Usually suitable | Diluted only | Spot-test | Rinse alkaline residue |
| Cementitious white grout | Suitable | Occasional diluted use | Usually suitable | Do not abrade weak joints |
| Cementitious colored grout | Spot-test | Avoid routine use | Spot-test | Pigment may lighten |
| Epoxy grout | Use neutral cleaner first | Avoid unless manufacturer permits | Spot-test | Resin compatibility varies |
| Marble or limestone | Water paste only | Do not use | Manufacturer approval only | Acid etching risk |
| Travertine | Water paste only | Do not use | Manufacturer approval only | Fillers and pores can discolor |
How to Clean Grout With Baking Soda
The complete process takes about 35-60 minutes for a typical 50-square-foot area, plus 24-72 hours for grout to dry before sealing. Cleaning success depends more on matching the method to the soil and rinsing completely than on using a larger amount of baking soda.
Step 1: Remove Loose Soil
Sweep or vacuum the tiled surface, then wipe wall tile with a damp microfiber cloth. Dry debris can become abrasive mud during scrubbing, and loose grit may scratch glossy tile when dragged across the surface.
For a shower, remove hair and soap fragments from corners and drains before applying paste. For a kitchen floor, degrease obvious cooking oil from the tile surface with warm water and a small amount of neutral dish detergent, then rinse that detergent away.
You will know it worked when: no visible grit remains along the grout edges.
Common mistake: wetting a dusty floor first, which turns loose soil into a paste that spreads.
Step 2: Mix the Baking Soda Paste
Combine three parts baking soda with one part warm water by volume. For a small test area, use 3 tablespoons of baking soda and 1 tablespoon of water, then add water by the teaspoon until the paste resembles toothpaste.
A thick paste stays on vertical joints and keeps the abrasive powder concentrated. A runny mixture drains from shower walls and leaves too little material on the grout. Do not add bleach, ammonia, toilet cleaner, or another chemical to the bowl.
You will know it worked when: the paste holds a ridge on a spoon for several seconds.
Common mistake: making a thin slurry, which increases cleanup and reduces contact time.
Step 3: Apply Paste to the Grout Lines
Dampen the grout lightly, then press paste onto the joint with a gloved finger, narrow brush, or plastic scraper. Cover the grout surface without spreading a thick layer across the entire tile face, where dried residue becomes harder to remove.
Work in sections of approximately 5-10 square feet. Small sections prevent the paste from drying before brushing and make it easier to compare cleaned and uncleaned joints.
You will know it worked when: every stained section has a continuous, visible coating.
Common mistake: applying paste to dry, highly porous grout, which pulls water out before the baking soda can spread.
Step 4: Allow a 10-15 Minute Dwell
Leave the paste undisturbed for 10-15 minutes on ordinary soil. Keep vertical paste slightly damp with a light water mist if it begins to crack, but do not soak the wall or floor.
A longer dwell does not compensate for the wrong cleaner. For a greasy kitchen joint, a neutral degreaser may outperform additional baking soda; for mineral scale, a stone-safe or manufacturer-approved descaler may be necessary.
You will know it worked when: the paste remains damp and the grout looks visibly darker from absorbed moisture.
Common mistake: allowing the paste to dry completely, which leaves a powder film and makes brushing less efficient.
Step 5: Scrub Along the Joint
Use a stiff nylon grout brush and scrub in short strokes that follow the grout line. Apply firm pressure, but avoid grinding across the tile edges, where abrasive particles can dull some polished surfaces.
An old toothbrush works for narrow corners, although its softer and shorter bristles usually require more passes. A drill brush can reduce wrist fatigue on stable floor tile, but use the lowest practical speed and test first because rotating bristles can erode soft grout rapidly.
You will know it worked when: dirty foam or gray slurry appears, then decreases after several passes.
Common mistake: using a wire brush, which can scratch tile glaze, expose metal, and remove grout at the edges.
Step 6: Rinse the Residue Thoroughly
Wipe the section with a clean microfiber cloth saturated in warm water, then rinse the cloth in a separate bucket. Repeat at least twice, changing the rinse water when it becomes cloudy.
Baking soda residue dries as a pale haze when it remains in tile texture or grout pores. A clean-water rinse is safer than immediately using vinegar to dissolve the film, particularly on stone, colored grout, and older joints.
You will know it worked when: the tile feels clean rather than chalky after drying.
Common mistake: using one dirty mop bucket, which redistributes loosened soil across the floor.
Step 7: Dry and Inspect
Dry the tile and grout with a microfiber cloth, then inspect under bright, angled light. Damp grout often appears darker, so judge the final color only after the surface has dried for several hours.
Inspect for remaining black dots, orange deposits, white powder, cracks, and missing joint material. A second gentle application may help with surface soil, but repeated force on a failing joint causes more damage than improvement.
You will know it worked when: the joint has an even color and no visible powder remains on adjacent tile.
Common mistake: sealing immediately while moisture remains trapped inside the grout.
Which Baking Soda Grout Method Should You Choose?
Baking soda with water is the safest starting method for light dirt on ceramic, porcelain, and many cementitious grout joints. Vinegar adds acidity but also adds surface and material risks, while hydrogen peroxide can brighten organic discoloration but may alter colored grout.
| Method | Best soil type | Typical dwell time | Suitable surfaces | Main limitation |
|---|---|---|---|---|
| Baking soda and water | Dust, light soil, mild soap film | 10-15 minutes | Ceramic, porcelain, many grout types | Requires manual scrubbing |
| Baking soda and diluted vinegar | Light mineral residue and soap film | 5-10 minutes | Ceramic and porcelain only | Acid can etch stone and affect grout |
| Baking soda and peroxide | Organic darkening and some mildew staining | 10-30 minutes | Spot-tested cement grout | Can lighten colored pigment |
| Neutral tile cleaner | Routine grease and mixed soil | 5-10 minutes | Manufacturer-approved tile and grout | Less useful for severe discoloration |
| Oxygen-based cleaner | Organic stains on compatible grout | Product label | Label-approved surfaces | Requires precise dilution |
| Professional extraction | Large or heavily soiled areas | 1-3 hours | Compatible installed systems | Higher service cost |
When Should You Use Hydrogen Peroxide?
Use a spot-tested hydrogen peroxide paste for organic darkening after baking soda and water have failed, not as a universal mold killer. A common household approach combines two parts baking soda with one part 3% hydrogen peroxide, applies it for 10-30 minutes, and rinses it completely.
Hydrogen peroxide can lighten dyed grout, damage some sealers, and irritate skin or eyes. Never combine peroxide with vinegar, chlorine bleach, ammonia, or other cleaners. Peroxide also cannot remove the moisture source that allows recurring mold, so persistent growth requires ventilation, leak repair, and sometimes professional remediation.
Is Vinegar Better Than Baking Soda?
Vinegar is better for some mineral deposits on acid-resistant ceramic or porcelain, while baking soda is the better first choice for routine soil and uncertain surfaces. Mixing the two does not preserve the full cleaning strength of either ingredient because acid neutralizes the alkaline bicarbonate.
Never use vinegar on marble, limestone, or travertine. Granite is more acid-resistant than calcium-based stone, but polished granite, grout sealers, and manufacturer warranties still justify a hidden-area test and a preference for a pH-neutral stone cleaner.
How Long Does Grout Cleaning Take and Cost?
A typical 50-square-foot area requires 5-10 minutes of preparation, 10-15 minutes of dwell time, and 20-30 minutes of brushing and rinsing. A small DIY job commonly costs $5-$20, while a drill brush, replacement brush, neutral cleaner, and sealer can raise the supply cost to $25-$60.
| Project size | Preparation | Scrubbing and rinsing | Typical supplies | Drying before sealing |
|---|---|---|---|---|
| 10 square feet | 5 minutes | 10-15 minutes | $2-$8 | 24-48 hours |
| 50 square feet | 5-10 minutes | 20-30 minutes | $5-$20 | 24-72 hours |
| 100 square feet | 10-15 minutes | 45-75 minutes | $8-$30 | 24-72 hours |
| Shower enclosure | 10-15 minutes | 30-60 minutes | $6-$25 | 24-72 hours |
Prices vary by country, brand, package size, and whether tools are already available. BDT 80-150 for baking soda, BDT 100-200 for vinegar, and BDT 150-400 for a grout brush are reasonable example retail ranges in Bangladesh, not universal prices.
What Should You Do for Specific Grout Problems?
Cleaning method should follow the stain’s cause. Gray soil, white efflorescence, orange rust, pink biofilm, black mold, and crumbling grout do not respond equally to baking soda.
Shower Grout With Soap Scum
For shower grout, remove hair first, apply the baking soda paste to damp joints, and scrub after 10 minutes. Rinse the wall from top to bottom with clean water, then dry the joints and improve ventilation.
Soap scum often contains body oils combined with mineral residue. Baking soda may loosen the oily surface, but a pH-neutral bathroom cleaner or a manufacturer-approved soap-scum product can work better when the film is thick.
Colored Grout
For colored grout, use baking soda and water only for the first test and limit dwell time to 10 minutes. Avoid peroxide until a hidden test has dried completely, because wet testing may not reveal delayed pigment lightening.
Do not assume that a dark joint is dirty. Some cement grout pigments fade unevenly, and aggressive brushing can create pale abrasion marks that no cleaner will restore.
Black Mold or Mildew
For small surface spots, clean with detergent or baking soda paste, rinse, dry, and correct the moisture problem. Porous grout may retain staining after the organism is removed, so a darker appearance does not prove that active mold remains.
The U.S. Environmental Protection Agency advises controlling moisture and addressing moldy porous materials rather than relying only on surface treatment. Large areas, recurring growth, hidden leaks, sewage contamination, or respiratory sensitivity warrant professional assessment.
White Powder or Haze
A white powder after cleaning is usually dried baking soda residue, grout dust, or efflorescence. Rewipe with clean warm water first, because adding vinegar can create an unnecessary acid exposure and may worsen damage on sensitive stone.
If the white deposit returns from inside the joint, the cause may be moisture-driven efflorescence rather than leftover cleaner. Drying the area and correcting water migration matters more than repeated scrubbing.
Crumbling or Missing Grout
Stop cleaning when grout powders, flakes, or falls out under light brushing. Crumbling joints indicate deterioration, water intrusion, poor installation, or age, and the correct remedy is removal and regrouting after the substrate dries.
A grout sealer cannot stabilize missing material. Regrouting also requires matching the existing joint width and grout type, especially when replacing cementitious grout beside epoxy grout.
How Can You Prevent Grout From Becoming Dirty Again?
Preventive maintenance works better than increasingly abrasive cleaning. Squeegee shower walls after use, dry floor joints when practical, remove kitchen grease promptly, and clean with a pH-neutral tile product every one to two weeks in heavily used rooms.
Seal fully cured cementitious grout after cleaning if the grout manufacturer permits it. Typical penetrating sealers require a dry joint and may need 24-72 hours of curing, while epoxy grout generally does not need penetrating sealer because its resin surface has low absorption.
A sealer does not make grout stain-proof. It slows absorption and improves cleanup, but standing water, soap residue, leaking fixtures, and poor bathroom ventilation can still discolor the joint.
Common Mistakes and How to Fix Them
| Mistake | Result | Recovery action | Prevention |
|---|---|---|---|
| Using too much water | Runny paste and spread soil | Wipe, remake paste, work in small sections | Start with 3:1 ratio |
| Leaving paste until fully dry | White haze and difficult residue | Rinse twice with clean water | Dwell 10-15 minutes |
| Scrubbing with metal | Scratches and eroded joints | Stop and inspect tile and grout | Use nylon bristles |
| Mixing vinegar with bleach | Toxic chlorine gas risk | Leave area, ventilate, seek help if symptoms occur | Use one cleaner at a time |
| Applying peroxide to colored grout | Uneven light patches | Rinse immediately and assess after drying | Hidden-area test |
| Sealing damp grout | Trapped moisture and cloudy sealer | Remove sealer if manufacturer allows | Wait 24-72 hours |
| Repeating failed scrubbing | Loose or missing grout | Stop and repair the joint | Diagnose the stain first |
A common practitioner rule is to increase dwell time before increasing brush pressure. More pressure helps only when the stain is on the surface; pressure cannot pull out efflorescence or restore chemically damaged pigment.
Another practical rule is to clean a one-foot test section before treating the whole room. The test reveals color loss, tile sensitivity, residue, and whether the apparent stain is actually grout deterioration.
FAQ
Can baking soda whiten grout permanently?
Baking soda can make dirty grout look lighter by removing surface soil, but it does not permanently whiten pigment or reverse chemical discoloration. Deep stains, faded dye, efflorescence, and mold damage may remain after cleaning. A compatible grout colorant can change appearance after the grout is clean and fully dry.
Can I use baking soda on shower grout every week?
You can use a small amount of baking soda with water occasionally, but weekly abrasive scrubbing is unnecessary for most showers. Routine maintenance should use a pH-neutral tile cleaner, thorough rinsing, and drying. Frequent hard brushing can wear cementitious grout, especially at corners and movement joints.
Does baking soda remove rust from grout?
Baking soda alone usually does not remove established rust because rust is an iron oxide deposit rather than ordinary grease or soil. Use a manufacturer-approved rust remover for the specific tile and grout, and never use an acidic rust product on marble, limestone, or travertine.
How do I clean grout without scrubbing?
Steam cleaning, oxygen-based products, and professional extraction can reduce manual scrubbing, but no method reliably removes every embedded stain without agitation. Steam can damage some sealers and force moisture into weak joints. Test the method, follow the product label, and avoid equipment on crumbling grout.
Should I use bleach after baking soda?
Do not mix bleach with baking soda paste or any remaining vinegar, peroxide, or cleaner. Rinse the grout completely, allow it to dry, and follow the bleach label only if the tile and grout manufacturer permits it. Bleach may lighten stains but does not repair porous or deteriorated grout.
When should grout be replaced instead of cleaned?
Replace or repair grout when joints crumble, crack repeatedly, contain missing sections, remain wet, or allow water behind the tile. Cleaning targets removable soil; regrouting addresses material failure. Correct leaks and allow the substrate to dry before installing new grout.
The Bottom Line
The most reliable way to clean grout with baking soda is to use a 3:1 baking soda-and-water paste, allow 10-15 minutes of contact, scrub with nylon bristles, and rinse twice with clean water. Start with ceramic or porcelain tile, test colored and sealed grout, avoid vinegar on natural stone, and stop when the joint begins to crumble. Baking soda is a useful surface cleaner, not a substitute for mold remediation, grout repair, or moisture control.