
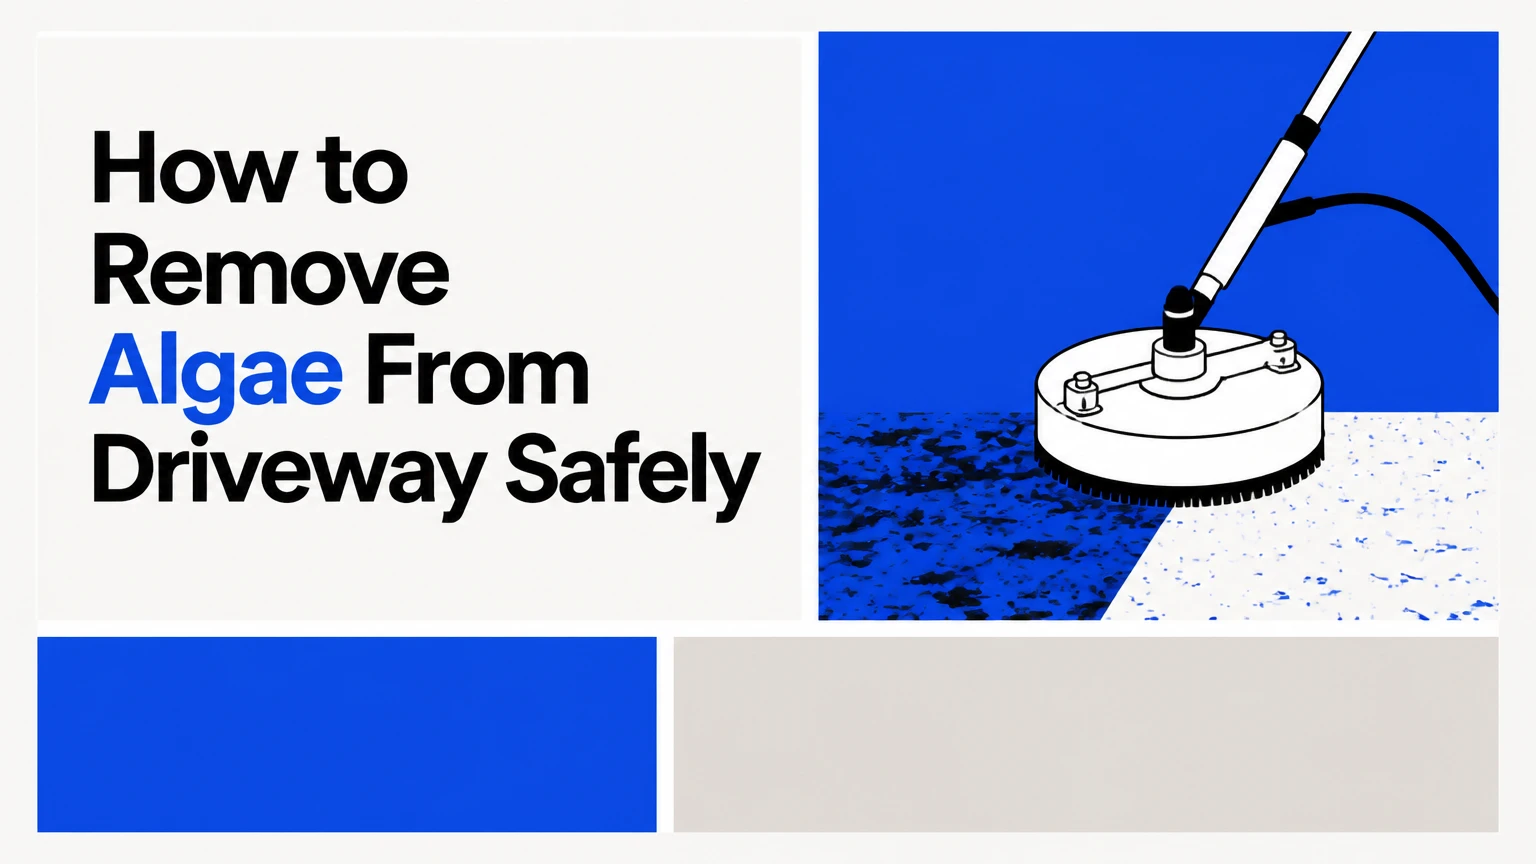
To remove algae from a driveway, first identify the growth, wet nearby plants, apply a surface-appropriate cleaner, allow label-directed dwell time, scrub the biofilm, and rinse with moderate pressure. A chemical treatment followed by physical removal works longer than pressure washing alone, while drainage, sunlight, and regular sweeping determine how quickly algae returns.
Key Facts at a Glance
Algae grows fastest where driveway surfaces remain damp, shaded, and dirty.
Pressure washing removes visible growth but may leave living cells and biofilm behind.
Sodium hypochlorite acts quickly on concrete but can injure plants and damage asphalt when misused.
Sodium percarbonate is a lower-chlorine alternative, but it usually needs brushing and repeat treatment.
Pavers require moderate pressure because excessive washing removes joint sand.
Cleaner does not solve persistent algae when leaking gutters, standing water, or deep shade remain.
What Is Driveway Algae?
Driveway algae is usually a surface community containing green algae, cyanobacteria, moss, and trapped organic debris. Green or dark-green slippery patches commonly appear on concrete, asphalt, and pavers after repeated wetting, especially beneath trees, along north-facing edges, and below leaking downspouts.
Algae does not have roots, stems, or leaves. A sticky biofilm helps cells adhere to microscopic pores and retain moisture, which explains why a driveway can look clean immediately after rinsing and then develop a green film again within weeks.
Black marks are not automatically “black algae.” Cyanobacteria, mold, lichen, embedded dirt, tire residue, and asphalt oxidation can look similar. A small test patch is safer than applying a strong chemical to the entire driveway based only on color.
How Can You Tell Algae From Other Stains?
Algae usually feels slick or slimy when wet and produces green, olive, or dark gray discoloration. Moss forms a raised, soft mat; lichen forms crusty, attached patches; oil leaves an iridescent or greasy mark; rust creates orange-brown staining; efflorescence creates a dry white powder.
| Appearance or behavior | Likely cause | Simple check | Appropriate first response |
|---|---|---|---|
| Green, slippery film | Algae or cyanobacteria | Becomes slick after wetting | Cleaner, brushing, controlled rinsing |
| Raised green cushion | Moss | Lifts as a soft mat | Remove debris, treat, correct moisture |
| White powder or crystals | Efflorescence | Wipes into powder when dry | Dry brushing, water rinse, masonry diagnosis |
| Orange or reddish mark | Rust or iron runoff | Remains after algae treatment | Use a labeled rust remover |
| Rainbow sheen or dark greasy patch | Oil or fuel | Feels oily, repels water | Absorbent, detergent, oil-specific treatment |
| Hard crusty gray-green spots | Lichen | Resists broom and hose | Gentle treatment and longer dwell time |
How Does Algae Removal Work?
Effective driveway algae removal has two separate jobs: killing or weakening the organisms and extracting the attached biofilm. A cleaner handles the biological film, while brushing or rinsing removes dead material from surface pores.
Pressure washing alone can produce an impressive short-term result because water strips the visible layer. It is less reliable for deep staining, porous concrete, and shaded driveways where surviving cells and moisture remain. Chemical treatment alone has the opposite problem: dead algae may turn brown but stay physically attached.
The most dependable DIY sequence is treatment, dwell, agitation, and moderate rinsing. Do not assume a brighter color means complete removal. A brown film that remains slippery still needs mechanical cleaning.
What Is the Best Way to Remove Algae From a Driveway?
For most concrete driveways, the best general method is a labeled outdoor-surface algae cleaner or diluted sodium hypochlorite treatment, followed by stiff-bristle agitation and controlled rinsing. Use oxygen bleach when plant protection is the priority, and use lower pressure on asphalt, decorative concrete, pavers, and resin-bound surfaces.
| Method | Typical material cost | Active work time | Typical visible result | Main limitation |
|---|---|---|---|---|
| Garden hose and brush | $10-$30 | 2-4 hours | Light film removal | Weak against embedded biofilm |
| Pressure-washer rinse | $30-$100 rental | 2-4 hours | Immediate surface change | Regrowth and surface damage risk |
| Sodium hypochlorite treatment | $5-$20 | 1-2 hours | Fast green-film kill | Plant, clothing, and asphalt hazards |
| Sodium percarbonate | $15-$35 | 2-3 hours | Gradual brightening | Requires brushing and rinsing |
| Quaternary ammonium biocide | $20-$50 | 30-60 minutes | Slow improvement | Results can take weeks or months |
| Professional soft wash | $150-$500 typical | 1-3 hours onsite | Consistent large-area cleaning | Higher cost and runoff-management dependence |
The ranges are typical DIY and residential service figures, not guaranteed prices. Product concentration, driveway size, regional labor rates, access, and whether sealing is included change the final cost.
Which Cleaner Should You Use?
Choose the cleaner according to the driveway material, surrounding vegetation, and severity of growth. Always follow the product label because concentrations, required protective equipment, dilution, and permitted surfaces differ among products.
- Concrete: A labeled algae cleaner, sodium hypochlorite, or sodium percarbonate can work. Treat a hidden area first because decorative aggregates, sealers, and colored concrete can react differently.
- Asphalt: Prefer a product specifically labeled for asphalt or a mild detergent-based approach. Repeated strong chlorine applications can accelerate binder deterioration, particularly on old, brittle, or sun-heated asphalt.
- Pavers: Use oxygen bleach or a paver-safe biocide, then rinse gently. Avoid stripping joint sand with concentrated pressure.
- Gravel: Remove organic debris, rake the surface, treat only if the product label permits aggregate use, and improve drainage. Chemical cleaning alone cannot correct algae growing between perpetually wet stones.
How to Remove Algae From a Driveway Without a Pressure Washer
You can remove light or moderate driveway algae with a pump sprayer, stiff nylon broom, garden hose, and a labeled cleaner. The process usually takes 2-4 hours of active work for a typical single-car section, excluding drying time.
Before You Start
| Requirement | Typical specification |
|---|---|
| Weather | 50-80°F, low wind, no heavy rain during dwell time |
| Cleaner quantity | 1-2 gallons of mixed solution per 100 square feet, product dependent |
| Brush | Stiff nylon push broom, 18-24 inches wide |
| PPE | Chemical-resistant gloves, eye protection, long sleeves, non-slip footwear |
| Water | Garden hose with adjustable nozzle |
| Preparation | Remove vehicles, toys, leaves, and loose debris |
| Drainage control | Block or redirect concentrated runoff where permitted |
Do not clean when strong sun will dry the solution immediately, when wind can carry spray onto plants, or when rain will wash untreated chemical into a storm drain. Municipal stormwater rules may prohibit discharge of cleaning chemicals, sediment, or biocides into drains and waterways.
Step 1: Sweep and Inspect the Driveway
Sweep loose leaves, soil, twigs, and loose moss from the driveway. Inspect cracks, crumbling asphalt, lifted pavers, exposed aggregate, and drainage paths before adding water.
You will know the surface is ready when loose debris no longer moves across the treatment area and damaged sections are marked for gentle cleaning. The common mistake is treating dirt as algae, which wastes cleaner and encourages unnecessarily aggressive scrubbing.
Step 2: Protect Plants, Pets, and Nearby Surfaces
Move pets and children away from the work area. Close doors and windows near the driveway, cover delicate metal items, and pre-wet grass and ornamental plants with clean water if the product label allows use near vegetation.
Pre-wetting reduces immediate absorption, but it does not make bleach or biocide runoff harmless. Keep solution off ponds, vegetable gardens, drains, and waterways, and rinse foliage with clean water after accidental contact.
Step 3: Apply a Surface-Appropriate Cleaner
Apply the cleaner evenly with a pump sprayer, working in manageable sections. For sodium hypochlorite, use only the dilution specified by the product label and never mix it with vinegar, ammonia, acids, toilet cleaner, or other chemicals.
A common professional error is copying a dilution from an unrelated roof, pool, or patio product. Sodium hypochlorite strength varies widely, and a percentage printed on a container does not automatically identify the correct finished concentration for a driveway.
Step 4: Allow the Cleaner to Dwell
Keep the treated surface visibly wet for the label-specified dwell period, often 10-20 minutes for fast oxidizing cleaners, while some residual biocides require much longer contact or rainfall-assisted action. Do not let a strong solution dry on concrete, asphalt, plants, or metal.
You will know the treatment is working when green growth loses its bright color, darkens, or releases more easily under a brush. The common mistake is rinsing immediately, which removes the active solution before it can penetrate the biofilm.
Step 5: Scrub the Remaining Biofilm
Scrub algae-covered areas with a stiff nylon push broom, using overlapping strokes across the surface. Avoid wire brushes on decorative concrete, asphalt, and coated surfaces because metal bristles can scratch the binder, sealer, or exposed aggregate.
Heavy growth may require a second light application after the first rinse. A dead brown film is not a failed chemical treatment; it means the biological material has weakened but still needs physical extraction.
Step 6: Rinse Thoroughly
Rinse from the highest point toward the lowest safe collection area, keeping dirty water away from plants, neighboring property, storm drains, and natural water. Use enough clean water to remove loosened biomass and chemical residue, but do not flood joints or erode soft asphalt.
You will know rinsing is complete when the surface no longer feels slippery, no foam remains, and the runoff is clear enough to identify the underlying surface. The common mistake is leaving cleaner residue behind, which can create white deposits or discoloration.
How Should You Pressure Wash Algae From Concrete, Asphalt, and Pavers?
Pressure washing should extract loosened algae rather than act as a substitute for treatment. Start with the lowest effective pressure, use a wide fan nozzle, keep the wand moving, and test an inconspicuous area before cleaning the full driveway.
| Surface | Conservative starting pressure | Nozzle or tool | Important control |
|---|---|---|---|
| Sound concrete | 1,500-2,500 PSI | 25-degree nozzle or surface cleaner | Keep wand 8-18 inches away |
| Decorative or exposed aggregate concrete | 1,000-1,800 PSI | 40-degree nozzle or adjustable cleaner | Avoid lifting aggregate and sealer |
| Asphalt | 800-1,500 PSI | 40-degree nozzle | Keep the wand moving; avoid heat and close passes |
| Concrete pavers | 1,000-2,000 PSI | 25-40-degree nozzle | Refill joint sand if washing displaces it |
| Resin-bound paving | 800-1,500 PSI | Wide fan nozzle | Test for aggregate loosening |
| Gravel | Garden hose or low-pressure rinse | No pressure-washer pinpoint jet | Prevent stone displacement |
A zero-degree nozzle can etch lines into concrete and cut soft asphalt. A surface-cleaner attachment usually produces more uniform results than a hand wand because it reduces zebra striping caused by inconsistent distance and speed.
The United States Environmental Protection Agency states, “The label is the law” for pesticide products. That principle applies to labeled driveway biocides: the label controls permitted surfaces, dilution, contact time, protective equipment, and disposal instructions.
How Much Does Driveway Algae Removal Cost?
DIY driveway algae removal typically costs $10-$50 without a pressure washer and $40-$150 when equipment rental, cleaner, protective equipment, and incidental supplies are included. Professional cleaning commonly costs $150-$500 for a residential driveway, with size, stains, access, and sealing increasing the price.
| Project scope | Typical cost | Typical active time | Likely equipment |
|---|---|---|---|
| Small, light patch | $10-$25 | 45-90 minutes | Hose, brush, cleaner |
| Single-car concrete driveway | $20-$70 | 2-4 hours | Sprayer, broom, optional washer |
| Large two-car driveway | $40-$150 | 4-7 hours | Washer, surface cleaner, sprayer |
| Paver driveway with sand replacement | $75-$250 DIY | 5-8 hours | Washer, broom, joint sand |
| Professional cleaning | $150-$500 | 1-3 hours onsite | Commercial washer and recovery controls |
A low price is not necessarily a better treatment. If a $15 cleaner leaves biofilm behind, the driveway may need another labor-intensive cleaning within a month, while correcting a downspout can reduce repeat work for years.
Why Does Algae Return After Cleaning?
Algae returns when the driveway remains wet long enough for cells to recolonize, especially where shade, leaf litter, leaking gutters, poor slope, irrigation overspray, or compacted soil slow drying. Cleaning removes growth, but moisture correction determines the interval before regrowth.
Use these prevention measures:
- Redirect downspouts so water discharges onto a suitable drainage area rather than the driveway edge.
- Repair leaking gutters and stop sprinklers from spraying pavement.
- Prune branches that block morning and midday sunlight where local vegetation rules permit.
- Sweep leaves and soil weekly during wet seasons.
- Keep driveway edges open so water can drain instead of pooling against soil.
- Consider a compatible penetrating sealer on cured concrete or pavers after the surface is fully clean and dry.
- Reinspect shaded edges monthly and treat small patches before they become a continuous film.
Sealing is not a cure for standing water. A sealer can reduce absorption on suitable concrete, but applying it over dampness, salts, or biological residue can trap problems and create uneven appearance.
What Common Algae-Removal Problems Mean
The Algae Turned Brown but Did Not Disappear
Brown or orange growth often indicates dead or weakened biomass that remains attached to the surface. Rinse, scrub, and inspect after drying before repeating chemical treatment, because a second strong application is unnecessary when mechanical removal is the missing step.
White Powder Appeared After Cleaning
White powder is commonly efflorescence or dried cleaner residue, especially on masonry and pavers. Dry-brush the surface, rinse with clean water, and avoid sealing until the deposit stops returning; persistent efflorescence may indicate moisture moving through the slab or joints.
Pressure Washing Left Stripes
Zebra stripes result from inconsistent wand distance, overlapping passes, or a nozzle that concentrates pressure. Reclean with a wide fan pattern or surface cleaner, keeping speed and overlap consistent, but understand that etched concrete may not be fully reversible.
Paver Sand Was Washed Away
Pressure washing can remove joint sand and destabilize paver edges. Allow the surface to dry, sweep compatible joint sand into the gaps, and compact or activate it according to the sand manufacturer’s instructions after the cleaning is complete.
Plants Turned Yellow
Chemical overspray, runoff, or concentrated residue can injure grass and ornamentals. Flood affected foliage with clean water if the product label permits, stop further discharge, and follow the product safety data sheet for additional action.
When Should You Hire a Professional?
Hire a professional when the driveway is large, steep, badly deteriorated, adjacent to a pond, connected directly to storm drainage, or covered with a suspected hazardous or unknown stain. Professional help is also appropriate when pressure washing could remove asphalt aggregate, decorative sealer, paver sand, or resin-bound stone.
Ask the contractor what chemical is being used, whether the product is labeled for the driveway material, how runoff will be managed, and whether the quote includes sealing or joint-sand replacement. A responsible estimate should distinguish algae treatment from oil, rust, efflorescence, and surface repair.
FAQ
Is Driveway Algae Dangerous?
Driveway algae is usually a slip hazard rather than a poisoning emergency, because wet biofilm can make concrete, asphalt, and pavers unexpectedly slick. Keep people and pets away during treatment, wear non-slip footwear, and remove the growth before it reaches sloped walkways or steps.
Can Vinegar Remove Algae From Concrete?
Vinegar may loosen light organic film, but household vinegar is inconsistent against established driveway biofilm and can affect nearby plants or sensitive masonry. Vinegar must never be mixed with bleach because the combination can release toxic chlorine gas.
Is Bleach Safe for an Asphalt Driveway?
Bleach is not automatically safe for asphalt. Strong or repeated sodium hypochlorite use can affect asphalt binders, particularly on aged surfaces exposed to heat, so choose a product labeled for asphalt, use the least aggressive effective treatment, and rinse thoroughly.
How Long Should Algae Cleaner Stay on the Driveway?
Contact time depends on the active ingredient and product label. Fast oxidizing cleaners often use approximately 10-20 minutes, while quaternary ammonium products may require longer contact and rainfall-assisted removal; never allow a concentrated solution to dry unless the label specifically directs it.
Can I Seal the Driveway Immediately After Cleaning?
Do not seal immediately after cleaning. Concrete and pavers should be visibly clean and fully dry, and the substrate should meet the sealer manufacturer’s moisture requirements; trapped water, salts, or residual algae can cause whitening, peeling, or uneven absorption.
How Often Should I Treat Driveway Algae?
Inspect shaded or damp driveways monthly during the wet season and treat small regrowth promptly. Many surfaces need cleaning every 6-12 months, but a driveway with corrected drainage and better sunlight may remain clean substantially longer than one exposed to constant runoff.
The Bottom Line
The most reliable way to remove algae from a driveway is to combine a material-appropriate cleaner with brushing and controlled rinsing, rather than relying on pressure alone. Protect plants, follow the product label, use conservative pressure, diagnose stains before treating them, and correct the moisture source so the cleaned driveway stays safer and cleaner longer.