
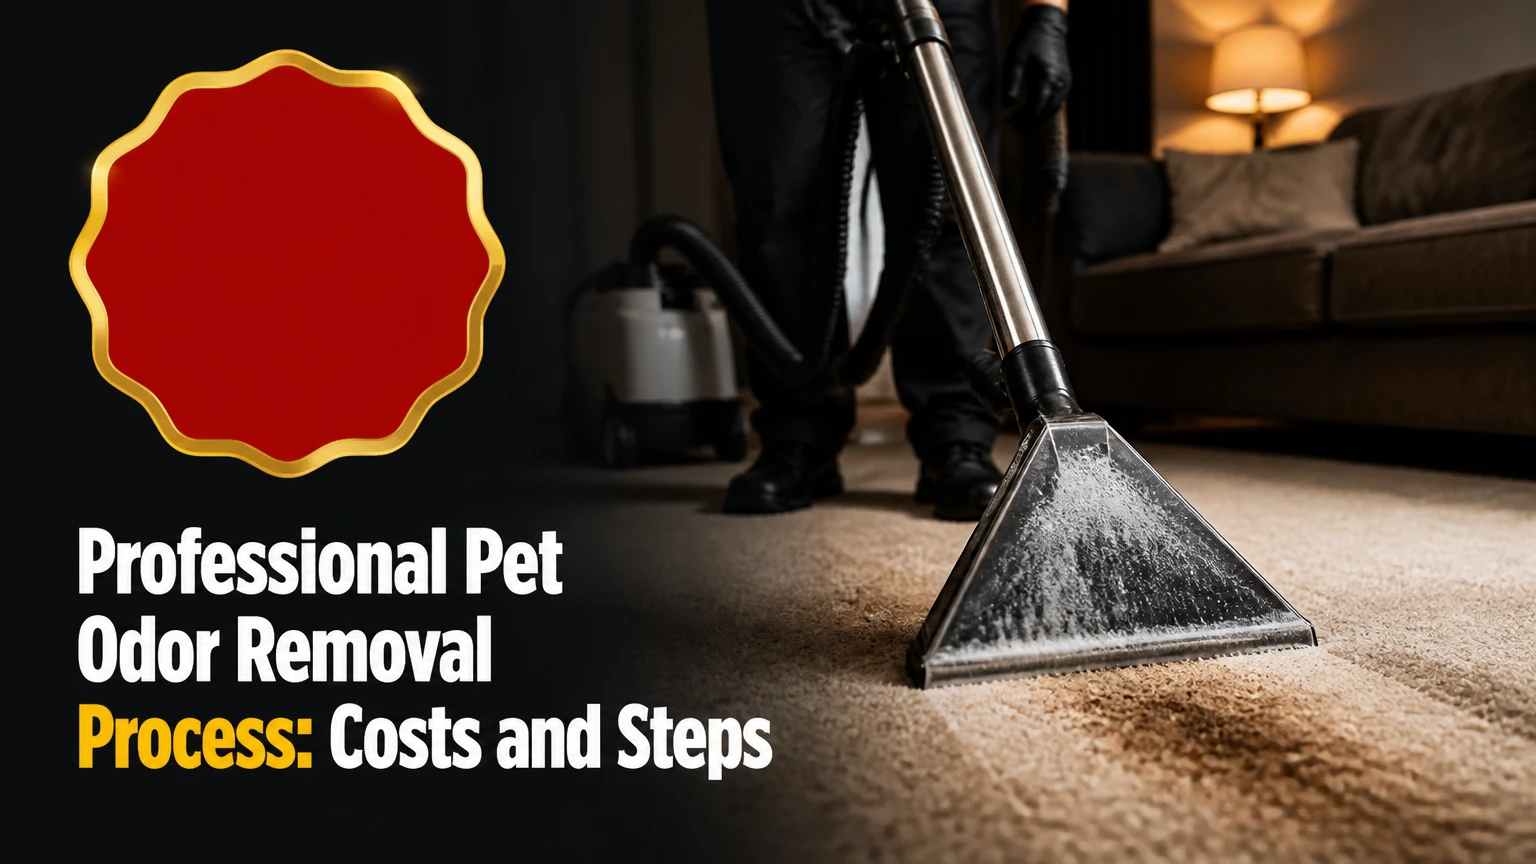
Professional pet odor removal is a source-remediation process that locates contamination, treats the affected material, extracts dissolved residue, and replaces or seals materials that cannot be cleaned. The professional pet odor removal process succeeds when technicians reach the deepest contaminated layer, control moisture, verify drying, and prevent pets from re-marking the area.
Key Facts at a Glance
- Pet urine odor commonly persists because liquid reaches carpet backing, padding, subfloor joints, or unfinished wood.
- A UV lamp locates some fluorescent residue, but UV findings are not a reliable measurement of contamination depth or odor severity.
- Enzymatic cleaners digest selected organic components; they do not automatically dissolve every uric compound or repair damaged flooring.
- Ozone is a respiratory hazard and must not run around people, pets, or plants; EPA advises against using ozone generators in occupied spaces.
- Typical professional pricing ranges from $150-$300 for limited surface work and $1,000-$3,500 or more for structural remediation.
- Carpet padding is often replaced when urine saturation is widespread, repeated, or bonded to the subfloor.
What Does Professional Pet Odor Removal Mean?
Professional pet odor removal means identifying and treating the odor source rather than covering airborne smell with perfume. A technician assesses the flooring assembly, contamination age, moisture movement, ventilation, and material compatibility before choosing extraction, enzyme treatment, oxidation, replacement, or sealing.
Odor removal is different from carpet cleaning. Routine cleaning can remove soil from carpet fibers, while remediation addresses urine that has migrated below those fibers. A single accident may affect the face yarn, backing, pad, tack strip, and subfloor in different proportions.
Pet urine contains water, urea, salts, proteins, pigments, and other organic compounds. As urine dries, some components remain in porous materials and can become noticeable again when humidity dissolves or mobilizes residue. Ammonia-like odor may also develop during microbial breakdown of nitrogen-containing compounds.
A professional cannot promise that every material is salvageable. Porous foam, unfinished wood, gypsum board, and carpet backing may retain odor after cleaning because contamination has spread beyond practical access.
What professional remediation is not
Professional deodorization is not a guarantee that an odor disappears after one spray application. It is also not the same as disinfecting, sterilizing, or correcting a pet’s medical or behavioral cause of repeated urination. Cleaning removes or transforms residue; source control prevents new contamination.
Why Does Pet Odor Return After Cleaning?
Pet odor returns when the initial treatment reaches the carpet surface but not the contaminated pad, subfloor, wall base, or furniture structure. Humidity, heat, capillary movement during drying, and renewed pet marking can all make a previously quiet odor noticeable again.
The common explanation that household cleaners “cannot break down uric acid crystals” is directionally useful but chemically oversimplified. Dried urine residue contains multiple salts and organic materials, and no universal enzyme converts all residue directly into harmless water. Enzyme products work on particular substrates under suitable temperature, moisture, pH, and dwell conditions.
A recurring smell often identifies a layer problem, not a fragrance problem. Technicians should inspect transitions, seams, carpet edges, underlayment, baseboards, floor penetrations, and nearby upholstery instead of repeatedly treating the same visible spot.
Contamination depth by flooring type
| Material | Common affected layers | Typical salvage issue | Usual professional response |
|---|---|---|---|
| Nylon carpet | Face yarn, backing, pad, subfloor | Pad retains concentrated residue | Enzyme treatment plus extraction; replace pad if saturated |
| Hardwood | Finish, seams, subfloor, joist gaps | Liquid travels between boards | Controlled cleaning, drying, board or subfloor evaluation |
| Laminate | Planks, joints, underlayment | Fiberboard core swells | Remove affected planks and underlayment |
| Concrete | Surface pores, cracks, expansion joints | Odor remains in porous slab | Alkaline-compatible cleaning, extraction, drying, sealer if needed |
| Upholstery | Fabric, batting, foam, frame | Foam is difficult to rinse fully | Controlled injection-extraction or cushion replacement |
| Drywall and trim | Lower wallboard, baseboard, fastener lines | Capillary uptake creates hidden odor | Remove damaged materials or clean and seal after drying |
How Do Professionals Remove Pet Odor?
Professionals remove pet odor through five linked phases: inspection, targeted treatment, extraction, drying and air management, then replacement or sealing when the source remains in structural materials. The sequence matters because extraction before adequate treatment can leave chemically active residue behind.
Phase 1: Inspect and map the contamination
Inspection should begin with an odor interview, visual review, UV screening, moisture readings, and material identification. The technician should record affected rooms, pet access, cleaning products already used, odor behavior during humid weather, and any recent flooring replacement.
A 395-nanometer UV lamp can reveal some dried urine residues, but fluorescence also comes from detergents, optical brighteners, food, adhesives, and other substances. UV light is a locating aid, not proof that every glowing area contains urine or that every non-glowing area is clean.
Moisture meters help identify wet or recently treated zones. Pin meters provide localized readings, while pinless meters scan a broader area but can be influenced by density, metal, salts, and layered construction. Readings should be compared with an unaffected control area.
pH testing can inform chemical compatibility, but a surface pH result does not reliably determine the age of urine. Residual cleaners, carpet fibers, soil, and moisture can distort the result.
Checkpoint: The technician should identify the likely source layer and define a treatment boundary before applying chemicals.
Common mistake: Treating every UV mark equally, which increases cost and chemical exposure without improving diagnosis.
Phase 2: Apply targeted pre-treatment
Pre-treatment should wet the contaminated layer sufficiently for the selected chemistry to contact residue, while avoiding uncontrolled saturation. Technicians may use enzyme products, surfactants, oxidizers, or specialty urine treatments according to the material and product label.
Enzyme treatment usually requires a moist surface and a dwell period commonly ranging from 15-45 minutes, although some products require several hours. Temperature matters because biological activity slows in cold rooms, and previous disinfectants or oxidizers may inactivate the product.
A technician may inject carpet padding through controlled access points or lift an edge to treat the backing directly. The goal is even contact, not maximum flooding. Excess liquid can drive contamination deeper into wood, damage adhesive, or lengthen drying.
Checkpoint: The treatment area remains wet for the label-specified dwell time and does not spread beyond the mapped boundary.
Common mistake: Mixing an enzyme product with bleach, peroxide, quaternary disinfectant, or an acidic cleaner. Chemical incompatibility can reduce performance and create hazardous vapors.
Phase 3: Extract the dissolved residue
Sub-surface extraction removes contaminated solution from carpet, padding, and accessible subfloor surfaces. A technician may use a Water Claw-style extraction tool, upholstery extraction equipment, a vacuum hose, or a truck-mounted system selected for the flooring assembly.
The extraction path should remove liquid rather than redistribute it. On carpet, technicians often extract from the perimeter toward the center or use controlled pressure over the affected zone. On hardwood and laminate, aggressive water use can cause swelling, finish failure, adhesive release, or cupping.
Hot-water extraction can improve soil suspension, but “superheated” water is not automatically better for urine remediation. Water temperature must match carpet manufacturer guidance, dye stability, adhesive limits, and the chemical label. A claimed 180-210°F range at the machine does not mean that temperature safely reaches every flooring surface.
Checkpoint: The area produces progressively clearer recovery water, the technician records moisture readings, and the material enters a controlled drying plan.
Common mistake: Over-wetting a deep stain with a consumer machine. Without adequate vacuum recovery, the process may move residue into the pad or subfloor.
Phase 4: Dry and manage airborne odor safely
Drying is part of remediation, not an optional finishing step. Air movers, dehumidifiers, ventilation, and measured moisture reduction help prevent microbial growth and reduce the temporary odor released as wet residue warms.
Hydroxyl generators and ozone generators are not interchangeable. Hydroxyl equipment is marketed for occupied spaces, but output, room conditions, ventilation, and manufacturer instructions still matter; “safe in occupied spaces” is not a universal guarantee. Ozone is a lung irritant, and EPA warns that concentrations safe for people may be ineffective against many indoor contaminants.
People, pets, and plants must leave during ozone treatment. HVAC systems should be isolated unless a qualified professional has designed the treatment, because ozone can travel through ducts and react with materials. Ozone can also degrade rubber, some plastics, dyes, and elastomers.
Checkpoint: Moisture readings approach the unaffected control area, the room is ventilated, and no chemical or ozone odor remains before reoccupancy.
Common mistake: Returning pets immediately after treatment. Residual odor or incomplete cleaning can encourage marking and make performance impossible to judge.
Phase 5: Replace or seal structural materials
Structural remediation becomes necessary when urine has soaked padding, unfinished wood, tack strips, baseboards, drywall, or floor joints beyond practical cleaning access. Technicians may remove carpet and pad, clean and dry the subfloor, then apply a compatible odor-blocking coating after the substrate is dry.
Shellac-based primers such as Zinsser B-I-N and oil-based products such as KILZ Original are examples of coatings used by contractors, but product selection must follow the manufacturer’s preparation and ventilation requirements. A sealer locks residual odor behind a coating; it does not remove contamination or fix wet wood.
Pad replacement is usually more reliable than repeated washing when foam has widespread urine saturation. Carpet may be cleaned and reinstalled if its backing, seams, and face fibers remain serviceable, but heavily contaminated carpet can be less economical to salvage than replace.
Checkpoint: The subfloor is dry, visibly clean, mechanically sound, and coated only after the contractor confirms compatibility.
Common mistake: Sealing damp or dirty wood. The coating may fail, trap moisture, or leave odor at edges and penetrations.
Which Professional Method Fits the Problem?
The best method depends on contamination depth, material, occupancy restrictions, and whether the source can be physically accessed. Surface extraction suits limited fresh accidents, while structural removal is more appropriate for repeated saturation that reaches padding or subfloor.
| Method | Main target | Typical equipment | Typical duration | Main limitation |
|---|---|---|---|---|
| Surface cleaning | Carpet face and light residue | Portable or truck-mounted extractor | 2-4 labor hours | Misses pad and subfloor contamination |
| Enzyme sub-surface treatment | Organic residue in carpet assembly | Injection tool, wet vacuum, extraction wand | 4-24 hours including dwell and drying | Requires correct moisture, temperature, and chemistry |
| Pad replacement | Saturated foam under carpet | Carpet tools, replacement pad | 6-12 labor hours | Does not solve contaminated subfloor alone |
| Subfloor cleaning and sealing | Wood or concrete substrate | Scrubber, extractor, moisture meter, primer | 1-3 days | Requires access, drying, and ventilation |
| Hydroxyl treatment | Air and some exposed porous surfaces | Hydroxyl generator, air movers | 12-48 hours | Slow and not a substitute for source removal |
| Ozone treatment | Residual airborne and surface odor | Corona-discharge ozone generator | Several hours plus ventilation | Unoccupied space and strict reentry controls required |
Enzyme treatment versus oxidation
Enzymes are preferable when organic residue is accessible and the household needs a lower-hazard source treatment. Oxidizers can change odor molecules rapidly, but peroxide, chlorine dioxide, and related products can bleach fibers, damage finishes, or react with incompatible cleaners.
Neither technology is a universal cure. Oxidation cannot repair a urine-soaked foam pad, and an enzyme cannot reach a sealed subfloor without a route into that layer.
When is ozone appropriate?
Ozone is appropriate only for controlled, unoccupied remediation performed by a trained operator who can manage exposure, material compatibility, ventilation, and reentry verification. Ozone is not appropriate as a do-it-yourself treatment in an occupied home, nor should it replace removal of saturated carpet and padding.
The U.S. Environmental Protection Agency states that ozone generators are not a reliable way to control indoor air pollution at concentrations that meet public-health standards. That limitation makes ozone a specialized supplemental treatment, not the default professional pet odor process.
How Much Does Professional Pet Odor Removal Cost?
Typical professional pet odor removal costs range from $150-$300 for a limited surface treatment, $300-$800 for sub-surface carpet and pad work, and $1,000-$3,500 or more when flooring removal, subfloor sealing, multiple rooms, or HVAC-related work is involved.
| Project condition | Typical price range | Typical labor or equipment time | Main cost driver |
|---|---|---|---|
| One or two fresh carpet spots | $150-$300 | 2-4 hours | Minimum service charge |
| One room with pad treatment | $300-$800 | 4-8 hours plus drying | Injection and extraction depth |
| Pad replacement and subfloor sealing | $700-$1,500 | 1-2 days | Materials, access, primer, reinstall |
| Multiple contaminated rooms | $1,000-$3,500 | 1-3 days | Square footage and flooring removal |
| Ozone or hydroxyl supplement | $150-$400 per day | 12-48 hours | Equipment duration and monitoring |
| HVAC inspection or cleaning | $300-$1,000+ | Half to full day | Duct access and contamination extent |
Prices vary by region, minimum call-out fees, furniture moving, carpet reinstallation, disposal, moisture monitoring, and whether the quotation includes a written treatment boundary. A low quote that covers only a wand pass may not address the layer producing the odor.
What should a written quote include?
A useful quote names the rooms, flooring layers, chemistry, extraction method, drying plan, replacement materials, exclusions, reinspection policy, and reentry instructions. Ask whether the price includes carpet lifting, pad disposal, tack-strip replacement, subfloor primer, furniture moving, and tax.
“Odor-free” should be defined operationally. A responsible contractor can describe inspection conditions and a reasonable recheck window, but no contractor can guarantee that a pet will never urinate in the area again.
How Long Does the Process Take?
Light pet odor treatment commonly takes 2-4 hours of active labor, followed by 6-12 hours of drying. Deep contamination with pad removal, subfloor treatment, or multiple rooms typically requires 1-3 days, and drying may extend longer in humid or poorly ventilated conditions.
| Scope | Active work | Drying or clearance | Practical completion |
|---|---|---|---|
| Surface extraction | 2-4 hours | 6-12 hours | Same day or next morning |
| Enzyme sub-surface treatment | 3-8 hours | 12-24 hours | One to two days |
| Pad removal and sealing | 6-12 hours | 12-48 hours | One to three days |
| Hardwood or laminate repair | 1-2 days | Material dependent | Two days to several weeks |
| Ozone supplement | Several hours | Ventilation and verification | Same day only after clearance |
Drying time depends on temperature, relative humidity, airflow, pile density, and substrate porosity. A technician should not judge success solely by smell while the area is wet, because moisture can temporarily suppress or redistribute odor.
What Are the Most Common Failure Modes?
The most common failures are incomplete source mapping, surface-only cleaning, chemical incompatibility, inadequate drying, and pet re-marking. Each failure requires a different correction, so repeating the same spray treatment often wastes money.
- Odor returns during humid weather. Request moisture readings and inspection beneath the pad, along seams, and at the subfloor perimeter.
- The carpet smells clean, but the room still smells. Inspect baseboards, furniture undersides, wallboard, vents, and adjacent flooring.
- The smell worsens after cleaning. Suspect over-wetting, wick-back, or residue movement into the pad.
- A pet returns to the treated location. Block access until the area is dry and use veterinary or behavior support if inappropriate urination continues.
- A sealed room still smells. Check floor penetrations, tack strips, drywall edges, closets, and HVAC returns.
- Chemical odor replaces urine odor. Ventilate, follow the product safety data sheet, and do not layer additional chemicals to mask it.
A particularly important practitioner rule is to inspect the perimeter before the center. Urine often travels laterally along backing, pad, seams, and wood grain, while the visible spot underrepresents the affected area.
Can Hardwood, Concrete, or Upholstery Be Saved?
Hardwood, concrete, and upholstery can often be salvaged when contamination is localized, accessible, and structurally dry. Replacement becomes more likely when urine has penetrated unfinished wood, swollen laminate cores, saturated upholstery foam, or entered cracks and joints that cannot be rinsed.
Hardwood requires restraint. Excess water can create a second problem through cupping, finish damage, or adhesive failure. A contractor may clean exposed surfaces, use controlled extraction, dry the assembly, and assess whether boards or subfloor sections need removal.
Concrete is durable but not automatically nonporous. Unsealed concrete can absorb urine into capillaries and cracks, where surface deodorizer has little effect. Cleaning, extraction, drying, and a compatible coating may be needed.
Upholstery requires a fabric and dye test before treatment. Foam cushions can retain odor even after fabric cleaning, and wooden frames may need separate inspection.
What Should Renters, Homeowners, and Property Managers Do?
The correct response differs by authority to alter materials, expected occupancy, and the need to document preexisting conditions. Renters should obtain written approval before removing carpet or sealing subfloors, while property managers should prioritize durable source removal over cosmetic deodorizing.
Renters
Photograph affected areas, request an inspection report, and ask the landlord which treatments are authorized. A non-destructive enzyme and extraction treatment may be suitable for isolated contamination, but pad replacement or subfloor sealing requires written permission.
Homeowners
Address fresh accidents quickly, restrict pet access during drying, and investigate repeated accidents with a veterinarian or qualified behavior professional. For recurring odor, pay for layer mapping rather than annual surface cleaning alone.
Property managers and sellers
Require room-by-room documentation, moisture readings, material removal details, and primer specifications. A property turnover should not rely on ozone fragrance reduction when carpet padding or subfloor contamination remains.
How Should You Choose a Professional?
Choose a contractor who diagnoses the flooring assembly before selling a deodorizer. The contractor should explain what can be cleaned, what may require removal, which chemicals will be used, how occupants are protected, and how drying will be verified.
Ask these questions before booking:
- Does the quote include carpet padding and subfloor inspection?
- What does the contractor use UV light for, and what does it not prove?
- Will the technician use a moisture meter before and after treatment?
- What is the dwell time and material compatibility for the selected product?
- Does the price include disposal, pad replacement, and carpet reinstallation?
- If ozone is proposed, how are occupants evacuated and reentry verified?
- What happens if odor remains after the area is fully dry?
- Can the contractor provide insurance, licensing where required, and product safety data sheets?
Avoid contractors who promise permanent results from one fogging treatment, describe ozone as safe around pets, or refuse to identify the contaminated layer. The strongest quote may cost more because it includes access, extraction, drying, and replacement rather than a fragrance application.
Frequently Asked Questions
Will professional carpet cleaning remove old dog urine odor?
Professional carpet cleaning can remove old dog urine odor when contamination is limited to carpet fibers or accessible backing. Cleaning alone often fails when urine has saturated padding, tack strips, or subfloor. Ask for sub-surface inspection and extraction rather than a standard hot-water-cleaning package.
Should I replace carpet after pet accidents?
Replace carpet when contamination is widespread, backing is deteriorated, odor remains after verified treatment, or the carpet cannot be removed and dried safely. Isolated accidents do not automatically require replacement, especially when the carpet and subfloor remain structurally sound.
Can I use bleach on pet urine?
Do not use chlorine bleach on pet urine. Urine can contain ammonia or ammonia-producing compounds, and mixing chlorine products with ammonia can produce toxic chloramine gases. Use one compatible product according to its label and never combine cleaners.
Does a UV light find all pet urine?
A UV light does not find all pet urine. Fluorescence depends on residue concentration, surface color, lighting, age, and the lamp’s output, while some unrelated cleaners and materials also glow. Use UV screening with odor mapping and moisture or construction inspection.
Is hydroxyl treatment safer than ozone?
Hydroxyl treatment is generally the more suitable option when a space must remain occupied, but safety depends on the generator, output, ventilation, and manufacturer instructions. Hydroxyl equipment is slower and cannot replace extraction, padding replacement, or structural sealing.
Why does pet odor get worse when it rains?
Pet odor often becomes more noticeable during rain because higher humidity mobilizes dried salts and organic residue in porous materials. A stronger smell during humid weather points toward untreated contamination below the surface, inside joints, or in nearby wall and flooring materials.
The Bottom Line
The professional pet odor removal process is successful when it finds the source layer, treats compatible materials, extracts contaminated liquid, verifies drying, and replaces or seals materials that cannot be cleaned. Enzymes, oxidation, hydroxyl equipment, and ozone each have specific uses and limitations. For recurring odor, invest first in accurate mapping and sub-surface assessment, not stronger fragrance.
Title tag: Professional Pet Odor Removal Process: Costs and Steps
Meta description: Compare enzyme treatment, extraction, sealing, ozone safety, and typical $150-$3,500 costs. Choose the right fix for recurring urine odor.