
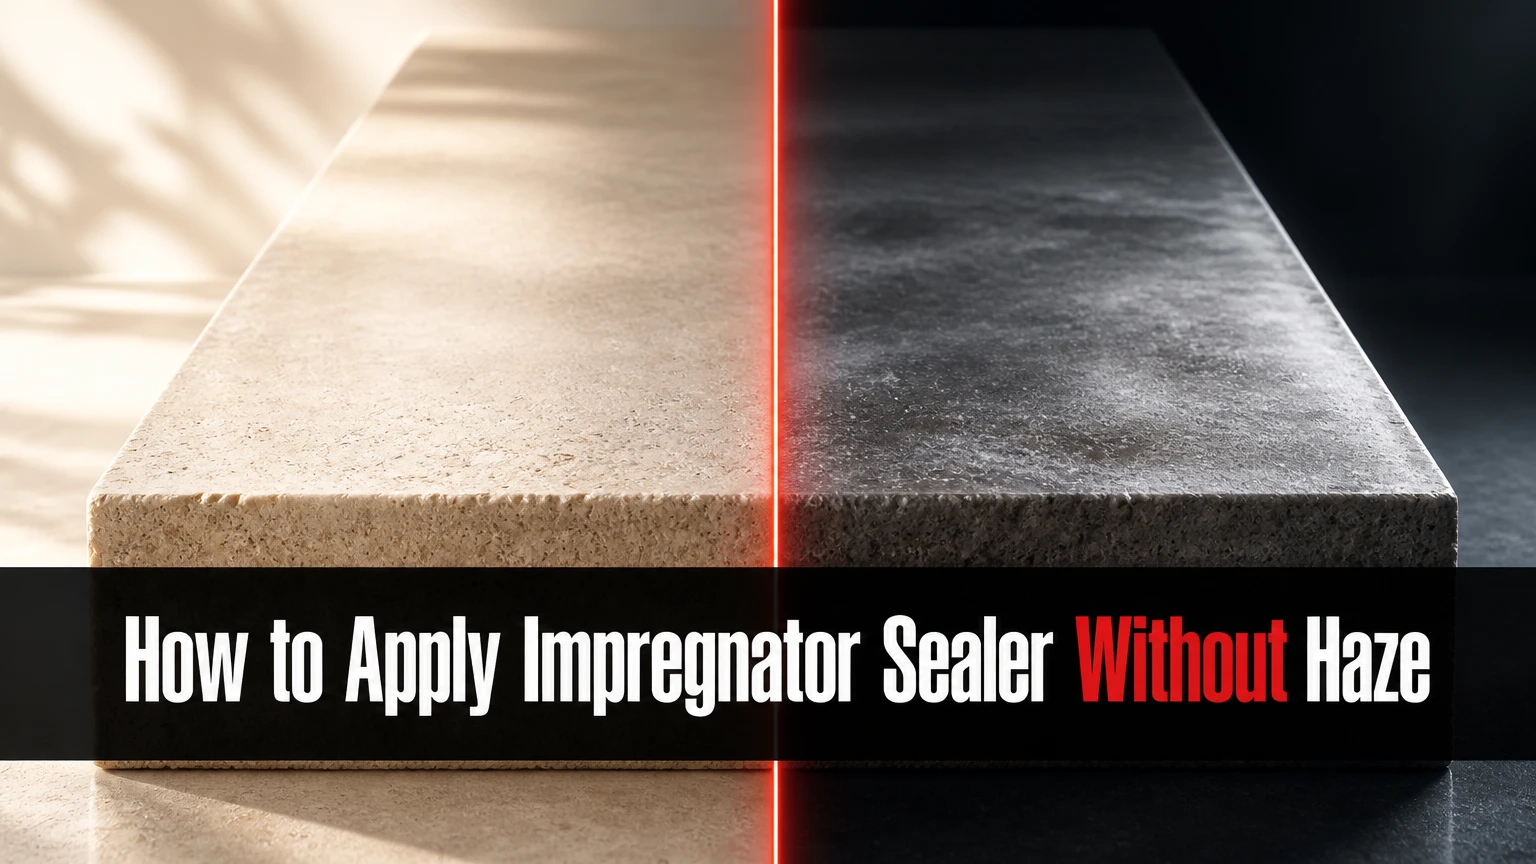
To apply impregnator sealer, clean the porous surface, let it dry completely, test compatibility, spread enough product to keep the surface wet, then remove every unabsorbed residue before it dries. Most projects take 1-3 hours to apply and 24-72 hours to cure, with surface dryness determining the result more than the number of coats.
Key facts at a glance
Impregnator sealer penetrates pores and repels water or oil without forming a visible surface film.
The surface must be clean, residue-free, and fully dry before application.
Typical application temperatures range from 10-27°C (50-80°F).
Unabsorbed sealer must be wiped off after approximately 10-20 minutes.
A second coat is usually needed only when the material absorbs the first coat quickly.
Penetrating sealer reduces staining but does not prevent acid etching on marble or limestone.
What Is an Impregnator Sealer?
An impregnator sealer, also called a penetrating sealer, is a liquid treatment for porous stone, grout, concrete, brick, and some unglazed tiles. The carrier transports reactive polymers into capillaries, where the polymers reduce absorption without creating the glossy plastic layer associated with many topical coatings.
The treatment does not make a material permanently waterproof or stain-proof. The Natural Stone Institute expresses the practical distinction this way: “A sealer does not make a stone stain-proof; it makes it more stain-resistant.” Spills still require prompt removal, especially on pale limestone, honed marble, grout, and porous sandstone.
Impregnators are generally invisible when a natural-look formula is used. A color-enhancing version darkens the substrate and increases apparent color depth, but it does not create the same thick film as a topical wet-look coating.
What Materials Can Receive Penetrating Sealer?
Suitable materials include absorbent granite, marble, limestone, travertine, slate, sandstone, terracotta, cement grout, concrete, brick, and many unglazed tiles. Highly polished or factory-treated surfaces may absorb too little product for sealing to provide meaningful protection.
Quartz surfaces usually do not require an impregnator because engineered quartz is nonporous and may be damaged by unsuitable chemicals. Glazed ceramic and glazed porcelain tile normally need no sealer on the tile face, although cement-based grout joints may still benefit from one.
How Does an Impregnator Sealer Work?
Impregnator sealer lowers the material’s internal surface energy, so water and oil encounter greater resistance when entering capillaries. A water- or solvent-based carrier moves silane, siloxane, fluoropolymer, silicone, or resin components into the pores, then evaporates while the active material remains.
The treated pores still allow some water vapor movement, unlike many film-forming coatings that can slow vapor release. Breathability reduces the risk of coating blistering, trapped moisture, and freeze-thaw damage, although no sealer can correct hydrostatic pressure or a defective drainage system.
Water repellency and oil repellency are different performance attributes. Silane and siloxane products commonly provide strong water resistance for masonry but limited protection from cooking oil; fluoropolymer formulations are often selected when coffee, grease, wine, and food oils are the principal risks.
Why Does Water Bead After Sealing?
Water beads when the treated pore walls resist wetting and capillary absorption. Beading is a useful field indication, but it is not a complete performance test because polished stone, surface texture, product age, and residual cleaner can alter droplet behavior.
A better test combines a water drop with an absorption comparison. Place several drops on a cleaned, dry area and observe for 15-20 minutes; darkening or a spreading damp mark indicates absorption, while unchanged color suggests lower absorbency. Test oil separately when oil resistance matters.
Which Impregnator Sealer Should You Choose?
Choose the formula according to substrate porosity, contaminant type, ventilation, appearance, and exposure rather than choosing water-based or solvent-based solely by price. Water-based products suit many indoor porous surfaces, while solvent-based products can penetrate dense stone more readily but require stricter ventilation and ignition control.
| Formula or chemistry | Typical strength | Common limitation | Suitable application |
|---|---|---|---|
| Water-based fluoropolymer | Low odor, water and oil resistance | May need more coats on dense stone | Indoor countertops, marble, granite |
| Solvent-based fluoropolymer | Deep penetration, oil resistance | Strong odor and higher VOC exposure | Dense stone and controlled commercial work |
| Silane | Water repellency, vapor permeability | Weak oil and grease resistance | Concrete, brick, exterior masonry |
| Siloxane | Water resistance and UV stability | Limited stain protection from oils | Patios, walls, block, concrete |
| Color enhancer | Darker color and richer veins | Can permanently change appearance | Slate, sandstone, textured stone |
| Natural-look impregnator | Minimal visual change | Does not add gloss or hide etching | Marble, limestone, granite, grout |
Water-Based or Solvent-Based?
Water-based impregnators typically have lower odor and lower VOC content, making them easier to use indoors when the product label permits interior application. Solvent-based products often carry active ingredients deeper into dense polished granite or marble, but they demand cross-ventilation, chemical-resistant gloves, and careful handling around ignition sources.
Neither carrier automatically provides better protection. The active chemistry, concentration, dwell time, substrate dryness, and complete residue removal usually matter more than the carrier label. Always follow the product’s technical data sheet because products within the same category can have different coverage and cure requirements.
Natural Look or Color Enhancement?
Use a natural-look impregnator when the existing color and finish must remain unchanged. Use an enhancer only after a dry test confirms that the darker appearance is acceptable, because color enhancement is difficult to reverse from deeply absorbent stone.
Do not confuse “wet look” with gloss. An enhancing impregnator can deepen color without forming a shiny film, while a topical sealer can add gloss and may change slip, abrasion behavior, and maintenance requirements.
What Should You Prepare Before Applying It?
Prepare a clean, dry substrate, the manufacturer-approved sealer, absorbent applicators, fresh microfiber towels, masking materials, and the safety equipment specified by the label. Plan 24 hours or more for drying after cleaning, and reserve at least 24-72 hours after application for protection from water, oil, and heavy use.
Before You Start
| Requirement | Typical value | Practical instruction |
|---|---|---|
| Application temperature | 10-27°C | Avoid freezing conditions and hot direct sun |
| Preparation time | 30-90 minutes | Include cleaning, rinsing, and masking |
| Drying before sealing | 24 hours indoors | Extend drying after deep cleaning |
| Outdoor drying after rain | 48 hours typical | Confirm the substrate is dry below the surface |
| DIY product cost | £15-£30 per litre | Typical water-based range |
| Premium product cost | £40-£85 per litre | Typical solvent or fluoropolymer range |
| Coverage | 5-25 m² per litre | Porosity determines actual consumption |
Use nitrile gloves and eye protection. For solvent-based products, provide strong ventilation and use respiratory protection only when the product safety data sheet identifies the correct respirator and cartridge. Keep children, pets, flames, pilot lights, and food away from the work area.
How to Apply Impregnator Sealer
The following seven steps cover a typical natural-stone, grout, or concrete application. Product instructions take precedence when they specify a different dwell time, coat interval, applicator, or cleanup solvent.
Step 1: Inspect and Test the Surface
Inspect the material for wax, acrylic finish, grout haze, efflorescence, oil, cracks, moisture, and previous sealer. Test the product in an inconspicuous area, checking color change, darkening, tackiness, absorption, and cleanup after the stated dwell time.
A test patch should remain under observation for at least 24 hours when appearance is important. Check adjacent materials as well, because stone sealer can stain unfinished wood, painted surfaces, porous grout, or some metals.
You’ll know it worked when: the test area has the intended appearance and no sticky film after curing.
Common mistake: testing only the center of a uniform-looking slab while ignoring a repaired edge or different stone batch.
Step 2: Clean the Surface Thoroughly
Remove dust and loose particles, then clean with a pH-neutral stone cleaner or a substrate-compatible heavy-duty cleaner. Grease, wax, soap, polishing compound, and old topical coatings can block penetration and create uneven results.
Rinse with clean water until no cleaner residue remains. Do not use vinegar, lemon-based cleaner, or acidic grout haze remover on acid-sensitive calcite stones such as marble, limestone, and travertine unless the product is specifically approved for that substrate.
You’ll know it worked when: rinse water no longer carries foam, dirt, or oily sheen, and the surface has no visible residue.
Common mistake: applying sealer over cleaning chemicals. Residual surfactant can interfere with penetration and leave a cloudy finish.
Step 3: Dry the Substrate Completely
Allow indoor stone and grout to dry for at least 24 hours after ordinary cleaning. Deep cleaning, saturated grout, cool rooms, slab-on-grade concrete, and outdoor surfaces may require longer; outdoor stone commonly needs at least 48 hours after heavy rain.
Do not rely on touch alone. Tape a square of clear plastic to the surface for several hours; condensation or visible darkening beneath the plastic indicates retained moisture. Concrete moisture testing may be appropriate when a slab has a history of dampness.
You’ll know it worked when: the substrate has uniform color, the plastic test shows no condensation, and moisture-sensitive areas are not darker than surrounding material.
Common mistake: sealing a floor the morning after mopping. Surface dryness can coexist with moisture inside grout and stone pores.
Step 4: Protect Adjacent Materials
Mask baseboards, painted walls, cabinetry, appliances, flooring transitions, and drains. Lay plastic sheeting where drips could travel, but avoid covering a damp substrate before it has finished drying.
Use a clean tray or bucket and reserve separate cloths for application and final buffing. Do not pour unused product back into the original container after it has contacted dirt or another chemical.
You’ll know it worked when: every exposed area is the intended substrate, and the exit route does not require walking across wet sealer.
Common mistake: masking only the visible perimeter while leaving porous grout or unfinished trim outside the work zone unprotected.
Step 5: Apply Enough Sealer to Keep the Surface Wet
Put on the required PPE and apply an even, liberal coat with a microfiber applicator, lambswool pad, clean roller, brush, or low-pressure sprayer approved by the product label. Work in manageable sections, usually 1-3 m² indoors, so no area dries before wiping.
Keep the surface visibly wet for approximately 10-20 minutes, or for the manufacturer’s stated dwell time. Highly porous sandstone, limestone, grout, and concrete may absorb the first pass within minutes, requiring additional product to maintain wetness.
You’ll know it worked when: the liquid remains workable through the dwell period, with no dry islands or puddles at joints.
Common mistake: applying a thin coat that disappears immediately and assuming the material has received enough product.
Step 6: Wipe Off All Unabsorbed Product
Before the sealer dries on the surface, remove excess liquid with clean, dry microfiber towels. Change towels when they become saturated, then buff until the surface feels dry rather than tacky.
Residue removal is the most important finishing action. Dried impregnator on top of stone can create streaks, white haze, sticky patches, or uneven sheen, especially on polished dark stone and dense porcelain.
You’ll know it worked when: a clean white cloth glides across the surface without collecting wet product, and light viewed at a low angle reveals no oily trails.
Common mistake: extending dwell time beyond the label in the belief that longer always means deeper penetration. Once pores are filled, extra liquid mainly increases residue risk.
Step 7: Recoat Only When the Material Requires It
Apply a second coat when the first coat absorbs rapidly, the test patch remains absorbent, or the technical data sheet specifies two coats. Many products require a 30-60 minute interval, but the label controls the recoat window.
Repeat the same wetting, dwell, wiping, and buffing procedure. Do not add a second coat simply to create a surface film, because an impregnator is designed to remain within the pores.
You’ll know it worked when: water absorption is slower after curing and the surface remains free of sticky residue.
Common mistake: applying a second coat over a tacky first coat. Clean and dry the surface or follow the manufacturer’s reactivation procedure first.
How Long Should Impregnator Sealer Cure?
Impregnator sealer is typically touch-dry in 1-3 hours, suitable for light foot traffic after 4-6 hours, and fully cured in 24-72 hours. Keep the treated surface dry and away from oil, food stains, chemical cleaners, furniture dragging, and heavy traffic throughout the stated cure period.
| Project condition | Typical wait | Restriction |
|---|---|---|
| Touch-dry | 1-3 hours | Do not test aggressively |
| Light foot traffic | 4-6 hours | Use clean socks or protective footwear |
| Normal indoor use | 24 hours | Avoid spills and damp cleaning |
| Oil or chemical exposure | 48-72 hours | Follow product technical sheet |
| Outdoor rain exposure | 24-72 hours | Extend protection in cool weather |
| Heavy furniture or equipment | 48-72 hours | Use non-staining lifting protection |
Temperature, humidity, ventilation, stone density, and product chemistry alter these figures. A cool, humid bathroom can cure more slowly than a dry, ventilated kitchen, even when both surfaces feel dry at the same time.
How Should You Match Sealer to the Material?
Material porosity and the expected contaminant should determine the sealer choice. A water-repellent masonry product may protect a brick wall effectively but provide inadequate oil resistance for a kitchen worktop.
| Material or location | Preferred product type | Typical coats | Main caution |
|---|---|---|---|
| Granite countertop | Fluoropolymer impregnator | 1-2 | Test polished areas for residue |
| Marble or limestone | Stone-safe natural-look impregnator | 1-2 | It cannot stop acid etching |
| Cement grout | Grout-compatible penetrating sealer | 1-2 | Keep joints dry before sealing |
| Sandstone patio | Breathable silane or siloxane | 1-2 | Avoid sealing in direct hot sun |
| Concrete floor | Concrete penetrating sealer | 1-2 | Address moisture before sealing |
| Slate or terracotta | Natural-look or color enhancer | 1-2 | Enhancer changes the appearance |
| Glazed porcelain tile | Usually no tile-face sealer | 0 | Seal only absorbent grout if needed |
| Dense polished stone | Low-residue, deep-penetrating formula | 1 | Excess product dries visibly |
Quartz, glass, glazed tile, and other nonabsorbent surfaces are poor candidates for ordinary impregnators. If a water drop remains unchanged for 20 minutes, the surface may not need sealing, although grout joints and exposed cut edges can behave differently.
Impregnator Versus Topical Sealer: Which Is Better?
An impregnator is generally better for natural appearance, vapor movement, and areas where peeling or altered slip resistance would be unacceptable. A topical sealer is better when the required result includes a visible film, added gloss, or a barrier against some surface-level chemical attack, provided the substrate and moisture conditions allow it.
| Decision factor | Impregnator sealer | Topical sealer |
|---|---|---|
| Protection location | Internal pores | Surface film |
| Appearance | Natural or color-enhanced | Satin, gloss, or semi-gloss |
| Vapor movement | Usually higher | Usually lower |
| Slip change | Usually minimal | Can increase slipperiness when wet |
| Wear pattern | Reapplication follows absorption loss | Scratches, scuffs, or flakes |
| Acid etching | Does not prevent etching | Some films reduce direct contact |
| Removal | Often difficult after deep absorption | Usually requires stripping |
| Exterior suitability | Common for breathable masonry | Limited where moisture can rise |
A topical coating is not automatically inferior. It is simply a different system with different failure modes. Never apply it over an impregnator without confirming compatibility, because poor adhesion can produce peeling or patchy gloss.
Common Problems and How Do You Fix Them?
Sticky or White Haze
Sticky haze usually means excess impregnator dried on the surface. If the residue is recent, apply a small amount of the same product to reactivate it, agitate gently with a white nylon pad, and immediately remove all liquid with clean towels.
Do not flood the area or use an unrelated solvent without checking the technical data sheet. Fully cured residue may require a compatible sealer remover, stripping process, or professional honing and polishing, particularly on polished marble.
Water Still Absorbs Quickly
Rapid absorption after curing can result from insufficient coverage, an overly wet substrate, expired product, incompatible chemistry, or a material more porous than expected. Clean and dry the surface, perform a new test, then apply another coat only if the product permits it.
Beading is not the sole success criterion. Some honed stone absorbs water slowly without producing dramatic beads, while a contaminated surface can bead temporarily yet remain poorly protected underneath.
Uneven Darkening
Uneven darkening usually comes from inconsistent cleaning, variable porosity, wet and dry zones, or an enhancer applied without a test patch. Stop before recoating, allow the surface to cure, and evaluate whether the appearance is acceptable under both daylight and artificial light.
Natural stone can vary within one slab. Sealer cannot make a naturally inconsistent substrate uniform.
Strong Odor or Irritation
Strong odor indicates solvent exposure, inadequate ventilation, or a product unsuitable for the occupied space. Stop work, leave the area, ventilate it safely, and consult the safety data sheet before returning.
Never mix impregnator sealer with bleach, ammonia, acidic cleaner, stripper, or another coating. Chemical mixtures can produce harmful vapors or unpredictable residues.
Moisture Appears After Application
Cloudiness, dark patches, or blistering after sealing can indicate moisture rising from the substrate rather than a defective sealer. Find the source first, such as plumbing leakage, slab moisture, poor patio drainage, or unsealed construction materials, before attempting another coat.
A penetrating sealer cannot repair hydrostatic pressure. Reapplication over damp material usually conceals the symptom temporarily and shortens service life.
What Can Replace an Impregnator Sealer?
For nonabsorbent surfaces, no sealer may be the correct alternative. For visible color and gloss, a compatible topical coating may be appropriate; for concrete, densifiers or specialty water repellents may meet a narrower performance requirement.
| Alternative | Best use | Typical appearance | Main limitation |
|---|---|---|---|
| No sealer | Glazed tile, quartz, glass | Existing finish | Spills may affect absorbent grout |
| Topical coating | Gloss or film protection | Satin to high gloss | Can trap moisture and wear visibly |
| Concrete densifier | Hardening concrete surface | Usually unchanged | Not a general oil-stain barrier |
| Wax or polish | Temporary maintenance appearance | Satin or gloss | Requires frequent renewal |
| Physical mats and trays | Countertops and entryways | No substrate change | Protects only covered zones |
A maintenance program can outperform an unsuitable sealer. Prompt spill removal, neutral cleaning, exhaust ventilation in bathrooms, and entry mats reduce staining pressure without changing the material.
How Much Time, Product, and Money Should You Plan?
A typical small countertop or bathroom project uses less than one litre and costs approximately £15-£85 for product, while a porous patio may consume several litres because coverage falls as absorbency rises. Application commonly takes 1-3 hours, excluding the 24-hour preparation-drying period and final curing period.
Calculate product from the label’s coverage range, then buy a margin for porosity and a second coat. For example, 20 m² of dense polished granite at 20-25 m² per litre may need about one litre, while 20 m² of porous sandstone at 5-10 m² per litre may need two to four litres.
Service life is typically 1-3 years in heavily used kitchens, shower floors, and food-preparation areas, and approximately 5-10 years on low-use vertical stone or sheltered exterior masonry. Traffic, cleaning chemistry, UV exposure, freeze-thaw cycles, and the original application determine actual renewal timing.
FAQ
Can I Apply Impregnator Sealer to Wet Stone?
No. Stone and grout should be fully dry before application because water occupying the pores limits carrier penetration and can cause cloudy or uneven results. Allow at least 24 hours after ordinary indoor cleaning, then confirm dryness with uniform color or a plastic-sheet moisture check.
Should I Seal Grout Before or After Grouting?
Seal cured grout after it has dried according to the grout manufacturer’s instructions, often at least 48-72 hours for cement grout. Some installers preseal porous tile before grouting to simplify cleanup, but the product must be approved for that use and excess sealer must not remain inside the joints.
Can Impregnator Sealer Prevent Lemon Etching on Marble?
No. Lemon juice, vinegar, and acidic cleaners can chemically etch calcite-based marble, limestone, and travertine even when the pores are sealed. An impregnator reduces liquid absorption and staining; it does not prevent the acid reaction that dulls or roughens the surface.
Does Every Granite Countertop Need Sealing?
No. Some dense, polished granite absorbs very little and may not benefit from an impregnator, while more absorbent granite can benefit from stain resistance. Test several areas with water and oil, and follow the fabricator’s care instructions before choosing a product.
Can I Use a Sprayer to Apply Penetrating Sealer?
Use a sprayer only when the label permits it and the equipment is compatible with the chemistry. Low-pressure application can cover textured masonry efficiently, but overspray can damage painted surfaces, appliances, plants, glass, and unfinished wood. Masking and immediate cleanup remain necessary.
How Often Should I Reseal Stone?
Reseal when testing shows renewed absorption or when the manufacturer specifies a maintenance interval, rather than relying on a fixed calendar date. High-use countertops and shower floors may need review every 1-3 years, while low-use vertical stone can remain effective for 5-10 years.
The Bottom Line
To apply impregnator sealer successfully, clean the substrate, remove all chemical residue, dry the pores completely, test the formula, keep the sealer wet during its stated dwell period, and wipe the surface completely dry. The exact product must match the material and contaminant risk, and no impregnator can prevent acid etching or solve moisture intrusion. Use the full how to apply impregnator sealer process above, then judge performance after the complete cure period rather than by immediate beading alone.