
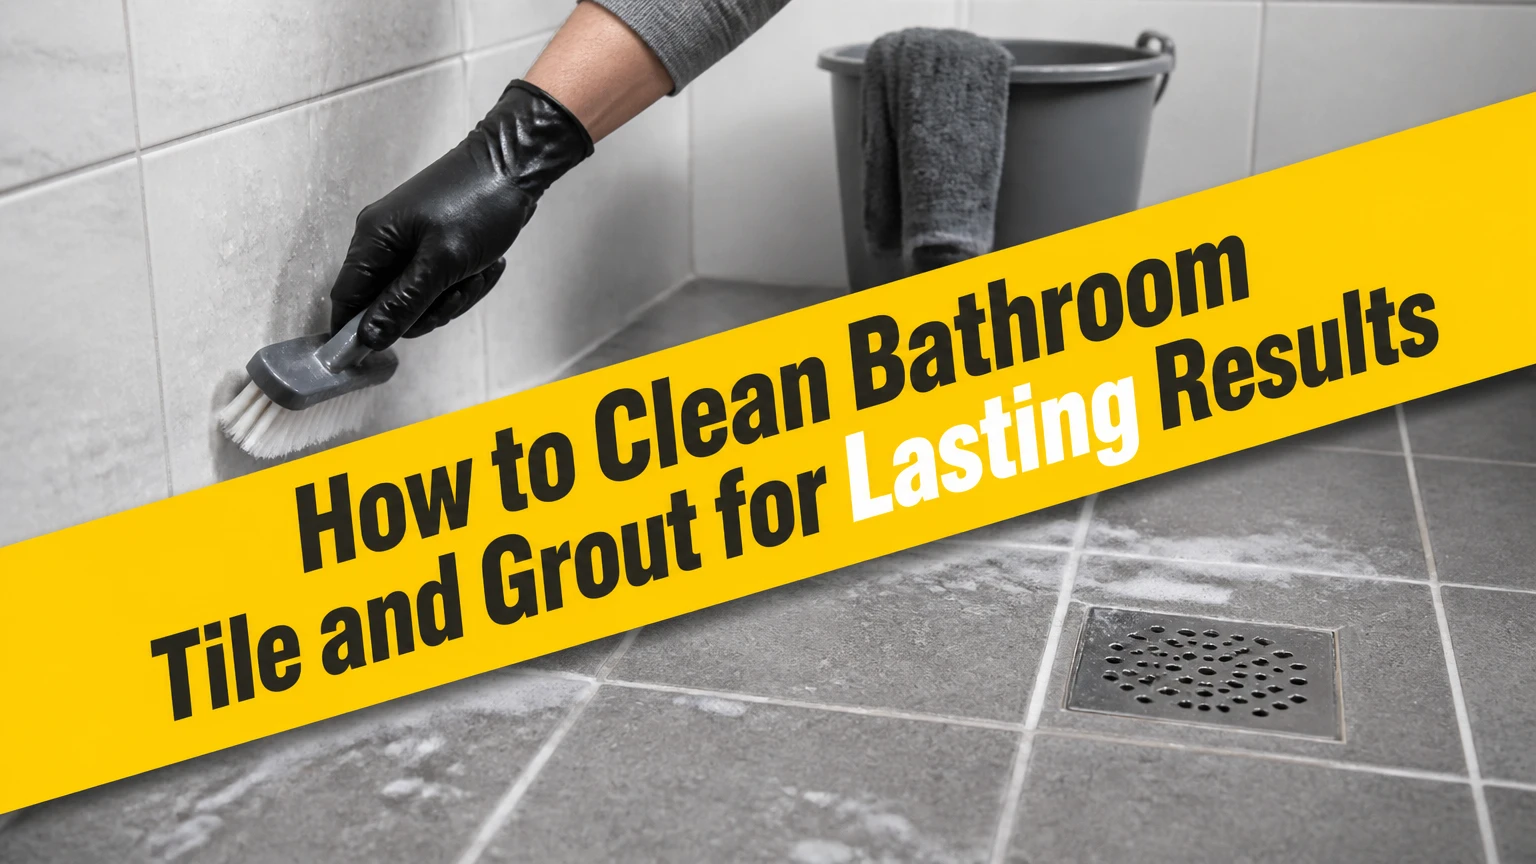
To clean bathroom tile and grout, remove loose soil, apply a surface-compatible cleaner, allow 5-10 minutes of dwell time, agitate with a nylon brush, rinse completely, and dry the surface. Ceramic and porcelain tolerate more cleaning options than marble, limestone, or travertine, while porous grout needs careful moisture control and may require sealing after it dries.
Key Facts
A typical bathroom tile and grout deep clean takes 45-120 minutes, depending on buildup and room size.
Neutral or mildly alkaline cleaners are the safest default for unknown tile.
Vinegar, lemon juice, and acidic limescale removers can etch marble, limestone, travertine, and other calcareous stone.
A nylon grout brush cleans cement grout effectively without the surface damage associated with wire brushes.
Cleaner dwell time loosens soil, but a solution should not dry on the tile or grout.
Recurring mold requires moisture reduction, not repeated bleach applications alone.
Why Tile and Grout Need Different Treatment
Bathroom tile is usually glazed ceramic, porcelain, glass, or natural stone. Grout is a joint-filling material, commonly cement-based, that has a rougher surface and greater absorbency than glazed tile.
Soap scum contains body oils, surfactants, mineral salts, and product residue. Alkaline cleaners dissolve or suspend oily soil, whereas acidic cleaners target calcium carbonate deposits from hard water. Mechanical agitation then lifts the loosened material from grout texture and tile edges.
The cleaning method must match the surface. Glazed porcelain may tolerate a stronger alkaline bathroom cleaner, but polished marble can lose its shine after one acidic application. Cement grout can also weaken when repeatedly scrubbed with aggressive acids.
Identify the surface before applying cleaner
Use the following identification rules before deep cleaning:
| Surface | Typical appearance | Safest starting cleaner | Main risk |
|---|---|---|---|
| Glazed ceramic | Colored face, glossy or matte finish | pH-neutral or mild alkaline cleaner | Scratches from abrasive pads |
| Porcelain | Dense, low-absorption tile | pH-neutral or alkaline cleaner | Film from poor rinsing |
| Glass tile | Translucent or reflective face | Neutral glass-safe tile cleaner | Scratches and cloudy residue |
| Marble or limestone | Veining, soft stone, often polished | pH-neutral stone cleaner | Permanent acid etching |
| Travertine | Pits, pores, natural beige tones | Neutral stone cleaner | Dulling and darkened pores |
| Unglazed cement tile | Patterned, matte, absorbent face | Manufacturer-approved neutral cleaner | Color loss and water absorption |
If the tile type is unknown, test the cleaner in a hidden corner for 10 minutes, rinse, and inspect after drying. A cleaner that causes dullness, whitening, pigment transfer, or a sticky film is incompatible.
How to Clean Bathroom Tile and Grout Safely
A reliable bathroom tile and grout cleaning process uses eight stages: dry removal, ventilation, pre-wetting, cleaner application, dwell time, agitation, rinsing, and drying. A typical shower takes 45-90 minutes, while a neglected bathroom may require two or three cleaning cycles rather than one highly concentrated chemical treatment.
Before You Start
| Requirement | Typical specification |
|---|---|
| Working time | 45-120 minutes |
| Product cost | $8-$35 for DIY supplies |
| Difficulty | Moderate, with kneeling and repetitive brushing |
| Cleaner quantity | 500-750 milliliters for a shower enclosure |
| Brush | 1 nylon grout brush, 15-25 millimeters wide |
| Cloths | 3-5 clean microfiber cloths |
| Ventilation | Exhaust fan plus open window where available |
| Protection | Nitrile gloves, eye protection, non-slip footwear |
Do not combine products. In particular, never mix chlorine bleach with ammonia, acids, vinegar, alcohol-based products, or other bathroom cleaners. Bleach and acids can release chlorine gas, while bleach and ammonia can produce toxic chloramine gases.
Step 1: Remove Dry Soil and Clear the Room
Take out bottles, bathmats, towels, and removable shelves. Sweep or vacuum the floor, then wipe dry dust and hair from wall tile with a microfiber cloth.
Dry removal prevents hair and grit from turning into a muddy film during wet cleaning. It also reduces the amount of contaminated water entering floor grout.
You will know it worked when: no loose hair, sand, or visible dust remains along corners and grout lines.
Common mistake: starting with spray while bottles and mats remain in place, which leaves uncleaned edges and spreads dirty water around the room.
Step 2: Ventilate and Protect Adjacent Materials
Turn on the exhaust fan before opening a chemical cleaner. Open a window if practical, protect painted wood and metal fixtures from overspray, and keep children and pets outside the room.
Ventilation reduces inhalation exposure but does not make incompatible chemical mixtures safe. Read the product label for required gloves, contact time, dilution, and ventilation instructions.
You will know it worked when: air moves through the room and nearby fixtures remain covered or rinsable.
Common mistake: using a strong cleaner in a closed bathroom, then remaining inside for the full dwell period.
Step 3: Pre-Wet the Tile and Grout
Rinse the surface with warm water or wipe it with a wet microfiber cloth. Pre-wetting removes loose residue and limits rapid absorption into dry cement grout.
Do not run the shower at its hottest setting for 5-10 minutes as a default. Excess steam can increase humidity, soften caulk, and create a slippery floor without reliably “opening” grout pores. Warm pre-wetting is sufficient for most household cleaning.
You will know it worked when: the surface is evenly damp, with no dry grout patches.
Common mistake: flooding the floor before applying cleaner, which dilutes the product and increases slip risk.
Step 4: Apply the Correct Cleaner
Apply 500-750 milliliters of ready-to-use cleaner to a standard shower enclosure, working from the upper wall toward the floor. Choose a neutral cleaner for unknown surfaces, a mild alkaline cleaner for soap scum, or a stone-safe product for natural stone.
Use a separate small bowl or spray bottle only if the manufacturer permits dilution. A typical homemade option for ceramic or porcelain is a paste made from baking soda and 3% hydrogen peroxide, but test it first because grout pigments and sealers vary.
You will know it worked when: the surface stays wet and the cleaner begins to loosen cloudy film or dark soil.
Common mistake: spraying a whole room and allowing the product to dry before brushing. Divide the bathroom into sections of approximately 0.5-1 square meter.
Step 5: Allow 5-10 Minutes of Dwell Time
Leave the cleaner on the surface for 5-10 minutes, following the product label when its instructions differ. Dwell time gives surfactants and alkaline ingredients time to penetrate soap film, while mineral cleaners need contact with scale to dissolve it.
Keep the section visibly wet by adding a small amount of product, not by layering incompatible cleaners. Never exceed the label’s maximum contact time, especially on metal trim, colored grout, natural stone, or painted surfaces.
You will know it worked when: a white nylon pad removes soil with moderate pressure rather than forceful scraping.
Common mistake: treating longer dwell time as stronger cleaning. Dried cleaner often creates a second residue that requires additional rinsing.
Step 6: Agitate Grout and Tile
Scrub grout lines with a stiff nylon brush using short strokes parallel to the joint. Use a non-scratch nylon sponge on glazed tile, and reduce pressure on polished stone or soft cement tile.
A toothbrush is suitable for small corners but inefficient for an entire shower because its narrow head increases labor and encourages uneven pressure. Do not use steel wool, a wire brush, pumice, or a harsh abrasive pad.
You will know it worked when: the foam or rinse water carries visible soil and the grout color becomes more uniform while wet.
Common mistake: scrubbing only the center of the tile. Soil commonly accumulates at tile edges, changes of plane, silicone joints, and the bottom of walls.
Step 7: Rinse Until No Cleaner Remains
Rinse each section with clean warm water, then wipe it with a fresh microfiber cloth. Change rinse water frequently when cleaning floors, because dirty water can redeposit pigment and soil into grout.
A complete rinse matters because alkaline residue can leave a dull film and acidic residue can continue reacting with vulnerable surfaces. Rinse shower walls from top to bottom, then clean the floor last.
You will know it worked when: the tile feels clean rather than slippery or tacky, and a dry cloth picks up no powdery residue.
Common mistake: using one saturated cloth for the entire bathroom. That transfers cleaner and soil instead of removing them.
Step 8: Dry and Inspect in Good Light
Squeegee shower walls, wipe corners and fixtures, and dry the floor with a clean towel or microfiber mop. Leave the exhaust fan running for 20-30 minutes after cleaning.
Inspect the grout after it dries, not while it is wet. Wet grout often appears darker and more uniform than its final color, so decisions about staining, sealing, or replacement should wait at least 24-48 hours.
You will know it worked when: no standing water remains in joints, corners, or around the drain.
Common mistake: sealing damp grout. Trapped moisture can cause whitening, poor sealer adhesion, or recurring dark patches.
Which Cleaner Works for Each Bathroom Problem?
Cleaner selection should follow the soil type and tile material. Mild alkaline products are usually better for body oils and soap scum, while acidic products dissolve mineral scale only on acid-resistant surfaces such as many ceramic and porcelain tiles.
| Problem | Suitable option | Typical contact time | Surfaces to avoid |
|---|---|---|---|
| Light dust and daily residue | pH-neutral tile cleaner | 2-5 minutes | None when label-approved |
| Soap scum and body oil | Mild alkaline bathroom cleaner | 5-10 minutes | Unsealed natural stone unless labeled safe |
| Hard-water scale | Acidic limescale cleaner | 1-5 minutes | Marble, limestone, travertine, cement tile |
| Light mildew staining | 3% hydrogen peroxide or labeled mildew product | 5-10 minutes | Test colored grout and fabrics |
| Deep cement-grout discoloration | Oxygen-based grout cleaner or color-safe product | 10-15 minutes | Unsealed porous stone without testing |
| Unknown residue | Neutral cleaner and nylon agitation | 5 minutes | Test all unknown finishes |
Is vinegar safe for bathroom tile and grout?
Vinegar is generally unsuitable for natural stone and should not be treated as a universal grout cleaner. Diluted white vinegar can remove some mineral deposits from acid-resistant ceramic or porcelain, but repeated acid exposure may erode cement grout, damage sealers, and dull metal fixtures.
For hard-water deposits, use a labeled acidic product only after confirming tile compatibility. Apply it to the deposit rather than flooding the entire shower, keep contact time short, rinse thoroughly, and test a hidden area first.
Does baking soda and hydrogen peroxide clean grout?
Baking soda and 3% hydrogen peroxide can help lift light organic staining from some cement grout, but the mixture is not a guaranteed mold treatment or a safe choice for every grout pigment. Use enough peroxide to make a spreadable paste, apply a thin layer for 5-10 minutes, brush with nylon, and rinse fully.
The mixture is mildly abrasive. Excessive pressure can polish or remove the surface of soft grout, so use it for localized stains rather than routine whole-room scrubbing.
Should you use bleach on moldy grout?
Chlorine bleach can lighten surface mold staining on some nonporous materials, but bleach is not a complete solution for porous grout, recurring moisture, or mold behind caulk and wall materials. The U.S. Environmental Protection Agency states, “The key to mold control is moisture control.”
For a small surface area, follow the product label, ventilate, protect skin and eyes, and rinse thoroughly. Never mix bleach with another cleaner. If mold covers a large area, returns quickly, smells musty behind walls, or involves water damage, use a qualified remediation professional.
Which Cleaning Method Should You Choose?
The best method depends on soil severity, tile chemistry, available equipment, and the condition of the grout. Routine cleaning favors a neutral or mild alkaline product, while steam or professional extraction makes more sense when soil is embedded across a large floor.
| Method | Best use | Typical cost | Typical time | Main limitation |
|---|---|---|---|---|
| Neutral DIY cleaner | Weekly maintenance | $8-$18 | 20-45 minutes | Slow on scale |
| Alkaline commercial cleaner | Heavy soap scum | $10-$25 | 30-75 minutes | Can leave film if poorly rinsed |
| Acidic limescale cleaner | Ceramic or porcelain scale | $10-$25 | 20-60 minutes | Unsafe for calcareous stone |
| Steam cleaner | Heat-sensitive cleaning preference | $80-$250 equipment | 45-120 minutes | Does not remove all mineral scale |
| Professional tile cleaning | Large, neglected, or damaged areas | $150-$600 typical service | 2-5 hours | Higher cost and scheduling |
Steam can loosen soil and reduce chemical use, but claims that every steam cleaner sanitizes every surface should be treated cautiously. Temperature, nozzle distance, dwell time, and actual contact determine performance, and steam can drive moisture into damaged grout or caulk.
Professional cleaning is appropriate when grout is deeply soiled, tile has a large area, extraction equipment is needed, or the surface requires color sealing. It is not a substitute for repairing leaks, failed waterproofing, cracked grout, or deteriorated caulk.
What Should You Do When Cleaning Does Not Work?
Persistent discoloration usually indicates a material problem rather than insufficient scrubbing. Diagnose the appearance after the grout has dried completely, because moisture can mimic staining and make damaged joints look darker.
| Symptom after drying | Likely cause | Next action |
|---|---|---|
| Grout remains evenly gray or brown | Permanent pigment or embedded staining | Use grout colorant or consider replacement |
| White powder on grout | Efflorescence or moisture migration | Remove deposits gently and investigate moisture |
| White haze on tile | Cleaner residue or grout film | Re-rinse with neutral cleaner and microfiber |
| Black spots in silicone | Mold inside caulk | Remove and replace affected caulk |
| Grout turns dark after showers | Absorption, failed sealer, or leak | Dry fully and inspect moisture source |
| Crumbling or missing grout | Joint deterioration | Rake out and regrout, or hire a tile professional |
How do you remove white haze?
White haze may be dried cleaner residue, grout film, or efflorescence, which is mineral salt carried toward the surface by moisture. Start with a dry microfiber cloth, then use a neutral cleaner on natural stone or a compatible haze remover on ceramic and porcelain.
Do not begin with vinegar on marble, limestone, or travertine. If haze returns after cleaning, the continuing moisture movement matters more than the visible deposit.
When should grout be recolored or replaced?
Use grout colorant when joints are sound but permanently stained and the discoloration is cosmetic. Replace grout when it is cracked, hollow, powdery, missing, or repeatedly exposed to water from a failed joint or substrate.
A grout paint pen is suitable for small touch-ups, while a full colorant system gives more consistent coverage. Clean, rinse, and dry the joints for 24-48 hours before application, then follow the colorant manufacturer’s cure time.
Why does mold return within a week?
Mold returns when bathroom surfaces remain damp, ventilation is inadequate, caulk has failed, or water reaches porous material behind the tile. Repeatedly applying bleach may change the visible color without correcting the moisture source.
After cleaning, dry the bathroom, run the exhaust fan during showers and for 20-30 minutes afterward, repair leaks, and replace moldy silicone caulk. A recurring or extensive mold problem warrants professional assessment, especially after flooding.
How Can You Keep Tile and Grout Cleaner?
Prevention reduces both cleaning time and chemical exposure. Squeegee shower walls after the final daily shower, leave the enclosure open to dry, and remove bottles that trap water against grout.
Use this maintenance schedule:
| Task | Frequency | Typical time |
|---|---|---|
| Squeegee shower walls | After each shower | 1-2 minutes |
| Wipe fixtures and corners | 2-3 times weekly | 5 minutes |
| Neutral-clean shower tile | Weekly | 15-30 minutes |
| Brush vulnerable grout lines | Every 2-4 weeks | 10-20 minutes |
| Inspect caulk and grout | Monthly | 5 minutes |
| Reseal compatible cement grout | Typically every 1-3 years | 1-3 hours |
Sealer reduces absorption; it does not make grout stain-proof or eliminate the need to dry the bathroom. Test water absorption on a clean, dry joint only if the sealer manufacturer recommends that test, because existing coatings can distort results.
Common Mistakes and How to Fix Them
- Using acid on natural stone: Stop immediately, rinse with clean water, and allow the stone to dry. Mild etching may require professional polishing.
- Using a wire brush: Replace it with nylon. If glaze is scratched or grout has been gouged, cleaning cannot reverse the physical damage.
- Leaving cleaner residue: Rewash with a compatible neutral cleaner, use several clean rinse cloths, and dry completely.
- Overwetting cement grout: Stop adding water, increase ventilation, and investigate dark areas after 24-48 hours.
- Scrubbing mold without protection: Wear gloves and eye protection, ventilate, and avoid dry brushing that can distribute particles.
- Sealing dirty grout: Remove the sealer if possible according to the product instructions, clean again, and reseal only after full drying.
Adapt the Method to Three Common Situations
For a renter with unknown tile
Use a pH-neutral cleaner, nylon brush, and microfiber cloth. Avoid vinegar, bleach, abrasive powders, and steam until the tile and grout type are known, and photograph any pre-existing damage before cleaning.
For a hard-water shower
Use a labeled acidic scale remover only on confirmed ceramic or porcelain. Work in small sections, keep contact time within the label range, protect metal trim, rinse immediately, and use a neutral cleaner afterward to remove remaining film.
For a neglected shower with mold
Start with ventilation and moisture control, then clean a small area using a labeled product. Do not seal visibly stained or damp grout, and do not rely on bleach when mold is inside silicone, behind wall materials, or spread across a large affected area.
Frequently Asked Questions
Can I clean grout without scrubbing?
Light soil can often be removed with a neutral cleaner, dwell time, and microfiber wiping, but textured cement grout usually needs mechanical agitation. A nylon brush provides the necessary friction with less risk than wire or abrasive tools. Steam may reduce scrubbing for some soil but cannot replace rinsing or repair.
How often should bathroom tile and grout be deep-cleaned?
Most bathrooms benefit from a light weekly clean and a deeper grout-focused clean every 2-4 weeks. Frequency increases with daily shower use, poor ventilation, hard water, children, or grout that remains damp. A squeegee and post-shower ventilation can extend the interval between deeper cleaning sessions.
Can I use a magic eraser on bathroom tile?
A melamine sponge can remove marks from some glazed tile, but its abrasive action may dull polished surfaces, remove grout color, or damage sealers. Use it only on a hidden test area with light pressure, never on polished natural stone, and rinse away the resulting fine residue.
How long should grout dry before sealing?
Allow cleaned cement grout to dry for at least 24-48 hours before sealing, unless the sealer manufacturer specifies a longer period. High humidity, saturated grout, poor ventilation, and moisture behind tile extend the drying time. Sealing damp joints can trap moisture and produce uneven whitening.
Can a pressure washer clean bathroom grout?
A pressure washer is generally inappropriate for an indoor bathroom. High-pressure water can force moisture behind tile, damage caulk, erode grout, and create contaminated spray. Use controlled hand cleaning or a professional low-pressure extraction system designed for indoor tile surfaces.
The Bottom Line
The safest way to clean bathroom tile and grout is to identify the surface, remove dry soil, use a compatible cleaner, allow 5-10 minutes of dwell time, scrub with nylon, rinse thoroughly, and dry every joint. Neutral cleaners suit unknown surfaces, alkaline cleaners handle soap scum, and acidic products belong only on confirmed acid-resistant tile. Consistent drying prevents more recurring mold than increasingly aggressive chemicals.