
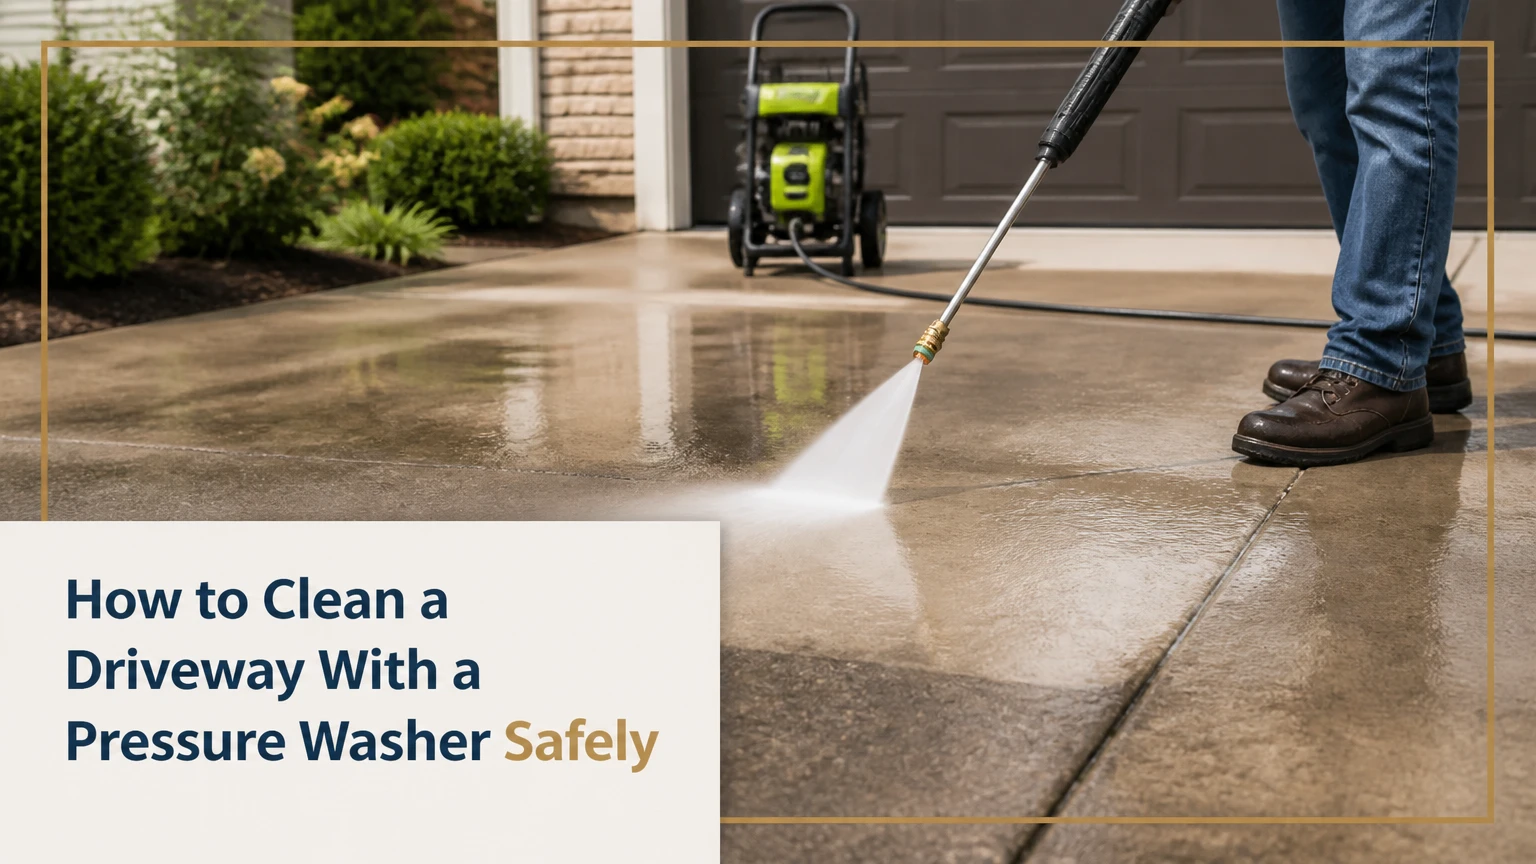
To clean a driveway with a pressure washer, remove loose debris, pretreat stains, apply detergent at low pressure, then rinse in controlled overlapping passes. Use about 2,000-3,000 PSI for sound cured concrete, 1,500-2,000 PSI for asphalt, brick, and pavers, and test an inconspicuous area before cleaning the full surface.
Key Facts at a Glance
A typical two-car concrete driveway takes 1-3 hours to wash, including setup and drying time.
Pressure alone does not determine cleaning power; gallons per minute, nozzle angle, temperature, and detergent also affect results.
A 15- to 20-inch surface cleaner usually produces a more uniform finish than a hand wand.
Never use a 0-degree red nozzle for broad driveway cleaning because its concentrated jet can etch concrete and dislodge aggregate.
Do not pressure wash concrete that has not reached its specified cure strength; many residential slabs need about 28 days, while some finishes require longer.
Collect or redirect oily and chemical-laden runoff according to local stormwater rules rather than sending it into a street drain.
What Do You Need Before Cleaning a Driveway?
A driveway pressure-washing project typically needs a pressure washer, garden hose, high-pressure hose, surface cleaner or fan nozzle, detergent, a stiff nylon brush, absorbent material, and protective equipment. Typical homeowner costs range from $25-$60 for supplies when a machine is already available, or $75-$200 for a one-day rental.
Before You Start
| Requirement | Typical specification | Why it matters |
|---|---|---|
| Cleaning time | 1-3 hours for 600-1,000 square feet | Allows setup, pretreatment, washing, and cleanup |
| Machine output | 1,500-3,000 PSI and 1.2-3.5 GPM | Matches common residential driveway surfaces |
| Surface cleaner | 15-20 inches wide | Reduces wand marks and improves productivity |
| Detergent | 0.5-2 gallons, surface-compatible | Loosens organic soil and traffic film |
| PPE | Eye protection, gloves, boots, long trousers | Protects against ricochets and chemical splash |
| Water supply | About 1.5-4 GPM available | Prevents pump starvation and pressure loss |
Remove vehicles, toys, furniture, hoses, and loose planters. Close windows and doors, switch off nearby outdoor electrical circuits when practical, and cover delicate plants with breathable plastic for the short cleaning period. Do not seal plants under plastic in direct sun.
Inspect the driveway first. Mark cracks, raised edges, loose pavers, exposed aggregate, flaking coatings, and weak joints. Photograph existing damage. A pressure washer can remove dirt without repairing a cracked slab, failed asphalt binder, or deteriorated mortar.
Which Pressure Washer and Nozzle Should You Use?
The best pressure washer depends more on water flow and surface condition than on the highest advertised PSI. Electric units suit small, lightly soiled areas; gas units clean large concrete surfaces faster; hot-water machines perform better on grease but cost more and require stricter operating controls.
| Machine type | Typical PSI | Typical GPM | Practical use | Typical rental or ownership cost |
|---|---|---|---|---|
| Compact electric | 1,500-2,000 | 1.2-1.6 | Small patios and light dirt | $100-$250 purchase |
| Strong electric | 2,000-2,300 | 1.5-2.0 | One-car concrete driveways | $150-$400 purchase |
| Residential gas | 2,500-3,200 | 2.3-3.5 | Two-car concrete driveways | $75-$150 per day |
| Commercial gas | 3,000-4,000 | 3.5-5.0 | Large areas and frequent use | $125-$250 per day |
| Hot-water commercial | 3,000-4,000 | 3.5-5.5 | Grease, gum, and commercial soil | $200-$400 per day |
PSI describes impact pressure, while GPM describes how much water carries loosened soil away. A useful comparison is cleaning units: PSI × GPM. A 2,000 PSI machine at 2 GPM produces 4,000 cleaning units, while a 3,000 PSI machine at 1.5 GPM produces 4,500, although nozzle design and operator technique still change the actual result.
Nozzle Selection by Surface
| Nozzle or attachment | Spray pattern | Recommended use | Main risk |
|---|---|---|---|
| Black soap nozzle | 65 degrees | Detergent application | Insufficient impact for rinsing |
| White fan nozzle | 40 degrees | Asphalt, brick, pavers, gentle rinsing | Slow cleaning on heavy concrete soil |
| Green fan nozzle | 25 degrees | Sound cured concrete, spot work | Etching if held too close |
| Yellow fan nozzle | 15 degrees | Limited spot treatment by experienced users | High risk of lines and surface damage |
| Red pinpoint nozzle | 0 degrees | Avoid on driveway faces | Gouges, aggregate damage, severe striping |
| Rotary surface cleaner | Usually dual rotating jets | Flat concrete and broad paved areas | Circular marks if moved too slowly |
The nozzle color system is common but not universal, so verify the angle printed on each tip. Start with the widest usable fan and the lowest effective pressure. Increase force only after a test patch shows no color change, pitting, exposed aggregate, or joint erosion.
How Do You Clean a Driveway With a Pressure Washer?
The complete process has eight steps and usually takes 60-180 minutes for a residential driveway. Surface material determines the safe pressure, while pretreatment determines how much mechanical force the driveway needs.
Step 1: Inspect, Sweep, and Protect the Area
Sweep sand, leaves, stones, and loose mulch from the driveway. Use a stiff broom rather than the pressure washer to remove debris because loose grit can become a high-speed projectile.
Protect garage thresholds, painted walls, door seals, outdoor outlets, vehicles, and delicate landscaping. Keep children and pets away from the work area. Pressure-washer spray can break skin, inject contaminated water into tissue, and propel small stones.
You will know it worked when: the surface has no loose stones, the work zone is clear, and runoff has a planned direction.
Common mistake: starting at the dirtiest section before finding where water and slurry will flow.
Step 2: Test the Surface and Choose the Setting
Choose a hidden section near an edge. Hold the wand 12-18 inches away, use a 40-degree nozzle, and make one slow pass. Check the area after it dries because wet concrete can conceal pale etching and color differences.
For sound, fully cured concrete, begin around 2,000 PSI and move toward 2,500-3,000 PSI only when needed. Use lower settings on asphalt, soft brick, decorative pavers, and surfaces with loose joint sand.
You will know it worked when: dirt lifts without surface color change, pitting, exposed aggregate, or joint material movement.
Common mistake: selecting the machine’s maximum pressure because the driveway appears heavily stained.
Step 3: Treat Oil, Algae, and Embedded Dirt
Absorb fresh oil with clay absorbent, oil-dry, or cat litter before adding water. Leave the absorbent for at least 30 minutes, sweep it up, and repeat for a fresh spill. Pressure washing alone can spread petroleum across a larger area.
Apply a concrete-safe alkaline degreaser to oil and tire marks according to the product label. Scrub with a stiff nylon brush, then allow the product to dwell for about 5-10 minutes without drying. For algae and organic staining, use a labeled exterior cleaner. Sodium hypochlorite products can damage plants, metals, clothing, and colored surfaces, so follow the label concentration and rinse adjacent materials.
You will know it worked when: oily areas look dull rather than glossy and green growth releases under light brushing.
Common mistake: mixing bleach with acids, ammonia, vinegar, or other cleaners. Toxic gases can form.
Step 4: Connect and Prime the Pressure Washer
Connect the garden hose to the water inlet and the high-pressure hose to the pump outlet. Turn on the water fully. Squeeze the spray-gun trigger until the stream runs smoothly, which purges trapped air before the pump operates under load.
Inspect the inlet screen and garden hose for kinks. A typical household spigot may deliver 4-8 GPM, but restricted plumbing, a long narrow hose, or a partially open valve can reduce usable flow below the machine’s requirement.
You will know it worked when: water exits without spurting, the pump sounds steady, and the trigger stream does not pulse.
Common mistake: starting a gas pressure washer dry or with the trigger closed, which can overheat pump components.
Step 5: Apply Detergent at Low Pressure
Install the black soap nozzle or use the machine’s detergent injector. Apply a compatible driveway detergent in manageable sections, usually 100-200 square feet at a time. Work from the lower edge upward when using a foaming detergent so uncontrolled streaks are less visible, then rinse from the highest point downward.
Allow 5-10 minutes of dwell time unless the label specifies another interval. Keep the surface wet. Detergent that dries can leave residue and may require a second rinse.
Downstream injectors often dilute chemicals heavily, commonly around 10:1 to 20:1, so they may be inadequate for severe oil or biological growth. A pump sprayer can provide more controlled application, but never transfer incompatible chemicals into pressure-washer tanks or hoses.
You will know it worked when: the detergent remains wet and soil visibly loosens before high-pressure rinsing.
Common mistake: applying soap to the entire driveway in hot sun, allowing the far end to dry before rinsing.
Step 6: Rinse With a Surface Cleaner or Fan Nozzle
Use a surface cleaner on flat, sound concrete whenever possible. Match a 15-inch cleaner to machines around 2.5-3 GPM and a 20-inch cleaner to machines around 3-4 GPM, following the attachment manufacturer’s minimum flow requirement.
Move the surface cleaner slowly enough for its jets to remove soil, but never leave it stationary while the trigger is engaged. Overlap each pass by roughly 1-2 inches. With a wand, keep the nozzle 10-18 inches from the surface, hold it parallel to the driveway, and use steady overlapping strokes.
You will know it worked when: cleaned lanes have uniform color and no dark arcs, zebra stripes, or circular halos.
Common mistake: waving the wand in fast semicircles. The changing distance concentrates impact at the bottom of each arc and creates tiger striping.
Step 7: Detail Edges and Spot-Treat Remaining Stains
After the main cleaning pass, inspect garage edges, expansion joints, fence lines, and tire tracks. Use a 40-degree nozzle for edges and a nylon brush for stubborn residue. A 25-degree nozzle can treat isolated spots on cured concrete, but keep it moving and maintain distance.
Do not chase every discoloration with increasing pressure. Rust, tannin, efflorescence, oil penetration, and permanent concrete discoloration require different chemistry. Excessive pressure can remove the cement paste while leaving the stain chemically unchanged.
You will know it worked when: remaining marks have a known cause and the chosen treatment matches that cause.
Common mistake: treating rust with alkaline degreaser. A labeled oxalic-acid or commercial rust remover is usually the relevant chemical category, subject to surface compatibility and local rules.
Step 8: Rinse, Manage Runoff, and Flush the Equipment
Rinse from the highest point toward the planned collection or discharge area. Use a wide fan nozzle or garden hose for the final flush. Do not push oily slurry into a storm drain unless local authorities expressly permit it.
Use absorbent socks, a wet vacuum, temporary berms, or a drain cover when runoff contains oil or concentrated cleaner. Local requirements vary, and municipal stormwater systems often prohibit pollutants even when ordinary rainwater enters the same drain.
Turn off the detergent supply and flush the chemical line with clean water. Shut down according to the owner’s manual, relieve pressure by squeezing the trigger, disconnect hoses, drain standing water, and store nozzles clean.
You will know it worked when: the rinse water runs clear enough for the site conditions and no chemical residue remains on walls, plants, or equipment.
Common mistake: leaving detergent inside the injector, which can clog valves and degrade seals.
What Pressure and Technique Suit Each Driveway Material?
Concrete tolerates more pressure than asphalt, brick, or loose pavers, but age, finish, aggregate exposure, and existing damage matter more than a single PSI number. The settings below are starting ranges, not guarantees; every material requires a test patch.
| Driveway material | Starting pressure | Nozzle or tool | Distance and technique | Avoid |
|---|---|---|---|---|
| Sound cured concrete | 2,000-2,500 PSI | 25-degree tip or surface cleaner | 10-18 inches, slow overlapping passes | 0-degree tip and stationary spray |
| Decorative or exposed aggregate | 1,500-2,000 PSI | 40-degree tip | 18 inches, test frequently | Aggressive rotary cleaning |
| Asphalt | 1,000-1,500 PSI | 40-degree tip | 18-24 inches, keep moving | Softening with hot water or cutting binder |
| Brick | 1,000-1,500 PSI | 40-degree tip | 18-24 inches, spray face-on | Mortar joints and close-range spray |
| Concrete pavers | 1,500-2,000 PSI | 40-degree tip or cleaner | 12-18 inches, inspect joints | Removing joint sand |
| New concrete | No pressure washing until cured | Follow contractor guidance | Use gentle rinsing only if approved | Washing away surface cream |
Fresh concrete is not automatically safe after one month. The American Concrete Institute commonly uses 28 days as a reference age for specified compressive strength, but cold weather, mix design, sealers, overlays, and decorative finishes can change the required wait. Follow the installer’s written cure and cleaning instructions.
Asphalt needs restraint because heat and concentrated pressure can loosen aggregate or disturb the binder. Brick faces can flake, and pavers can lose the sand that stabilizes their joints. After cleaning and full drying, replace compatible jointing sand if needed, then apply sealer only when the surface and product instructions allow it.
Which Driveway Cleaning Method Is Best?
Pressure washing is best for broad, hard surfaces with bonded dirt, but soft washing, scrubbing, hot water, and professional cleaning can be safer or more effective for particular contamination. The right alternative depends on stain chemistry, surface fragility, water access, and runoff controls.
| Method | Typical equipment cost | Typical time for 800 sq. ft. | Best result | Limitation |
|---|---|---|---|---|
| Electric pressure washer | $150-$400 purchase | 2-4 hours | Light concrete soil | Low GPM makes heavy work slow |
| Gas pressure washer | $75-$150 rental/day | 1-2.5 hours | Large cured-concrete areas | Noise, fuel, maintenance |
| Garden hose and stiff broom | $20-$60 supplies | 3-6 hours | Loose dirt and routine upkeep | Weak on oil and embedded algae |
| Soft-wash application | $30-$100 chemicals and sprayer | 1.5-3 hours | Organic growth on delicate surfaces | Requires chemical and runoff control |
| Hot-water washer | $200-$400 rental/day | 45-120 minutes | Grease and chewing gum | Higher cost and burn risk |
| Professional service | $150-$400 typical residential range | 1-3 hours on site | Difficult stains and large areas | Service availability and price variation |
Hot water improves grease removal because heat lowers oil viscosity and helps detergents work. It does not make high pressure safe for weak asphalt or aged brick. Soft washing uses lower mechanical force and more chemical action, which can suit algae-covered surfaces but demands careful plant protection and neutralization.
How Much Does Driveway Pressure Washing Cost and Take?
A typical DIY driveway cleaning costs $25-$60 when the pressure washer is already owned, $75-$200 with a rental, and about $150-$400 for a professional residential visit. A 600-1,000-square-foot driveway usually takes 1-3 hours, while heavy oil, steep slopes, multiple cars, and restricted water access extend the job.
| Project condition | Typical time | Typical DIY consumables | Typical service price |
|---|---|---|---|
| Light dirt, 600 sq. ft. | 60-90 minutes | $10-$25 | $100-$200 |
| Moderate concrete soil, 800 sq. ft. | 1.5-2.5 hours | $20-$45 | $150-$300 |
| Algae and oil, 1,000 sq. ft. | 2-4 hours | $35-$75 | $250-$500 |
| Large or heavily stained area | 3-6 hours | $50-$120 | $400-$800+ |
Prices vary by region, access, drainage requirements, stain treatment, and whether sealing is included. Sealing is a separate operation that requires a clean, fully dry surface, and its price should not be confused with washing alone.
What Problems Occur During Pressure Washing?
Most pressure-washer failures come from blocked nozzles, inadequate water supply, incorrect detergent delivery, or excessive operator speed. Stop the machine before inspecting a tip, hose, inlet screen, unloader, or pump.
| Symptom | Likely cause | Safe first action | Escalate when |
|---|---|---|---|
| Pulsing spray | Blocked nozzle or inlet screen | Shut down, depressurize, clean both | Pulsing continues with clean water |
| Low pressure | Kinked hose, worn tip, low GPM | Open tap fully and inspect supply | Pump leaks or pressure remains low |
| No detergent | Wrong nozzle or clogged injector | Use soap tip and flush injector | Chemical valve will not draw |
| Dark stripes | Wand angle or uneven overlap | Reclean with surface cleaner | Surface has visible etching |
| White haze | Residue or efflorescence | Rinse, then identify deposit | Haze remains after drying |
| Loose joint sand | Excessive pressure or poor joint condition | Stop and reduce force | Pavers shift or joints wash out |
A pressure washer that pulses should not run indefinitely while the operator experiments. Disconnect the nozzle after shutting down, clean its orifice with the manufacturer’s tool, inspect the inlet filter, and verify that the garden hose supplies the required flow.
Never use a paperclip if the nozzle manufacturer warns against enlarging the orifice. A damaged tip changes pressure and spray shape. Replace worn nozzles rather than forcing debris through them.
What Mistakes Damage Driveways?
The most expensive errors are using excessive pressure, cleaning chemically untreated oil, holding the nozzle too close, and ignoring runoff. These mistakes can create permanent etching even when the driveway appears cleaner immediately afterward.
- Using the red 0-degree tip: The pinpoint jet can cut grooves into cement paste and expose aggregate. Use a surface cleaner or 40-degree fan instead.
- Working too close: A 2-inch distance can damage concrete, asphalt, brick, and skin. Start at 18 inches and move closer only during controlled testing.
- Cleaning a damaged surface: Pressure can widen cracks, remove weak mortar, and detach loose coating. Repair or remove unstable material first.
- Letting detergent dry: Dried detergent leaves films and streaks, especially in direct sun. Clean smaller sections and keep them wet.
- Ignoring oil chemistry: Water can spread petroleum. Absorb fresh oil, degrease bonded residue, and collect contaminated runoff.
- Using a surface cleaner that is too large: An attachment requiring 4 GPM will perform poorly on a 1.5 GPM electric unit, leaving slow or uneven passes.
A practitioner rule of thumb is to improve dwell time and detergent before increasing PSI. Soil removal usually becomes safer when chemistry does more of the work.
What Should You Do in Special Situations?
Special surfaces and stains need a modified process rather than a stronger spray. Stop and identify the material when the driveway has a coating, unstable joints, fresh concrete, unknown masonry, or severe discoloration.
For New Concrete
Wait for the installer’s cure period and specified strength. Use a garden hose and soft broom only when the contractor approves early cleaning. Pressure washing can permanently roughen the surface cream.
For Oil Stains
Absorb fresh oil first. Apply an alkaline degreaser, scrub, dwell, and rinse with controlled runoff. Old oil may remain as a shadow because petroleum can migrate below the surface; repeated treatment is safer than extreme pressure.
For Algae and Moss
Remove thick growth mechanically, apply a labeled exterior biocide or oxidizing cleaner, and protect nearby plants. Organic staining often responds better to dwell time than to a narrow high-pressure jet.
For Sealed or Painted Driveways
Test the coating in a hidden area. Pressure may lift paint, acrylic sealer, or decorative chips. A surface-cleaner attachment can still be too aggressive for a failing coating.
For Winter Salt and White Deposits
Rinse soluble salt with clean water first. Persistent white deposits may be efflorescence, which needs material-specific treatment. Acid cleaners can damage concrete and metal, so use only a labeled product after testing.
FAQ
Can I Pressure Wash a Driveway With Only a Garden Hose?
A garden hose can remove loose dust, pollen, and water-soluble residue but usually cannot remove embedded tire marks, oil, algae, or compacted soil. Pair the hose with detergent and a stiff nylon broom for routine maintenance, or use a pressure washer when mechanical impact is necessary.
How Often Should a Driveway Be Pressure Washed?
Most residential driveways need cleaning about once every 1-3 years, with spot treatment between full washes. Shaded, damp areas with algae may need annual cleaning, while dry, low-traffic concrete can remain presentable longer. Clean when buildup appears, not solely on a fixed calendar.
Can Pressure Washing Remove Rust From Concrete?
Pressure washing alone rarely removes chemically bonded rust. Use a labeled concrete rust remover, commonly an oxalic-acid-based product, after testing compatibility with the slab and nearby metal. Keep acidic products away from plants, polished surfaces, and stormwater, and follow the label’s neutralization instructions.
Should I Seal a Driveway After Pressure Washing?
Seal a driveway only after the surface is clean, fully dry, structurally sound, and within the sealer manufacturer’s moisture and temperature limits. Typical drying takes 24-48 hours in mild, dry weather, but shaded concrete or humid conditions can require longer.
Why Does My Driveway Look Uneven After Washing?
Uneven color can result from remaining soil, detergent residue, previous staining, surface wear, or inconsistent nozzle distance. Let the driveway dry completely, inspect a test area, then use uniform surface-cleaner passes rather than repeatedly attacking dark sections with a narrow nozzle.
Can I Pressure Wash During Winter?
Avoid freezing conditions because water can freeze in cracks, hoses, pumps, and fittings, creating damage and slip hazards. Cold temperatures also slow drying and reduce detergent performance. Choose a mild day above the product’s stated minimum temperature, with no forecast freeze during the drying period.
The Bottom Line
To clean a driveway with a pressure washer safely, match pressure and nozzle angle to the driveway material, pretreat oil and organic growth, use a surface cleaner on sound concrete, and work in slow overlapping passes. Start conservatively, protect drainage and landscaping, and increase cleaning action through detergent and dwell time before increasing PSI.