
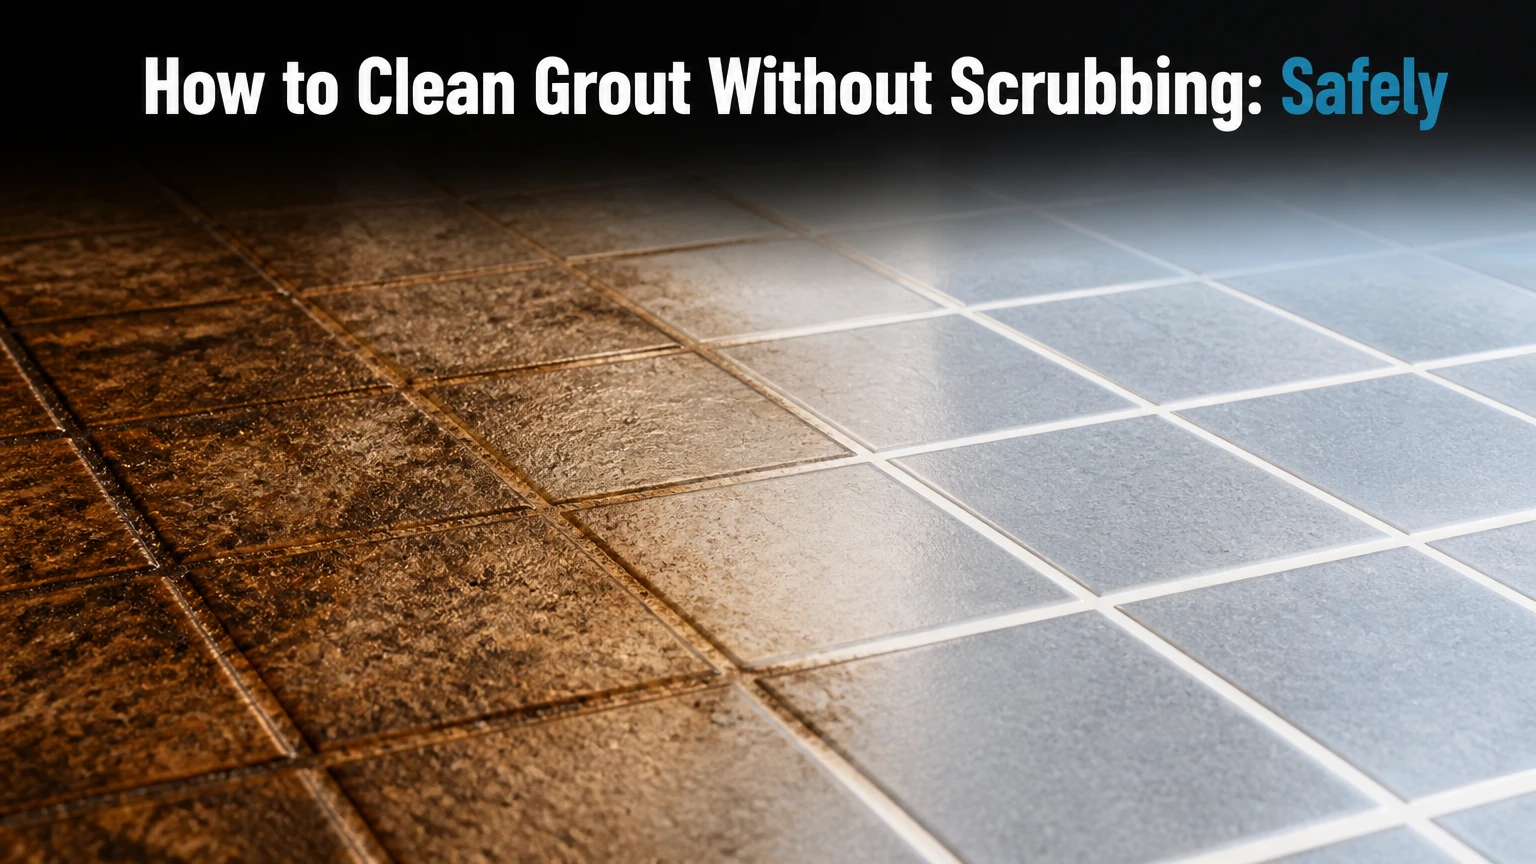
To clean grout without scrubbing, apply a compatible oxygen-bleach or alkaline cleaner, keep it wet for the label-specified dwell time, then extract and rinse the loosened soil. The most reliable general method uses sodium percarbonate on compatible cement grout for 15-30 minutes; cleaner choice, moisture control, and complete residue removal determine the result.
Key facts at a glance
Oxygen bleach is the safest first chemical option for most stained, cement-based grout on ceramic or porcelain tile.
A no-scrub method still requires precleaning, dwell time, extraction, and rinsing; chemicals do not eliminate every form of physical soil removal.
Alkaline degreasers work better than oxygen bleach on cooking oil, body oil, and heavy soap scum.
Acid cleaners dissolve mineral scale but can etch marble, limestone, travertine, and other calcium-based stone.
Never mix chlorine bleach with acids, ammonia, peroxide, or another household cleaner.
Dirty solution must be removed while wet, or dissolved soil and detergent residue can dry back onto the grout.
Before You Start
The installation must be identified before any cleaner touches the grout. Ceramic and porcelain tile generally tolerate a wider range of products than natural stone, while cement grout is more chemically vulnerable than epoxy grout.
Identify the tile and grout
Use the following table as a screening guide. When the tile or grout is unknown, begin with a pH-neutral tile cleaner in an inconspicuous area rather than an acid or concentrated bleach product.
| Surface or grout type | Safe first choice | Avoid or restrict | Typical response |
|---|---|---|---|
| Glazed ceramic tile with cement grout | Oxygen bleach, pH-neutral cleaner | Strong acid used repeatedly | Stains usually lighten after 15-30 minutes |
| Porcelain tile with cement grout | Oxygen bleach, alkaline degreaser | Unlabeled industrial chemicals | Good compatibility after a test patch |
| Marble, travertine, limestone, or terrazzo | Stone-safe neutral cleaner | Vinegar, sulfamic acid, phosphoric acid | Mineral etching cannot be cleaned away |
| Epoxy grout | Manufacturer-approved neutral cleaner | Abrasive powders, solvent misuse | Surface soil may release without absorption |
| Unglazed quarry tile with cement grout | Neutral or labeled alkaline cleaner | Strong oxidizers without testing | Porous tile may retain cleaner residue |
| Glass tile with cement grout | Diluted neutral or oxygen cleaner | Abrasive powder and aggressive acid | Grout line needs careful rinsing |
Gather the materials
For a typical 25-50 square foot bathroom section, prepare:
- A vacuum or soft broom
- Chemical-resistant gloves and protective eyewear
- One plastic measuring spoon and a nonmetal mixing container
- Sodium percarbonate oxygen bleach, or a labeled oxygen-bleach grout cleaner
- Warm water, not boiling water
- Two microfiber cloths or a clean microfiber mop
- A spray bottle filled only with clean water
- A wet-dry vacuum, if available
- Plastic sheeting for vertical grout or unusually dry rooms
A typical DIY cost is $5-$15 per cleaning session when using powdered oxygen bleach. Commercial concentrates often cost $12-$35, but the label dilution determines the true per-use cost.
How Does No-Scrub Grout Cleaning Work?
No-scrub grout cleaning works by changing or loosening the soil chemically, then removing the wet residue. Surfactants improve wetting, alkaline builders disperse greasy soil, oxygen-based cleaners oxidize many organic stains, and acids dissolve mineral deposits.
Cement grout is porous because its hardened cement matrix contains capillaries and pores. Those openings can hold soap, body oil, cooking residue, pigments, and microbial growth below the tile surface. A cleaner that merely wets the top will not perform well if it dries before penetrating the grout.
The chemistry must match the contamination. Oxygen bleach is suited to organic discoloration, while an alkaline degreaser is more effective against lipid-based residue. Acid is a specialist treatment for mineral scale, not a universal grout whitener.
Match the cleaner to the stain
| Soil or stain | Best first cleaner | Typical dwell time | Important limitation |
|---|---|---|---|
| Food, coffee, mildew discoloration | Oxygen bleach | 15-30 minutes | Does not dissolve limescale |
| Body oil and soap scum | Alkaline degreaser | 5-10 minutes | Requires thorough rinsing |
| Cooking grease | Alkaline degreaser | 5-15 minutes | Ventilation may be needed |
| Hard-water scale | Compatible sulfamic or phosphoric cleaner | 2-5 minutes | Never use on calcium-based stone |
| Rust-colored mineral deposits | Labeled acid cleaner | Label-specific | Test because grout may lighten unevenly |
| Pet odor or protein residue | Enzyme cleaner | 1-8 hours | Must remain wet and may not remove mineral staining |
| Loose surface dust | Vacuum or damp microfiber | Immediate | Chemical cleaning is unnecessary |
Step 1: Remove Loose Soil and Protect Adjacent Areas
Vacuum or sweep the tile, then remove hair, sand, and loose grit from the grout channels. Place towels at doorways and cover vulnerable metal fixtures, painted surfaces, wood trim, and nearby natural stone before applying liquid cleaner.
Dry debris can interfere with chemical contact and become abrasive under a mop. Precleaning also makes the final water visibly cleaner, which helps you judge whether the treatment worked.
You will know this step worked when: no loose grit remains along the grout lines and adjacent surfaces are protected from runoff.
Common mistake: flooding a dusty floor immediately. The cleaner turns loose debris into a muddy film that requires extra rinsing.
Step 2: Test Absorption and Cleaner Compatibility
Apply a few drops of clean water to a hidden grout joint. If the water darkens the grout and absorbs within several minutes, the joint is likely porous. If the droplet remains beaded, the grout may be sealed, epoxy-based, or coated with residue.
Next, test the chosen cleaner on approximately one square foot. Follow the product label exactly, wait through the stated dwell period, rinse, and allow the patch to dry before comparing it with the surrounding grout.
You will know this step worked when: the test area has no color shift, chalky residue, softened grout, etched tile, or damaged metal.
Common mistake: treating a small test patch as proof that every surface is safe. Natural stone, colored grout, and old repairs can react differently in another area.
Step 3: Apply Oxygen Bleach to General Staining
For compatible cement grout, dissolve the product according to its label. If using pure sodium percarbonate powder without a product label, a conservative starting mixture is 1-2 tablespoons per cup of warm water; stronger ratios are not automatically better and can leave residue or discolor some materials.
Apply enough solution to keep the grout visibly wet without allowing liquid to pool under cabinets or seep beneath flooring. On vertical shower walls, use a gel product or a cloth saturated with solution so the cleaner remains on the joint.
You will know this step worked when: the grout stays uniformly wet and organic discoloration begins to lighten during the dwell period.
Common mistake: assuming visible bubbling proves deep cleaning. Oxygen release can occur at the surface while embedded soil remains untouched.
Step 4: Maintain Dwell Time Without Letting the Cleaner Dry
Allow oxygen bleach to work for 15-30 minutes, or use the product label when it specifies another period. Inspect the grout every five minutes; mist with the same solution if the surface begins to dry.
Work in sections of approximately 5 by 5 feet. Plastic film can slow evaporation on a small horizontal test area, but it should not cover a surface where trapped liquid could enter joints, wood, or unsealed edges.
You will know this step worked when: the grout remains wet for the full dwell period and the liquid becomes gray, brown, or otherwise visibly loaded with soil.
Common mistake: leaving cleaner unattended for hours. Longer dwell time can increase residue and material exposure without producing a proportional cleaning benefit.
Step 5: Extract the Dirty Solution
Remove the spent liquid with a wet-dry vacuum, absorbent microfiber mop, or clean cloth. Press the tool along the grout direction rather than pushing dirty solution across the entire tile field.
Extraction is the part that makes a no-scrub process effective. The chemical loosens the soil, but the vacuum or cloth removes the soil from the installation. A household mop that spreads liquid without collecting it can redeposit contamination.
You will know this step worked when: the first extraction pass removes visibly dirty liquid and the tile surface does not develop a cloudy drying film.
Common mistake: allowing the dissolved slurry to air-dry. Once dry, the soil becomes a new residue layer.
Step 6: Rinse Until No Cleaner Residue Remains
Rinse the area with clean water, then extract the rinse water immediately. Repeat at least once on floors and two or more times where concentrated cleaner was used, especially in textured tile or deep grout joints.
A final neutral-pH wipe can help identify residue, but do not add a second chemical cleaner. The safest rinse is plain water collected and removed before it dries.
You will know this step worked when: the tile feels clean rather than slippery, the grout does not appear hazy after drying, and fresh rinse water remains nearly clear.
Common mistake: using one heavily soiled mop bucket. Change rinse water when it becomes cloudy.
Step 7: Dry, Inspect, and Decide Whether to Seal
Allow the grout to dry for 24-72 hours before sealing, depending on ventilation, humidity, grout depth, and the sealer manufacturer’s instructions. Grout that still looks darker in patches may simply contain moisture, so judge color only after complete drying.
Test a dry joint with several drops of water. If the water darkens and absorbs quickly, a penetrating sealer may be useful for cement grout. If water beads and the grout is epoxy-based or already coated, additional sealer may be unnecessary or incompatible.
You will know this step worked when: the grout color is even, no cleaner film remains, and the water-absorption result matches the sealer’s instructions.
Common mistake: sealing immediately after rinsing. Trapped moisture can interfere with sealer penetration and produce an uneven finish.
Which No-Scrub Cleaner Should You Choose?
Oxygen bleach is the best general starting point for stained cement grout on ceramic or porcelain tile. Choose an alkaline degreaser for grease, an enzyme product for organic odor, and a compatible acid only for mineral scale after a material test.
| Cleaner class | Best use | Typical dwell time | Typical retail range | Main risk |
|---|---|---|---|---|
| Oxygen bleach | Mildew staining, food, general discoloration | 15-30 minutes | $5-$25 | Residue or color shift on untested materials |
| Alkaline degreaser | Kitchen grease, body oil, soap film | 5-15 minutes | $10-$35 | Slippery residue and irritating vapors |
| Enzyme cleaner | Pet odor, protein, organic residue | 1-8 hours | $12-$40 | Slow action and poor mineral removal |
| Sulfamic acid | Cement haze and mineral scale | 2-5 minutes | $12-$30 | Grout erosion and stone etching |
| Phosphoric acid | Rust and hard-water deposits | 2-5 minutes | $12-$30 | Damage to stone, metal, and cement grout |
| pH-neutral cleaner | Light maintenance soil | 2-5 minutes | $5-$20 | Insufficient strength for embedded staining |
The listed prices are typical consumer ranges, not fixed market prices. Product concentration, container size, and regional availability change the cost per application.
Why chlorine bleach is usually not the first choice
Chlorine bleach can lighten surface discoloration, but it is a poor substitute for extraction and may not remove grease or mineral scale. Repeated use can also create strong fumes and may degrade some colored materials, sealers, and surrounding finishes.
The U.S. Centers for Disease Control and Prevention gives a direct safety instruction for household disinfectants: “Never mix bleach with other cleaners or disinfectants.” That rule matters here because acid grout cleaners and ammonia-containing products can create hazardous gases when combined with chlorine bleach.
What Changes for Greasy Kitchens and Showers?
Greasy kitchens need an alkaline degreaser, while ordinary bathroom discoloration usually responds better to oxygen bleach. Apply the chosen product to cool surfaces, allow 5-15 minutes of contact, then collect the dissolved oily residue before it dries.
Use a product labeled for tile and grout, and dilute a concentrate exactly as directed. A common maintenance dilution may be 1:4, while severe grease products can require a stronger mixture; undiluted application is not automatically safer or more effective.
For shower walls, begin at the lowest practical area and control runoff. A gel or foaming product can remain on vertical joints longer than a thin liquid, but foam volume does not indicate cleaning power.
Can You Remove Hard-Water Scale Without Scrubbing?
A compatible acidic cleaner can remove hard-water scale without scrubbing, but only from acid-resistant tile installations. Sulfamic or phosphoric acid dissolves carbonate deposits during a short, controlled dwell period, while the same chemistry can permanently etch marble, limestone, travertine, terrazzo, and cement-based materials.
First remove ordinary soap film with a neutral or alkaline cleaner. Acid works poorly through a greasy coating, and mixing cleaners creates a safety hazard. Apply the acid to a small test patch for no more than the label period, commonly 2-5 minutes, then rinse and extract immediately.
Rust may require a specific oxalic, sulfamic, or phosphoric formulation. The product label must identify compatible tile and grout because rust removers vary substantially in acidity and additives.
Why Does Grout Stay Dark After Chemical Cleaning?
Grout can stay dark after cleaning because moisture remains in porous cement, the stain has penetrated below the accessible surface, the grout has microbial growth, or the discoloration is actually permanent damage. Wait 24-72 hours before deciding that a freshly rinsed grout line failed.
Use this diagnostic sequence:
- Check moisture: compare the color after several dry days.
- Check absorption: apply a water drop to a hidden joint.
- Check stain type: white crust suggests mineral scale; greasy gray film suggests oil; black pinpoint growth suggests mold or mildew.
- Check grout condition: crumbling, cracked, or missing grout needs repair rather than stronger chemistry.
- Check the tile: an etched stone surface may be permanently dull, even if the grout is clean.
Mold that repeatedly returns indicates a moisture problem, not merely a dirty surface. Improve ventilation, repair leaks, dry shower walls, and replace porous caulk where needed. Cleaning cannot permanently solve water intrusion.
What Are the Most Common No-Scrub Cleaning Failures?
The most common failures are chemical mismatch, insufficient dwell time, dried solution, incomplete rinsing, and damage to incompatible materials. Each failure has a different recovery method, so applying more concentrated cleaner can make the outcome worse.
| Failure | Likely cause | Recovery | Prevention |
|---|---|---|---|
| Yellow or cloudy film | Dirty alkaline residue dried on tile | Rinse with clean warm water and extract twice | Use small sections and clean rinse water |
| No visible improvement | Mineral stain treated with oxygen bleach | Test a compatible acid on ceramic or porcelain | Identify the stain before choosing chemistry |
| Grout turns pale | Acid or oxidizer affected pigment | Stop treatment and compare dry color | Use a hidden test patch first |
| Cleaner dries early | Heat, airflow, or oversized work area | Rewet only if the label permits | Work in 5 by 5 foot sections |
| Strong fumes develop | Products were mixed or ventilation is poor | Leave the area, ventilate, and seek help if symptoms occur | Use one product at a time |
| Grout crumbles | Acid exposure, age, or structural failure | Remove and replace failed grout | Avoid repeated acid cleaning |
An expert rule of thumb is to strengthen the extraction process before strengthening the chemical. A wet vacuum, fresh rinse water, and smaller work sections often improve results more safely than doubling the cleaner concentration.
When Will No-Scrub Cleaning Not Work?
No-scrub cleaning is not a reliable repair for missing grout, deep cracks, permanently etched stone, severe efflorescence inside a wall, or stains sealed beneath an intact coating. Chemical treatment removes soil; it does not rebuild the grout matrix or polish damaged tile.
Hire a tile and stone professional when grout is crumbling across a large area, water is entering the substrate, natural stone has widespread etching, or aggressive previous cleaners have damaged the surface. Professional equipment can improve extraction, but it cannot reverse every chemical injury.
A pressure washer is also a poor indoor substitute for scrubbing. Excess water can enter baseboards and subfloors, while high pressure can dislodge weak grout and spread contaminated water.
How Much Time and Money Does the Process Take?
A typical no-scrub oxygen-bleach treatment takes 45-90 minutes for 25-50 square feet, including preparation, 15-30 minutes of dwell time, extraction, and rinsing. Product cost is commonly $5-$25 for a DIY session, excluding a wet vacuum or protective equipment.
| Project size | Preparation | Chemical dwell | Rinse and extraction | Typical DIY total |
|---|---|---|---|---|
| 10 square feet | 10 minutes | 15-20 minutes | 15 minutes | 40-50 minutes |
| 25 square feet | 15 minutes | 15-30 minutes | 20-30 minutes | 50-75 minutes |
| 50 square feet | 20 minutes | 20-30 minutes | 25-40 minutes | 65-90 minutes |
| 100 square feet | 30 minutes | 30 minutes by section | 45-70 minutes | 2-2.5 hours |
These are typical practitioner ranges for accessible tile floors. Small grout joints may clean faster, while textured tile, heavy buildup, poor ventilation, and vertical surfaces increase labor.
How Can You Keep Grout Clean Longer?
Preventive maintenance works best when moisture, soil, and residue are removed before they enter porous cement grout. Dry the shower after use, remove kitchen grease promptly, use a neutral tile cleaner, and reseal compatible cement grout only when the manufacturer permits it.
Practical maintenance intervals include:
- Squeegee shower walls after each use.
- Run the bathroom exhaust fan during cleaning and for 20-30 minutes afterward.
- Wipe kitchen splashes the same day.
- Mop tile floors with a diluted neutral cleaner every 1-2 weeks.
- Inspect shower grout and caulk monthly.
- Consider a penetrating sealer after the grout has fully dried, often every 1-3 years, but follow the sealer label rather than a calendar alone.
Sealer reduces absorption; it does not make grout stain-proof. It also will not correct already dark grout, stop a leak, or protect natural stone from an incompatible acid.
FAQ
Can baking soda clean grout without scrubbing?
Baking soda can absorb odor and provide mild alkalinity, but it rarely removes embedded grout staining without agitation. A paste also leaves solids that must be rinsed from porous joints. For a genuine no-scrub attempt, a labeled oxygen-bleach product is usually more effective on organic discoloration, provided the tile and grout pass a test patch.
Is hydrogen peroxide safe for white grout?
Dilute hydrogen peroxide products can be suitable for some white cement grout, but concentration, additives, tile material, and grout sealer determine compatibility. Test first, follow the product label, protect colored textiles, and never combine peroxide with vinegar, chlorine bleach, or another cleaner.
How do you clean black mold from grout without scrubbing?
Use a labeled mold or mildew product compatible with the tile and grout, maintain the required wet contact time, then rinse and extract. Wear gloves and eye protection, ventilate the room, and correct persistent moisture. Porous grout with recurring growth may require removal and replacement rather than repeated chemical treatment.
Can vinegar clean grout without scrubbing?
Vinegar can dissolve light mineral deposits on some acid-resistant ceramic or porcelain installations, but it is not appropriate for marble, limestone, travertine, terrazzo, or many cement-based surfaces. Vinegar also performs poorly against grease. A labeled product gives clearer material and dwell-time instructions.
Should you steam-clean grout instead?
Steam can loosen surface soil without chemical cleaner, but steam is still a form of physical and thermal cleaning rather than a fully chemical no-scrub process. Avoid directing high heat at cracked grout, silicone joints, painted surfaces, or water-sensitive flooring, and extract the loosened residue instead of letting it dry.
How often should grout be deep-cleaned?
Most household grout needs targeted deep cleaning every 6-12 months, although busy kitchens, high-use showers, pets, and poor ventilation may require treatment every 3-6 months. Frequent chemical cleaning is not a substitute for daily drying and prompt spill removal, and repeated acid use can shorten cement grout’s service life.
The Bottom Line
The safest answer to how to clean grout without scrubbing is to match the cleaner to the soil, test the installation, keep the solution wet, extract the dirty liquid, and rinse until no residue remains. Start with oxygen bleach for general cement-grout staining, use an alkaline degreaser for grease, reserve acid for compatible mineral deposits, and never trade mechanical effort for unsafe chemical concentration.