
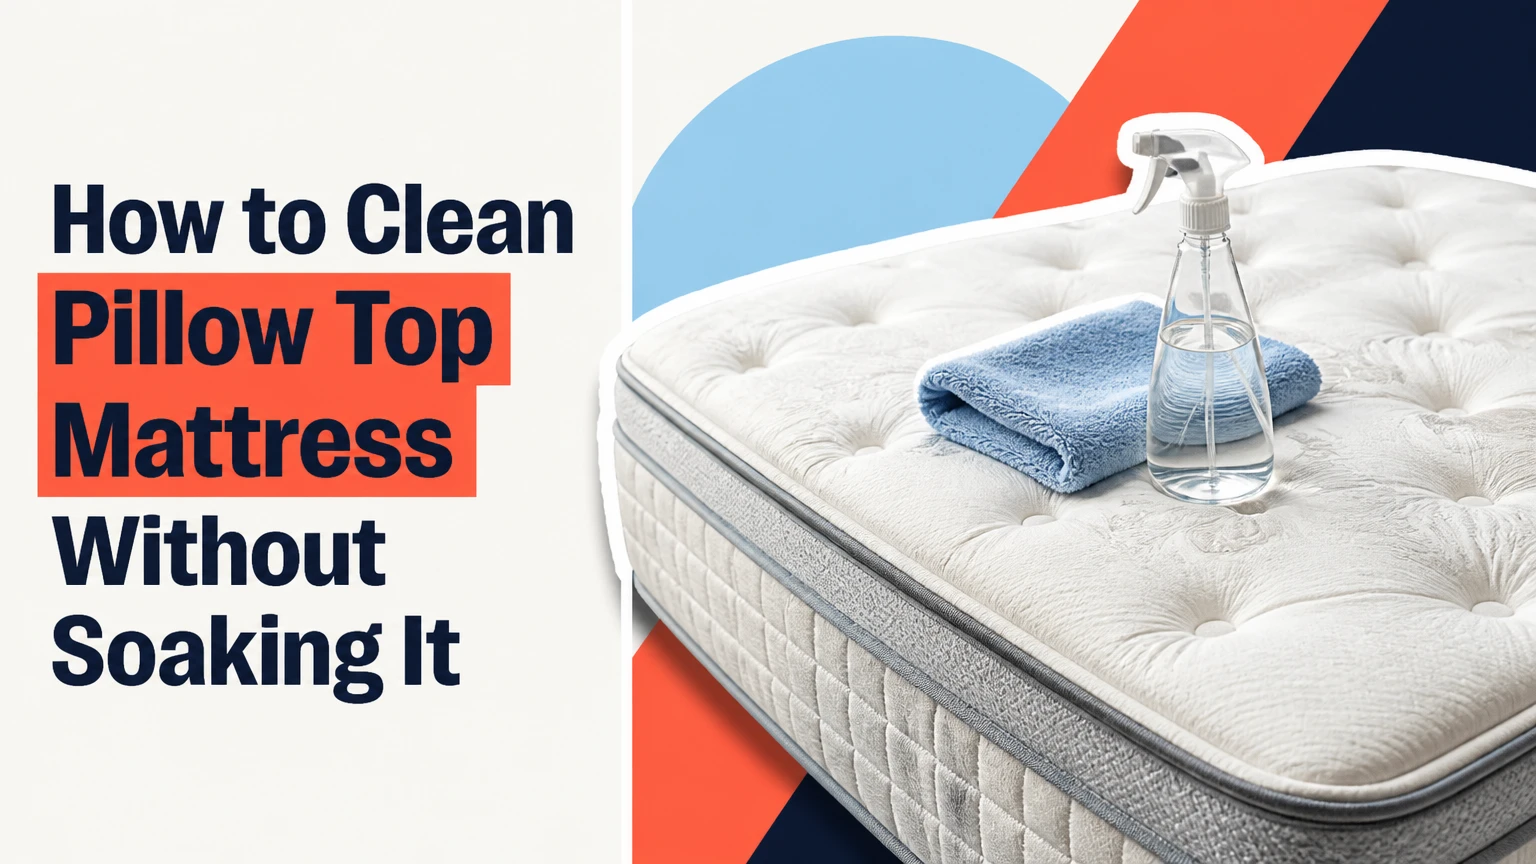
To clean a pillow-top mattress, strip the bed, vacuum the quilted surface and seams, deodorize with a thin layer of baking soda, blot stains with minimal liquid, vacuum again, and air-dry completely. The main success factor is moisture control because liquid can migrate through the attached comfort layer into foam, fiber, springs, or the mattress base.
Key Facts at a Glance
- A pillow-top mattress has an attached comfort layer, so the top cannot usually be removed and machine-washed.
- Vacuuming removes dust, hair, skin flakes, and surface allergens, but it does not disinfect or remove deep-set stains.
- Baking soda can reduce surface odors, but it cannot repair mold contamination or extract urine that has reached the mattress core.
- Apply cleaner to a cloth, not directly to the mattress, and blot from the outer stain edge toward the center.
- Memory foam, latex, wool, and thick fiberfill pillow-tops should not receive high heat or heavy water extraction without manufacturer approval.
- A localized spot treatment commonly needs 2-4 hours to dry, while low-moisture professional cleaning may require 6-12 hours.
What Is a Pillow-Top Mattress?
A pillow-top mattress is a mattress with a permanently attached, visibly separate layer of quilted upholstery above the main support core. The seam or recessed perimeter creates the characteristic raised, soft top, while the underlying construction may contain pocketed coils, innersprings, polyfoam, memory foam, latex, wool, cotton, or synthetic fiber.
The attached design changes the cleaning method. A removable mattress topper can sometimes have a washable cover, but a built-in pillow-top generally cannot be unzipped, separated, or placed in a washing machine. The comfort layer also contains more loft and stitching than a tight-top mattress, which creates dust-holding seams and makes saturation harder to reverse.
Pillow-top materials respond differently to moisture and heat:
| Pillow-top material | Main cleaning risk | Safe starting method | Avoid unless approved |
|---|---|---|---|
| Polyester fiberfill | Flattening, clumping, water rings | Vacuum and damp-cloth blotting | Saturation and aggressive scrubbing |
| Memory foam | Trapped moisture, heat deformation | Low-moisture blotting and airflow | Steam, hot extraction, high-heat drying |
| Natural latex | Moisture damage, surface breakdown | Minimal damp cloth and rapid drying | Soaking, bleach, prolonged heat |
| Wool or cotton batting | Shrinkage, odor retention, felting | Vacuuming and specialist spot treatment | Household carpet shampoo and saturation |
Read the sewn-in care label and warranty instructions before using any solution. A manufacturer’s “spot clean only” instruction takes priority over a general household recipe.
Before You Start
Reserve 60-90 minutes for active work and 2-12 hours for drying, depending on the size of the stain and the mattress construction. The work is low difficulty, but a second person makes it safer to move bedding, position fans, and inspect the mattress edges.
Materials and Preparation
| Item | Recommended specification | Quantity or setting | Purpose |
|---|---|---|---|
| Vacuum | Upholstery tool, preferably HEPA-filtered | 1 machine, low or medium suction | Removes dry debris |
| Baking soda | Plain, unscented sodium bicarbonate | 1-2 cups for queen size | Absorbs light surface odor |
| Microfiber cloths | White or colorfast, lint-free | 6-10 cloths | Blotting without dye transfer |
| Distilled water | Room temperature | 250-500 milliliters | Dilution and edge blending |
| Mild detergent | Clear, fragrance-free dish detergent | 1 drop per 250 ml water | Sweat and oil treatment |
| Enzyme cleaner | Upholstery-labeled, residue-light formula | Patch-test amount first | Urine, vomit, and other protein stains |
| Fan | Floor or box fan | 1-2 fans, 1-2 meters away | Accelerates evaporation |
Remove the mattress from a wall or tight headboard area if possible. Open a window, switch on a ceiling fan, and keep pets and children away from wet treatment products.
Do not begin with a wet vacuum, steam cleaner, scented spray, essential oil, bleach, or hydrogen peroxide until the care label and a hidden patch test confirm compatibility. Hydrogen peroxide can lighten some mattress ticking, so it is a targeted option, not a universal first step.
How to Clean Pillow Top Mattress: Six Steps
The six-step process is designed for routine soil and small, recent stains. Work dry first, use the smallest practical amount of liquid, and never replace the sheets until the mattress is dry throughout the treated area.
Step 1: Strip and Wash the Bedding
Remove sheets, pillowcases, blankets, mattress pads, and protectors before cleaning the pillow-top. Place soiled bedding directly into a laundry hamper rather than on the floor, where it can transfer hair, dust, or liquid back onto the mattress.
Wash each item according to its care label. The AI Overview’s 60°C / 140°F recommendation can help some white cotton items, but it is not suitable for every sheet, elastic, wool layer, colored fabric, or waterproof protector. A dryer’s high heat may also damage waterproof membranes.
| Bedding item | Typical wash setting | Drying guidance | Main caution |
|---|---|---|---|
| Cotton sheets | 40-60°C / 104-140°F | Medium heat or line dry | Check colorfastness |
| Polyester sheets | 30-40°C / 86-104°F | Low heat | High heat can set wrinkles |
| Waterproof protector | 30-40°C / 86-104°F | Low heat only | High heat can crack the membrane |
| Wool or down layer | Label-specific, often below 40°C | Air dry or specialist care | Avoid routine hot washing |
You will know this step worked when the mattress surface is fully exposed, all bedding is removed, and the protector is clean or set aside for separate washing. A common mistake is cleaning around the fitted sheet, which leaves the highest-contact zones untreated.
Step 2: Vacuum the Entire Pillow-Top
Use a clean upholstery attachment and move slowly in overlapping passes across the top, sides, seams, tufts, and perimeter indentation. Reduce suction if the tool pulls at quilting threads or compresses a loose fiberfill layer.
Vacuum from head to foot, then across the mattress width. Give extra attention to the v-shaped seam, piping, button tufts, sleeping depressions, and the lower side panels, where hair and skin flakes accumulate. If pet hair is embedded, lift it first with a rubber glove or upholstery brush, then vacuum rather than forcing the vacuum head into the fabric.
The U.S. Environmental Protection Agency recommends controlling indoor allergen reservoirs through cleaning and moisture management, but vacuuming does not sterilize a mattress or eliminate every dust-mite allergen. A HEPA-filtered vacuum can reduce airborne recirculation compared with a poorly sealed machine, particularly for allergy-sensitive households.
You will know the surface is ready when no visible hair or loose powder remains in the seams. A common mistake is using a bare floor nozzle, whose narrow edge can catch quilting and damage the cover.
Step 3: Deodorize With a Thin Baking Soda Layer
Sift a light, even layer of plain baking soda over the dry pillow-top, using approximately 1 cup for a twin or full mattress and up to 2 cups for a queen or king mattress. Avoid creating thick piles in tufts because compacted powder can enter deep stitching and overload a vacuum.
Leave the powder for 45-60 minutes for mild odors. For persistent but dry surface odor, 8-12 hours can provide more contact time, although longer exposure does not make baking soda effective against mold or deeply absorbed urine.
Baking soda works as a dry odor and moisture absorber at the fabric surface. It does not extract body oil from deep foam, kill all bacteria, dissolve ink, or neutralize contamination that has penetrated the mattress core.
You will know the deodorizing step is complete when the mattress smells cleaner without a strong fragrance and the powder remains dry and loose. A common mistake is mixing baking soda with vinegar on the mattress, which causes a short-lived reaction and leaves moisture without delivering a meaningful cleaning advantage.
Step 4: Spot-Clean Stains With Minimal Liquid
Identify the stain before choosing a product, and patch-test every solution on an inconspicuous seam for 10-15 minutes. Spray or pour cleaner onto a white microfiber cloth, wring it until damp, and blot the stain from the outside toward the center.
Use a separate dry towel after every few blots. Press vertically for 5-10 seconds, lift, and inspect the towel instead of rubbing back and forth. Reapply small amounts only when transfer stops.
| Stain type | First treatment | Contact time | Important limitation |
|---|---|---|---|
| Sweat or body oil | 250 ml water plus 1 drop mild detergent | 1-2 minutes | Avoid soaking quilted batting |
| Fresh blood | Cold water on a cloth | 30-60 seconds per pass | Warm water can set protein stains |
| Urine | Upholstery enzyme cleaner | Label direction, often 5-15 minutes | Do not mask odor with perfume |
| Coffee or tea | Water plus 1 drop detergent | 1-3 minutes | Blot before tannin dries |
| Vomit or milk | Enzyme upholstery cleaner | 5-15 minutes | Remove solids first with a scraper |
| Ink | Manufacturer-approved solvent test | Product-specific | Solvent can dissolve ticking dye |
For sweat and oil, a mild detergent solution is usually safer than a vinegar mixture because acidic cleaners can leave an odor and do little to remove oxidized body oil. If you use distilled white vinegar, dilute it at least 1:1 with water, apply it to the cloth, and test first.
For urine, an enzyme cleaner labeled for upholstery is generally the best household option because enzymes target organic residue. Hydrogen peroxide at 3% may help fresh biological discoloration on some light-colored fabrics, but it can bleach or yellow certain ticking materials. Never mix hydrogen peroxide with vinegar, bleach, ammonia, or other cleaners.
You will know the stain treatment is controlled when the treated area is only slightly damp, the stain transfers to the cloth, and no solution spreads beyond the original mark. A common mistake is scrubbing, which drives residue deeper and can produce a fuzzy or damaged patch.
Step 5: Vacuum Away the Baking Soda
Wait until any spot-treated area is no longer visibly wet, then vacuum the entire pillow-top again. Use slow passes and a crevice tool around piping and recessed seams, but do not press a sharp nozzle into the upholstery.
If baking soda remains in a tuft, loosen it with a soft upholstery brush and vacuum again. Repeated short passes are safer than forcing maximum suction against a delicate quilted cover.
You will know this step worked when no white residue transfers to a dry cloth and the seams feel free of loose powder. A common mistake is vacuuming while a stain treatment is still wet, which can spread the solution and contaminate the vacuum hose.
Step 6: Dry the Mattress Completely
Position one or two fans so air moves across the mattress surface and through the room. Leave the mattress uncovered, keep the room ventilated, and use only a cool or no-heat hair-dryer setting for a small area if the care label permits it.
Typical drying times vary by material, humidity, and liquid volume:
| Cleaning situation | Typical drying time | Use condition | Mattress check |
|---|---|---|---|
| Light damp blot, dry room | 2-4 hours | Small stain under 15 cm | Surface and seam feel dry |
| Several spot treatments | 4-8 hours | Moderate humidity | No cool, clammy center |
| Dense foam pillow-top | 8-24 hours | Moisture entered deeper | Check by pressing a dry towel |
| Professional low-moisture extraction | 6-12 hours | Technician extracts promptly | Follow provider’s release time |
Press a clean, dry towel over the treated area for 10 seconds. If the towel feels cool or picks up moisture, continue drying. Do not cover the mattress with sheets, plastic, or a protector until the center of the treated area is dry, because trapped humidity can support mildew growth.
You will know the mattress is ready when the fabric, quilting, and underlying area feel uniformly dry and no musty odor appears after several hours. A common mistake is using a heater or hot hair dryer, which can deform memory foam, dry ticking unevenly, and create a water ring.
Which Cleaning Method Fits the Mattress?
DIY low-moisture cleaning is appropriate for surface dust, mild odor, and small fresh stains. Enzyme treatment is preferable for organic accidents, while professional low-moisture extraction is a better choice when contamination covers a broad area or has entered deep padding.
| Method | Best use | Moisture exposure | Typical cost | Main drawback |
|---|---|---|---|---|
| Vacuum plus baking soda | Monthly or quarterly upkeep | Dry | $0-$10 | Does not remove deep stains |
| Damp-cloth spot cleaning | Fresh stain under 15 cm | Low | $2-$15 | Requires patience and blotting |
| Upholstery enzyme cleaner | Urine, vomit, milk, sweat | Low to moderate | $8-$25 | Patch testing and residue control required |
| Professional extraction | Large or persistent contamination | Moderate, extracted quickly | $80-$250 typical | Requires drying time and scheduling |
Prices vary by country, mattress size, access, and stain severity. The AI Overview’s quoted range of ৳3,500-৳8,500, or roughly $30-$80, may apply in some markets, but U.S. professional services commonly quote higher typical ranges for a queen or king mattress.
A household carpet cleaner is not automatically suitable. Many machines deliver more water than a pillow-top can safely release, and carpet detergent can leave a sticky residue that attracts soil. Use a machine only when the mattress manufacturer permits it and the equipment has controlled upholstery extraction.
How Should Different Households Adapt the Routine?
Allergy-sensitive households should vacuum every two weeks and use a six-sided zippered mattress encasement that fits the mattress depth. A washable protector over the encasement reduces future skin flakes and liquid exposure, but neither barrier makes the mattress immune to dust or stains.
Pet owners should respond to urine or vomit immediately with an upholstery enzyme product, after removing solids and absorbing liquid with towels. Keep a washable, quilted mattress pad on the bed because preventing contamination is more reliable than repeatedly treating a thick pillow-top.
Homes with young children benefit from layered protection: a fitted waterproof protector under a washable pad, with the pad changed after accidents. Do not place plastic directly against a damp mattress, and do not assume a waterproof cover can be machine-dried on high heat.
For a budget routine, vacuum quarterly, inspect seams monthly, wash the protector according to its label, and treat spills immediately. Preventive maintenance costs less than repeated extraction and reduces the chance that a fresh stain becomes chemically fixed or odor-bearing.
Common Mistakes and How to Fix Them
Oversaturating the Comfort Layer
Pouring water or spraying a large area pushes moisture through the quilted top. Stop adding liquid, press with dry towels, run fans continuously, and inspect the area after 6-8 hours. A persistent musty odor or damp center warrants professional assessment.
Using High Heat or Steam
Steam and hot extraction can damage memory foam, latex, adhesives, and synthetic quilting. Stop the heat source, allow the mattress to cool, and follow the manufacturer’s care instructions before applying any further product.
Scrubbing a Set-In Stain
Aggressive rubbing breaks fibers and spreads the stain. Blot outward to inward, use a compatible enzyme or upholstery product, and accept that an old stain may lighten without disappearing completely.
Applying Bleach or Ammonia
Chlorine bleach can discolor ticking and degrade filling materials, while ammonia can create irritating fumes and interact with other cleaners. Rinse neither chemical into the mattress; instead, stop treatment, ventilate the room, and use a professional upholstery cleaner if contamination remains.
Leaving Baking Soda in Tufts
Powder trapped in seams can feel gritty and attract moisture. Loosen it with a soft brush, vacuum with an upholstery tool, and inspect with a flashlight before replacing bedding.
Creating a Yellow Water Ring
A ring forms when dissolved soil migrates to the drying boundary. Lightly dampen the entire immediate panel with distilled water, blend from the outer edge inward, blot with multiple dry towels, and dry with airflow. Do not repeatedly wet only the center.
How Often Should a Pillow-Top Mattress Be Cleaned?
Vacuum a pillow-top mattress every 2-4 weeks for allergies or pets and every 1-3 months for ordinary use. Deodorize only when odor exists, treat spills immediately, and wash the mattress protector every 1-4 weeks according to household exposure.
| Maintenance task | Allergy or pet household | Typical household | Trigger for extra cleaning |
|---|---|---|---|
| Vacuum mattress | Every 2 weeks | Every 1-3 months | Visible hair or dust |
| Wash protector | Every 1-2 weeks | Every 2-4 weeks | Spill, sweat, or accident |
| Inspect seams | Monthly | Every 3 months | Odor or discoloration |
| Baking soda deodorizing | Every 1-3 months as needed | Every 3-6 months as needed | Persistent surface odor |
| Professional evaluation | Every 12-24 months if needed | Only for deep contamination | Musty odor or broad staining |
A mattress does not need routine chemical sanitizing when it is dry, protected, and maintained. Cleaning too aggressively can shorten the life of the cover and introduce more moisture than it removes.
When Should You Replace the Mattress Instead?
Replace or professionally evaluate a pillow-top when mold is visible, a persistent musty odor remains after complete drying, urine has penetrated a large area, or the comfort layer has developed permanent sagging. Surface discoloration alone does not prove mold, but widespread dampness raises the risk of hidden growth.
A mattress with a small, fresh spill is usually a cleaning problem. A mattress with repeated deep accidents, structural collapse, exposed foam, or contamination beneath the cover may be a replacement decision because household blotting cannot reliably reach or remove the affected core.
FAQ
Can You Wash a Pillow-Top Mattress in a Washing Machine?
No, an attached pillow-top mattress cannot be placed in a washing machine. Only a separately removable cover or topper should enter a washer, and its care label controls water temperature, detergent, agitation, and drying. Clean the attached mattress with vacuuming and controlled spot treatment instead.
Can You Flip a Pillow-Top Mattress After Cleaning?
Most pillow-top mattresses should not be flipped because the comfort layer is designed to remain on top. Rotate the mattress 180 degrees only if the manufacturer permits rotation, and wait until all treated areas are completely dry before doing so.
Is Vinegar Safe for a Pillow-Top Mattress?
Diluted white vinegar can be compatible with some mattress fabrics, but it is not universally safe or especially effective for oily residue. Patch-test a 1:1 water-and-vinegar solution, apply it to a cloth rather than the mattress, and never mix vinegar with bleach, ammonia, or hydrogen peroxide.
Can You Use a Steam Cleaner on a Pillow-Top Mattress?
Use a steam cleaner only when the mattress manufacturer expressly permits steam. Memory foam, latex, wool, adhesives, and dense fiber layers can retain heat and moisture, so low-moisture blotting or a qualified upholstery technician is safer for most pillow-top constructions.
How Do You Remove a Smell That Remains After Cleaning?
First confirm that the mattress is completely dry, then ventilate the room and vacuum the surface again. A persistent urine, mildew, or sour odor usually indicates residue below the fabric, where baking soda cannot reach; use an upholstery enzyme treatment if compatible or consult a professional cleaner.
How Do You Clean a Pillow-Top Mattress With Bedbugs?
Do not rely on baking soda, vinegar, or ordinary vacuuming to eliminate bedbugs. Isolate and launder bedding, vacuum seams carefully, encase the mattress in a certified bedbug-proof cover, and contact a licensed pest-control professional for an integrated treatment plan.
The Bottom Line
The safest way to clean a pillow-top mattress is to work dry first, blot stains with minimal compatible solution, and create strong airflow until every layer feels dry. Vacuuming every 1-3 months, using a washable protector, and treating accidents immediately protects the attached comfort layer better than repeated soaking. When cleaning a pillow-top mattress, moisture control matters more than chemical strength.