
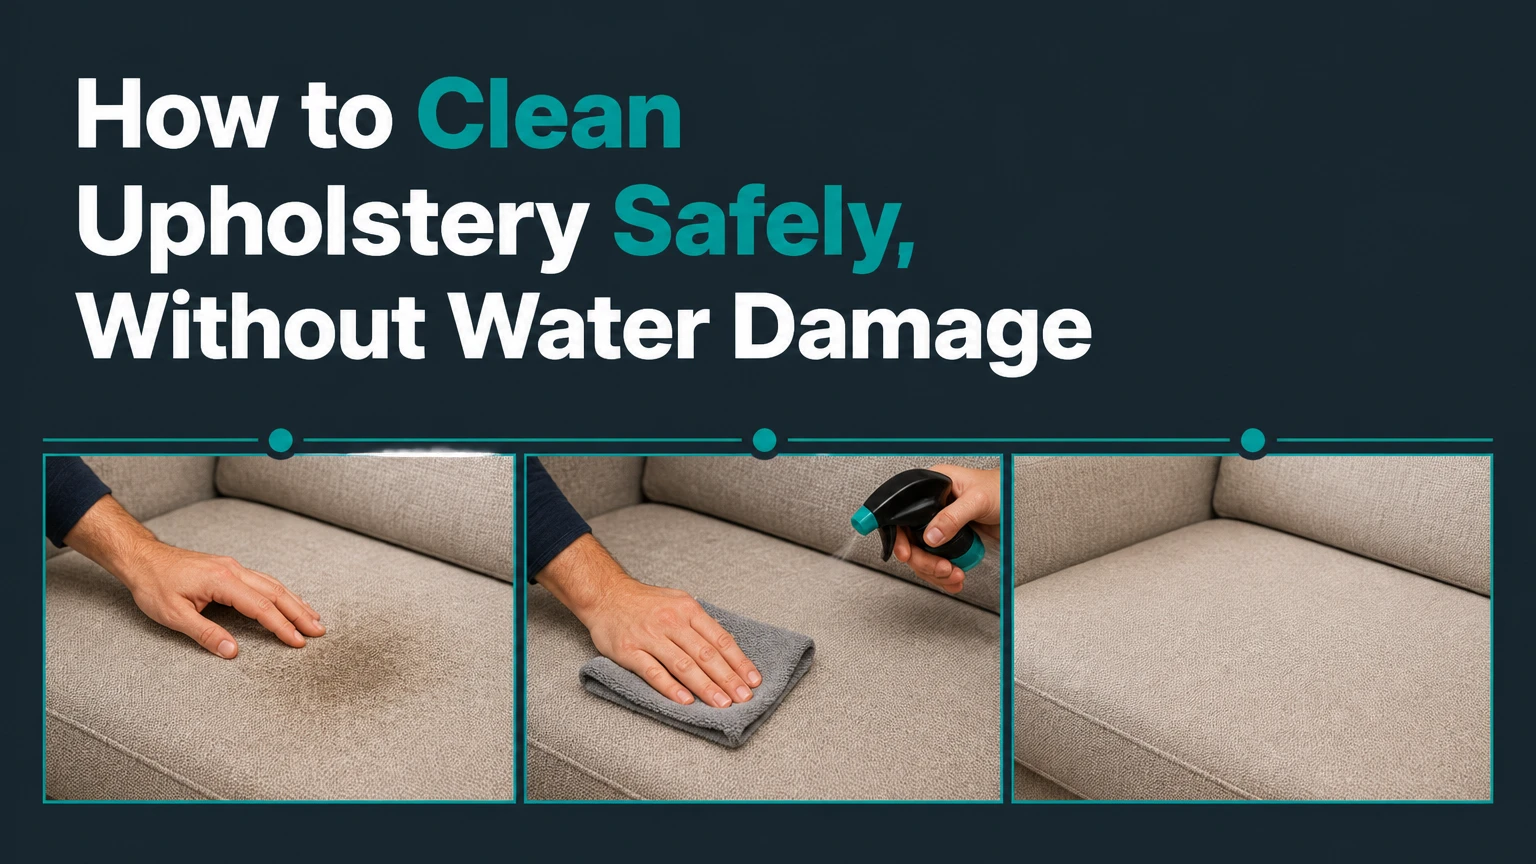
Upholstery is cleaned safely by checking its care code, vacuuming loose soil, testing a compatible cleaner, treating stains without rubbing, applying minimal moisture, removing residue, and drying the furniture quickly. For most W or W/S synthetic fabric, a careful low-moisture clean takes 1-3 active hours, while the fabric and padding may need 6-24 hours to dry.
Key Facts at a Glance
The care label determines whether water, solvent, both, or vacuum-only cleaning is permitted.
Upholstery should be tested on a hidden area before any cleaner reaches a visible panel.
Excess water is more damaging than insufficient water because wet foam can retain odor and moisture.
Vacuuming removes dry soil before liquid cleaning turns that soil into residue.
A clean upholstery surface is not automatically disinfected or free of allergens.
Professional cleaning is the safer choice for X-coded, antique, silk, viscose, and high-value furniture.
Before You Start: Inspect the Furniture
A successful upholstery cleaning begins with inspection, not detergent. Find the care label, identify removable components, check for loose seams or color transfer, and determine whether the cushion filling can dry properly.
Tools and materials
| Item | Typical quantity | Purpose | Replacement or caution |
|---|---|---|---|
| Upholstery vacuum tool | 1 | Removes dry soil and pet hair | Use low suction on loose weave |
| Crevice attachment | 1 | Cleans seams and frame gaps | Avoid forcing it against piping |
| White microfiber cloths | 6-10 | Blotting and residue removal | Colored cloths can transfer dye |
| Distilled water | 500-1,000 mL | W-coded spot testing and rinsing | Use less on absorbent fabrics |
| Mild upholstery detergent | 30-60 mL | Main cleaning solution | Follow the product label first |
| Soft upholstery brush | 1 | Controlled agitation | Do not use on fragile pile |
| Fan or air mover | 1-2 | Speeds evaporation | Keep airflow moving across, not into, seams |
| Nitrile gloves | 1 pair | Protects hands from soil and chemicals | Use ventilation with solvents |
Before cleaning, photograph existing stains, faded areas, scratches, and fabric wear. A photograph prevents confusion about whether a mark appeared during cleaning or was already present.
Do not clean furniture with exposed foam, broken frame joints, unstable dye, active mold growth, or severe pet-urine saturation as an ordinary DIY project. Those conditions require a furniture restorer or upholstery-cleaning technician.
How Do You Read Upholstery Cleaning Codes?
Upholstery cleaning codes indicate which cleaning chemistry the manufacturer allows, but they do not guarantee that every method within that category is risk-free. A W code permits water-based products, while an S code calls for a water-free solvent; the label, fabric manufacturer, and hidden-area test remain the final controls.
| Code | Permitted approach | Typical examples | Main risk |
|---|---|---|---|
| W | Water-based cleaner, controlled rinsing | Polyester, many cotton blends | Shrinkage, browning, water rings |
| S | Water-free upholstery solvent | Some velvet, wool blends, vintage fabrics | Solvent marks, fumes, finish damage |
| W/S or SW | Water or solvent, after testing | Microfiber, performance fabrics | Color loss, texture change |
| X | Vacuuming only, professional assessment | Silk, some viscose, antiques | Permanent staining or fiber damage |
The code may appear under a cushion, beneath the frame, or on the platform beneath a removable seat. “S” does not mean a fabric can be safely saturated with dry-cleaning fluid at home, and “X” does not mean liquid cleaning is acceptable when a stain seems minor.
A care code is also not a material identification. Two polyester fabrics can have different finishes, backing materials, dye stability, or manufacturer restrictions.
Why Does Upholstery Cleaning Need Chemical, Heat, Agitation, and Time?
Upholstery soil is removed when a compatible chemical loosens the soil, gentle agitation separates it from fibers, sufficient dwell time allows the product to work, and controlled removal carries the soil away. Heat can accelerate some reactions, but excessive heat can set protein stains, shrink natural fibers, or soften adhesives.
The cleaning principle often called CHAT means chemical action, heat, agitation, and time. Upholstery adds a fifth constraint: moisture control. A carpet can tolerate more liquid than a sofa cushion because upholstery often contains foam, fiberfill, batting, wood, adhesives, and dust covers that dry slowly.
The U.S. Environmental Protection Agency states, “The key to mold control is moisture control.” That principle matters more than a fixed drying promise. Drying depends on humidity, airflow, cushion thickness, fabric absorbency, and how much liquid entered the padding.
What Is the Safest Way to Clean Upholstery?
The safest general process has six stages: vacuum, test, treat stains, clean small sections, remove residue, and dry completely. The most important rule is to use the least moisture and agitation that can remove the soil, because upholstery damage often begins beneath the visible fabric.
Step 1: Vacuum Every Upholstered Surface
Remove cushions, pillows, throws, and objects from seams. Vacuum the frame from top to bottom, then clean both sides of removable cushions, the deck beneath them, piping, folds, and corners.
Use an upholstery nozzle rather than an uncovered vacuum hose. A crevice tool can remove crumbs and hair from seams, but high suction against a loose weave can pull threads or distort the fabric.
You will know it worked when: the vacuum no longer collects visible crumbs, hair, and loose grit from a slow pass.
Common mistake: wet-cleaning first. Liquid turns dry dust into a muddy film that spreads across the fabric and increases detergent demand.
Step 2: Test Colorfastness and Texture
Mix or prepare the cleaner according to its label. Apply a teaspoon-sized amount to a hidden underside or rear corner, wait 5-10 minutes, blot with a white cloth, and inspect the cloth and fabric after drying.
Check for dye transfer, lightened color, rings, stiffness, pile distortion, sticky residue, and changes in sheen. Test the actual method, not just the chemical. A spray, foam, solvent, and extraction rinse can produce different results.
You will know it worked when: the white cloth remains clean, the color is unchanged, and the dried patch matches the surrounding texture.
Common mistake: testing only while wet. Many rings, browning effects, and texture changes appear after the test area dries.
Step 3: Treat Fresh Stains Without Rubbing
Blot fresh liquid with folded white towels, working from the outside toward the center. Lift solids with a spoon or dull edge, then apply a targeted product to a cloth or stain area according to its label.
Use an enzyme product only for compatible organic contamination such as urine, vomit, or food protein, and do not mix enzyme products with disinfectants or bleach. Oil stains need a compatible solvent or upholstery degreaser, while blood requires cold treatment because heat can set protein.
You will know it worked when: the stain transfers to the towel and its edge stops spreading.
Common mistake: rubbing in circles. Rubbing pushes soil sideways, roughens fibers, and can create a permanent fuzzy patch.
Step 4: Clean One Small Section at a Time
For a tested W or W/S fabric, prepare the labelled dilution. As a starting point only, a mild solution may contain about 1/4 teaspoon of clear dishwashing liquid in 1 cup of warm water, but a purpose-made upholstery detergent is preferable because dish soap can create excessive residue.
Apply foam or a lightly damp cloth rather than pouring liquid onto the furniture. Work in 30-45 cm sections, using two or three gentle passes in the fabric’s direction. Do not soak the cushion, and do not clean only the center of a large panel if a visible boundary could form.
You will know it worked when: the section looks evenly damp, soil lifts onto the cloth, and no liquid pools at seams.
Common mistake: increasing detergent when soil remains. Repeat a controlled pass or use extraction; more soap usually leaves more sticky residue.
Step 5: Remove Detergent Residue
Dampen a clean white microfiber cloth with plain water, wring it until nearly dry, and wipe the cleaned area in overlapping passes. Rinse the cloth repeatedly instead of transferring dissolved soil back onto the fabric.
Professional extraction systems perform this rinse and recovery step mechanically, but a household cloth cannot remove as much moisture or soil. On delicate fabrics, a conservative wipe is safer than repeated wetting.
You will know it worked when: the cloth no longer picks up visible foam and the fabric does not feel tacky after drying.
Common mistake: skipping the rinse. Residual detergent attracts airborne dust and can make a freshly cleaned sofa look dirty again within days.
Step 6: Dry the Upholstery Completely
Blot the cleaned panel with dry towels, separate cushions from the frame, open windows when outdoor humidity is lower, and aim a fan across the surface. Remove cushions from direct sunlight because heat and ultraviolet exposure can fade dyes or dry leather finishes.
Touch the thickest cushion, piping, underside, and seam area after several hours. A surface that feels dry can conceal damp foam. Do not replace cushions or sit on the furniture until the padding is dry.
You will know it worked when: the thickest area has no cool dampness, musty odor, or dark moisture boundary.
Common mistake: using heat instead of airflow. Hair dryers and heaters can create uneven drying, shrinkage, finish damage, or dye migration.
Which Material Needs Which Cleaning Method?
Material, finish, weave, backing, and care code must be considered together. Polyester may tolerate controlled water extraction, while viscose can distort under the same treatment; leather needs a different chemistry altogether.
| Material | Preferred approach | Typical drying or dwell rule | Avoid |
|---|---|---|---|
| Cotton or linen | Low-moisture W cleaner | Dry within 12-24 hours | Flooding, high heat, uneven wetting |
| Polyester or acrylic | Tested W cleaner or extraction | 6-12 hours with airflow | Unlabelled solvent, heavy residue |
| Microfiber | Follow W, S, or W/S tag | Brush only after fully dry | Assuming all microfiber permits alcohol |
| Velvet or chenille | Professional low-moisture or approved solvent | Keep pile direction consistent | Scrubbing, steam without approval |
| Wool | Label-approved solvent or specialist cleaning | Avoid prolonged dampness | Alkaline detergent, hot water |
| Viscose or rayon | Professional assessment | Avoid home wet cleaning | Water, aggressive brushing |
| Aniline or finished leather | pH-balanced leather cleaner | Wipe immediately, condition when dry | Dish soap, ammonia, soaking |
| Faux leather or vinyl | Manufacturer-approved mild cleaner | Wipe dry within minutes | Alcohol, acetone, abrasive pads |
Microfiber
Microfiber is a fiber construction, not a universal cleaning instruction. Some microfiber furniture carries W or W/S codes and tolerates water; some manufacturers permit alcohol-based cleaning, but 70% isopropyl alcohol should be used only when the label or manufacturer allows it.
Alcohol can dissolve some finishes, affect backing adhesives, and create a visible change in sheen. After an approved solvent treatment dries fully, a soft brush can restore nap. Test first.
Velvet, chenille, wool, and viscose
Pile fabrics show directional shading even when clean. Clean with the pile direction, use minimal pressure, and avoid circular scrubbing that crushes or twists the surface.
Viscose and rayon are especially vulnerable to texture distortion, browning, and watermarking. Antique velvet, silk, wool, and viscose furniture should be assessed by a technician who understands dye stability and historical construction.
Leather
Leather upholstery should be dusted, wiped with a manufacturer-approved pH-balanced leather cleaner, and dried immediately with a soft cloth. Conditioner is not automatically required after every clean, and lanolin-based products are not suitable for every finish, especially some protected or pigmented leathers.
Never use ammonia, bleach, abrasive cream, or household dish soap on leather. Apply any conditioner sparingly after a compatibility test, because excess oil can darken leather and attract soil.
Which Upholstery Cleaning Method Should You Choose?
The best method is the lowest-moisture process that removes the actual soil without violating the care code. Hot-water extraction suits compatible synthetic fabric with deep soil, while dry solvent cleaning suits approved delicate materials; neither method is universally superior.
| Method | Water use | Typical drying time | Best application | Main limitation |
|---|---|---|---|---|
| Low-moisture foam | 100-300 mL per seat section | 2-8 hours | Light to moderate surface soil | Limited deep-padded extraction |
| Hot-water extraction | 0.5-2 L per sofa, typical | 6-24 hours | W-coded synthetic fabric, embedded soil | Unsafe for some S, X, viscose, and unstable dyes |
| Dry solvent cleaning | Near-zero water | 30-120 minutes | Approved S-coded delicate fabric | Fumes, flammability, limited water-soluble soil removal |
| Encapsulation cleaning | 100-500 mL per sofa, typical | 1-6 hours | Light maintenance and commercial seating | Poor choice for saturated odor or heavy urine |
| Hand leather cleaning | 50-150 mL product per sofa, typical | 15-60 minutes | Finished leather surfaces | Does not repair cracks or structural damage |
“Steam cleaning” is an imprecise consumer term. Many upholstery machines use hot-water extraction, which sprays solution and recovers it; true steam can expose fabric and adhesives to higher heat. Confirm the equipment method before using it.
How Do You Remove Common Upholstery Stains?
Stain removal depends on the contaminant, fabric code, age, and previous products. No household recipe can safely remove every stain, and repeated treatment can damage fabric even when the color remains.
| Stain | First response | Compatible next step | Do not do |
|---|---|---|---|
| Coffee or tea | Blot with a white towel | Tested W cleaner or upholstery stain product | Rub outward from the center |
| Grease or butter | Lift solids, blot oil | Approved solvent or degreaser | Add water first |
| Blood | Blot with cold water on W fabric | Enzyme or protein stain product | Use hot water |
| Pet urine | Blot, remove absorbent material | Enzyme product, then professional extraction if saturated | Mask odor with fragrance |
| Ink | Isolate the mark | Manufacturer-approved solvent | Spread alcohol across the panel |
| Wine or juice | Blot immediately | Tested water-based product | Use bleach or peroxide casually |
| Mud | Let dry, vacuum particles | Low-moisture cleaner | Wet the mud before vacuuming |
Pet urine that has reached foam cannot usually be removed by cleaning only the surface. A technician may need to inspect the cushion core, neutralize contamination, or replace the foam when odor returns after drying.
What Are the Most Common Cleaning Failures?
Most upholstery failures come from incorrect water use, incomplete testing, aggressive agitation, or slow drying. The visible stain is often less important than the chemistry and moisture left behind by an earlier attempt.
- A water ring appears: The panel dried unevenly or minerals remained at the wet boundary. For a W-coded fabric, lightly dampen the entire panel evenly with distilled water, then blot from seam to seam. Do not attempt this on S or X upholstery.
- The fabric feels stiff: Dried detergent or mineral residue has bonded the fibers. Once fully dry, vacuum and gently groom the nap; if stiffness remains, use a professional low-moisture rinse rather than adding more soap.
- Color transfers to the cloth: Stop immediately. Further cleaning can create a larger faded patch, so allow the area to dry and contact the manufacturer or a specialist.
- A musty odor develops: Padding may have stayed damp or contained old contamination. Increase airflow and dehumidification, inspect the cushion interior, and seek restoration help if odor persists.
- The pile looks flattened: The brush or vacuum was too aggressive, or the pile was worked against its direction. Let the material dry fully, then groom gently in one direction.
- The stain returns: Wicking has carried dissolved soil from the padding to the surface. Repeat only with controlled extraction or have the cushion professionally rinsed and dried.
Ozone treatment is not a routine substitute for source removal. Ozone can irritate the respiratory system and does not repair wet foam, remove all contamination, or correct a failed cleaning process.
Can You Clean Removable Covers and Dining Chairs?
Removable covers can be machine-washed only when the manufacturer permits washing, the fabric has stable dyes, and the cover can be reinstalled without forcing shrinkage. Use the care label’s water temperature and cycle, and air-dry rather than applying high heat unless the manufacturer specifies otherwise.
Dining-chair upholstery often has thin foam over wood, so low-moisture cleaning is safer than saturation. Protect the wood frame, avoid soaking screw holes and seams, and keep the chair off use until the seat underside is fully dry.
Car seats require extra caution because upholstery may surround airbags, sensors, wiring, or child-seat anchors. Use products approved for automotive interiors, keep liquid away from electrical components, and never saturate seat seams containing side airbags.
How Long Does Upholstery Take to Dry?
Typical drying takes 2-8 hours for a low-moisture synthetic-fabric clean, 6-12 hours for many polyester cushions after controlled extraction, and 12-24 hours for dense cotton, linen, or thick foam. High humidity, poor airflow, deep cushion construction, and excessive product can extend those ranges.
Relative humidity near 40%-50% supports faster evaporation, but humidity alone does not prove that foam is dry. Check the thickest cushion and seams by touch, smell, and weight before returning them to the frame.
If furniture remains damp beyond 24 hours, increase airflow and reduce room humidity. Persistent dampness, visible mold, or odor after 48 hours warrants professional moisture assessment rather than repeated home treatments.
What Does Upholstery Cleaning Cost?
Typical DIY costs range from $10-$60 for cloths, brushes, detergent, and spot products, or approximately $30-$100 when a small extractor is rented. Professional upholstery cleaning commonly costs about $75-$300 for a sofa in many markets, with fabric type, access, cushion count, location, and stain severity changing the quote.
| Service or purchase | Typical cost | Typical active time | What changes the price |
|---|---|---|---|
| DIY spot cleaning | $5-$25 | 20-60 minutes | Product type and stain age |
| DIY full fabric clean | $10-$60 | 1-3 hours | Sofa size and equipment |
| Extractor rental | $30-$100 | 2-5 hours | Rental period and attachments |
| Professional sofa cleaning | $75-$300 | 1-3 hours onsite | Size, code, access, soil level |
| Leather cleaning service | $100-$350 | 1-3 hours onsite | Finish, repairs, conditioning |
| Antique or restoration work | $200-$800+ | 2-8 hours or offsite | Fabric rarity and construction |
Ask a professional whether the quote includes inspection, stain treatment, deodorizing, rinse extraction, moving cushions, and a return visit. A very low quote may exclude the steps that prevent residue or prolonged drying.
When Should You Hire a Professional?
Hire a professional for X-coded furniture, unstable dyes, antique upholstery, silk, viscose, saturated pet urine, mold, smoke odor, expensive leather, or furniture with structural damage. Professional equipment cannot make an incompatible fabric safe, but a trained technician can select lower-risk chemistry and control recovery moisture.
Request the cleaner’s method, not only the word “steam.” Ask whether the technician has experience with the exact material, performs a hidden-area test, protects wood and metal, and measures drying conditions when deep extraction is needed.
DIY cleaning is reasonable for a tested W or W/S polyester sofa with ordinary surface soil and sound construction. It is a poor choice when the furniture’s replacement value exceeds the cost of specialist assessment.
How Often Should You Clean Upholstery?
Vacuum high-use upholstery weekly, treat spills immediately, and schedule a deeper clean when soil remains after vacuuming or the fabric develops a dull, greasy appearance. A 12-18 month deep-clean interval is a reasonable starting point for ordinary households, but pets, children, smoking, allergies, and commercial traffic require shorter intervals.
Use a clean vacuum filter and upholstery attachment. Rotate reversible cushions monthly when the manufacturer permits it, keep furniture away from direct sun, and avoid applying fabric protector over residue or an untested finish.
Cleaning does not replace source control. Wash pet bedding, improve ventilation, address leaks, and use a properly fitted vacuum filter when airborne dust or dander is the concern.
Frequently Asked Questions
Can I use baking soda on a fabric sofa?
Baking soda can absorb some surface odor temporarily, but it does not extract urine, grease, or contamination from foam. If used, apply a light layer, leave it for 15-30 minutes, and vacuum thoroughly with a suitable filter. Do not use it as a replacement for code-approved cleaning.
Is vinegar safe for upholstery?
Vinegar is not universally safe for upholstery. Acidic solutions can affect dyes, finishes, latex, and natural fibers, while the smell may remain in absorbent padding. Use a manufacturer-approved product after a hidden-area test instead of assuming a vinegar solution is harmless.
Can I clean upholstery with a carpet cleaner?
A carpet cleaner can be used only when its upholstery attachment, detergent, heat level, and extraction method are compatible with the furniture code. Carpet machines may deliver too much water for foam cushions, so use short passes and recover moisture immediately.
How do I clean an upholstery cushion without removing the cover?
Vacuum both sides, test the code-approved cleaner, treat the stain, and clean the entire visible panel with minimal moisture. Keep the cushion elevated on a drying rack or clean surface with airflow underneath, and turn it only when the first side is dry.
Why does my sofa smell worse after cleaning?
A stronger odor after cleaning usually indicates dissolved contamination, detergent residue, or moisture trapped in foam. Improve airflow and dehumidification, but do not keep adding fragrance or water. If the odor persists after the cushion is fully dry, have the interior inspected.
Is upholstery cleaning the same as disinfecting?
Upholstery cleaning removes soil and some microorganisms through chemistry and physical removal, but it is not automatically disinfection. A disinfectant must be registered and labelled for the specific surface, used at its stated concentration and contact time, and confirmed compatible with the fabric.
The Bottom Line
How to clean upholstery safely depends first on the care code, then on fabric construction, stain chemistry, and moisture control. Vacuum thoroughly, test the complete method, use small amounts of compatible cleaner, remove residue, and dry the padding completely. For X-coded, antique, viscose, saturated, or valuable furniture, professional assessment is the safer cleaning decision.