
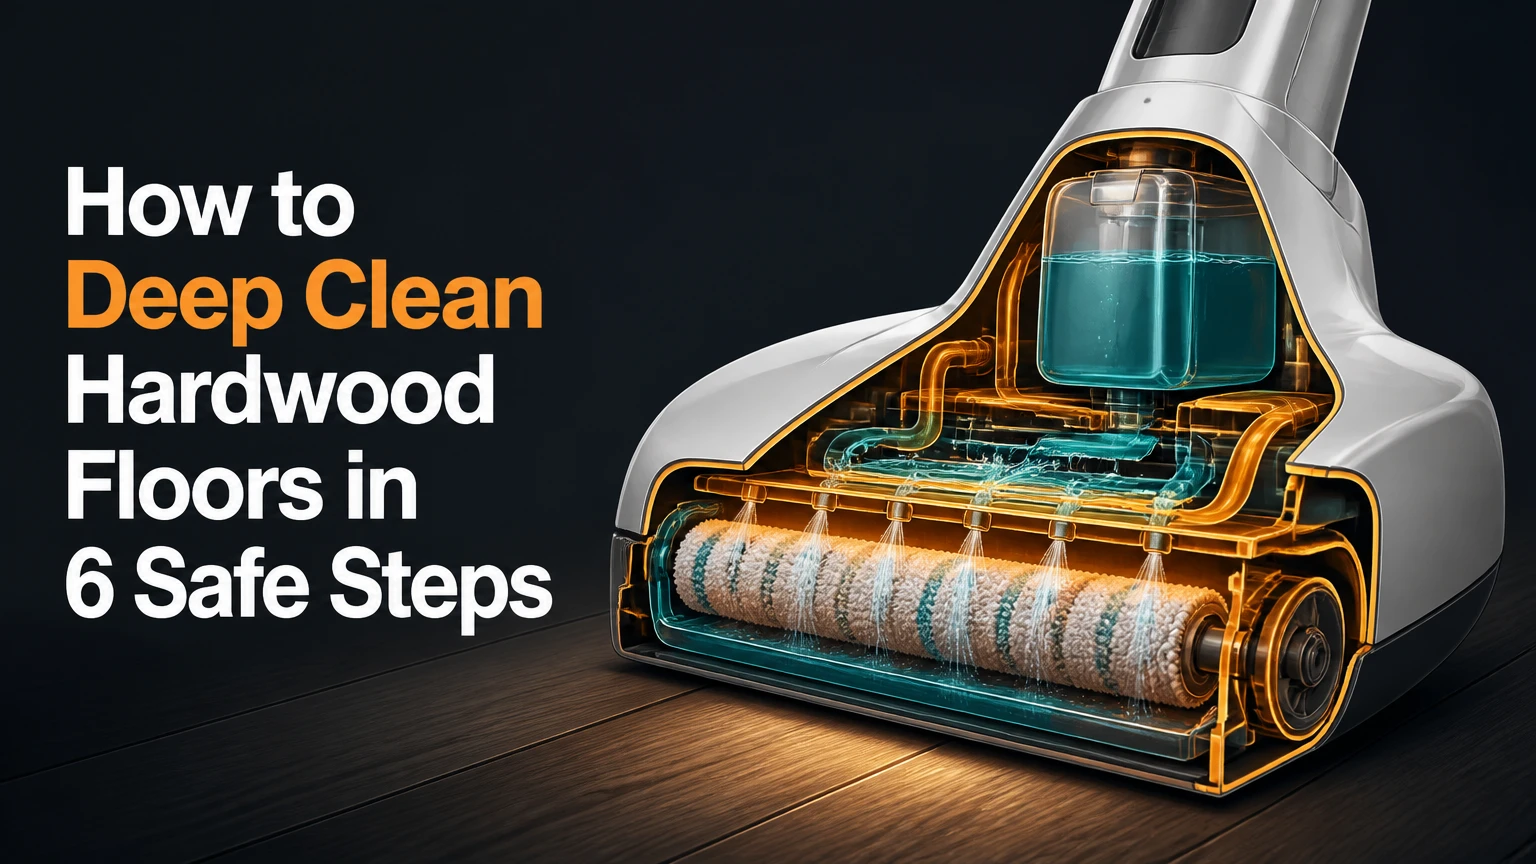
Deep cleaning hardwood floors means removing accumulated dry grit, oily residue, and spot contamination while protecting the floor’s finish from excess water and abrasion. The safest process is a six-step sequence: identify the finish, remove dry soil, treat spots, damp-clean small sections with an approved cleaner, remove residue when directed, and dry the surface quickly.
Key facts at a glance
A hardwood floor should feel barely damp during cleaning, never wet or glossy with standing solution.
A pH-neutral hardwood cleaner approved for the specific finish is safer than vinegar, ammonia, dish soap, or oil soap.
Vacuuming before mopping removes abrasive grit that can scratch polyurethane and oil finishes.
A water-drop test is only a screening test; it cannot reliably identify every finish or reveal every worn area.
Steam mops can drive heat and moisture into seams, so flooring manufacturers and the National Wood Flooring Association generally advise against them.
Deep cleaning cannot repair worn finish, deep scratches, blackened seams, cupping, or boards damaged by moisture.
Before You Start: Identify the Floor and Gather Supplies
A deep clean is appropriate for a reasonably intact, sealed hardwood floor with removable soil. An unknown, visibly worn, oil-finished, waxed, or water-damaged floor needs a more conservative method because the same cleaner that is safe for polyurethane may leave an oil or wax surface dull, sticky, or patchy.
Check the finish before adding moisture
Look for installation records, the flooring manufacturer’s care instructions, or the product label on the cleaner. Factory-finished engineered wood, site-finished solid wood, penetrating-oil floors, and paste-waxed historic floors do not have identical maintenance requirements.
A few drops of water can provide a useful warning: water that darkens the wood quickly may indicate an exposed or porous area. Water that beads does not prove the finish is healthy, because wax, polish, or a small intact patch can create temporary beading. Test an inconspicuous location, and stop if the floor absorbs liquid, feels soft, or shows lifting finish.
Prepare the room and supplies
Remove rugs and movable furniture, then place felt pads under anything that must be shifted. Vacuum edges, vents, and gaps before wet work. Keep pets and children out until the floor is fully dry.
| Item | Typical quantity or specification | Purpose |
|---|---|---|
| Hard-floor vacuum head | 1 attachment, brush roll off | Removes abrasive grit without beating the finish |
| Microfiber flat mop | 1 frame plus 2-4 washable pads | Controls moisture and prevents soil redistribution |
| Hardwood cleaner | 4-8 fluid ounces per 500 square feet, label permitting | Breaks up soil without incompatible additives |
| Buckets | 2, each 2-4 gallons | Separates cleaning solution from rinse water |
| Microfiber towels | 2-6 dry towels | Removes wet spots and residue |
| Nitrile gloves | 1 pair | Protects skin from cleaning concentrate |
| Painter’s tape | 1 roll | Marks a test patch or furniture locations |
Use a cleaner labeled for finished wood floors. “Natural” does not mean compatible: acidic vinegar, alkaline ammonia, essential oils, and soap residues can all create problems. Read the label’s dilution, application, and rinsing instructions before mixing anything.
How to Deep Clean Hardwood Floors
The complete process usually takes 30-60 minutes of active cleaning per 500 square feet, plus 30-90 minutes of drying under ordinary household airflow. Floor condition, furniture, grout-like bevels, and the amount of soil determine the final time; the main success factor is moisture control.
Step 1: Remove all dry soil
Vacuum the entire floor with the hard-floor attachment, brush roll switched off. Work from the farthest corner toward the exit, then use a crevice tool around baseboards, thresholds, vents, and plank bevels where grit accumulates.
Follow with a microfiber dust mop, especially along walls and beneath cabinet overhangs. Dry removal matters because sand and mineral grit behave like fine abrasive powder when dragged beneath a damp pad.
You will know this step worked when the dust mop collects little visible debris and no gritty particles remain under a clean fingertip or white cloth. The common mistake is wet-mopping first, which turns loose grit into a slurry that spreads across the finish and into joints.
Step 2: Treat spots individually
Spot-clean scuffs with a slightly damp microfiber cloth and a small amount of approved hardwood cleaner. A clean tennis ball can remove some rubber heel marks through gentle friction, but stop if rubbing changes the sheen.
Lift dried food, gum, or wax with a plastic scraper held nearly flat. Never use a metal blade, abrasive sponge, melamine foam, or razor because localized scratches can become more visible after the floor dries.
| Contamination | First treatment | Avoid | Escalate when |
|---|---|---|---|
| Rubber heel mark | Dry tennis ball, then damp microfiber | Solvent, abrasive pad | Mark remains after two gentle passes |
| Dried food | Damp cloth for 1-2 minutes, plastic scraper | Metal blade, soaking | Finish softens or flakes |
| Grease film | Manufacturer-approved hardwood cleaner | Dish soap, degreaser | Area remains shiny or sticky |
| Nail polish or paint | Identify finish and product label first | Acetone, lacquer thinner | Spill covers several boards |
| Pet urine | Blot, then wood-safe enzyme product | Flooding, chlorine bleach | Odor persists below the finish |
| White water ring | Finish-specific repair advice | Toothpaste, aggressive buffing | Ring remains or wood is darkened |
Pet urine requires special care. A wood-safe enzymatic product may reduce organic odor on the surface, but it cannot reliably remove urine that has penetrated unfinished edges, subflooring, or multiple board layers. Do not saturate the area while trying to improve the result.
Step 3: Mix the cleaner exactly as directed
Fill a bucket with the amount of water stated on the product label, then add the measured cleaner if the label requires dilution. A pH-neutral formula is commonly suitable for polyurethane-finished wood, but exact pH 7.0 is not a universal requirement; finish compatibility, concentration, and application method matter more than chasing a laboratory-neutral number.
Use two buckets when the floor is heavily soiled: one for diluted cleaner and one for clean water. A spray mop can work well when its reservoir and pad remain clean, but spraying enough liquid to leave puddles defeats its moisture-control advantage.
Test a 2-by-2-foot area behind a door. Allow it to dry completely and inspect for haze, color change, tackiness, raised grain, or altered sheen before treating the rest of the room.
Step 4: Damp-mop in small sections
Dampen a clean microfiber pad and wring or spray it until it feels barely damp. Clean sections of approximately 25-50 square feet, following the grain where practical, and turn or replace the pad when it looks gray.
Use overlapping passes rather than repeatedly scrubbing one location. A soft brush can reach textured bevels, but mechanical agitation should remain light on residential flooring because finish wear often comes from repeated abrasion, not a single cleaning session.
You will know the method is working when the pad lifts visible soil while the floor returns to a uniform, nearly dry appearance within a few minutes. The common mistake is carrying a saturated mop across the room, which leaves liquid in end joints and can swell vulnerable boards.
Step 5: Remove cleaner residue when required
Make a second pass with a separate pad lightly dampened with clean water only if the product directions recommend rinsing or if a visible film remains. Many ready-to-use hardwood cleaners are designed to dry without rinsing, so an automatic water rinse can add risk without improving the result.
Distilled water is not normally necessary for household hardwood cleaning. It may reduce mineral spotting in areas with very hard water, but clean tap water used sparingly is usually adequate.
You will know the floor is free of residue when a dry microfiber cloth glides without tackiness and the sheen looks consistent from several angles. The common mistake is using a dirty rinse pad, which deposits the same detergent and soil that the rinse is meant to remove.
Step 6: Dry the floor and restore the room
Wipe isolated damp patches with a dry microfiber towel, then increase airflow with a ceiling fan or portable fan. Keep windows closed if outdoor humidity is very high, and use a dehumidifier when the room feels damp or the floor has experienced excess moisture.
Light foot traffic is usually reasonable once the surface is visibly dry and no longer slippery, often after 30-60 minutes. Follow the cleaner and flooring manufacturer’s instructions, and wait at least several hours before replacing rugs; wait about 24 hours before returning heavy furniture when practical.
You will know drying is complete when seams are dry, no cloudy patches remain, and the floor does not feel cool or tacky under a clean hand. The common mistake is replacing a rubber-backed rug too early, which can trap moisture and transfer plasticizers or color to the finish.
Which Hardwood-Floor Cleaning Method Should You Choose?
Manual microfiber cleaning is the best default for most finished residential floors because it gives the operator direct control over moisture. Machine extraction can remove more soil from textured or commercial floors, but a machine is only safer when the operator understands the equipment, brush pressure, solution volume, and extraction path.
| Method | Suitable floor condition | Typical cost | Drying expectation | Main risk |
|---|---|---|---|---|
| Manual microfiber mop | Sealed, light-to-heavy household soil | $15-$50 supplies | 30-90 minutes | Over-wetting or residue |
| Spray mop | Sealed floor, frequent small cleanups | $25-$60 kit | 20-60 minutes | Excessive spray |
| Professional extraction | Large, heavily soiled finished floor | $0.50-$2.00 per square foot, typical | 1-4 hours | Incorrect machine settings |
| Machine rental | Experienced operator, open floor area | $50-$100 per day, typical | 1-4 hours | Brush or water damage |
| Mineral-spirit wax maintenance | Compatible wax or oil-wax floor only | $20-$60 materials | 2-24 hours | Fumes, fire, finish incompatibility |
| Refinishing | Worn, scratched, chemically damaged finish | $3-$8 per square foot, typical | 1-3 days | Inadequate preparation |
Professional prices vary by region, access, floor condition, and whether furniture moving or finish repair is included. A 300-square-foot room might cost approximately $150-$600 for a cleaning visit, while sanding and refinishing costs substantially more because the finish itself is being removed and rebuilt.
When is machine extraction justified?
Machine extraction is justified for deeply textured planks, large commercial areas, or soil that manual cleaning cannot remove after a controlled test. It is not automatically better for a small home, and a rental floor scrubber designed for concrete, tile, or garage floors may damage wood through excessive water, aggressive brushes, or poor suction.
Ask a professional what equipment is used, how solution is recovered, and whether the service is approved for the floor manufacturer’s finish. A reputable operator should inspect the floor first rather than promise that every stain can be extracted.
When should old wax be removed?
Old wax should be removed only when the floor is actually compatible with wax stripping and reapplication. Polyurethane floors should not receive mineral spirits, steel wool, or paste wax as a routine deep-cleaning treatment, because those actions can dull the coating, leave solvent residue, or create a surface that later recoating cannot bond to reliably.
Historic floors with penetrating oil or wax finishes may need a maintenance product selected by the finish manufacturer or a wood-floor specialist. Use ventilation, eliminate ignition sources, and follow the solvent safety data sheet; mineral-spirit rags can present a fire hazard if stored improperly.
Common Mistakes and How to Fix Them
The most damaging hardwood-cleaning mistakes are excessive moisture, incompatible chemistry, and abrasive agitation. Recovery depends on timing: remove liquid immediately, increase airflow, and stop experimenting when the finish or wood begins to change.
| Mistake | Visible symptom | Safer recovery | Professional threshold |
|---|---|---|---|
| Steam mop | Cloudy finish, raised seams, cupping | Stop heat and moisture; ventilate | Boards buckle or finish peels |
| Vinegar solution | Dull or streaked coating | Remove residue with approved cleaner | Dullness remains after drying |
| Ammonia or bleach | Color change, softened finish | Rinse only if manufacturer permits; dry | Finish damage or dark stains |
| Oil soap or wax on polyurethane | Sticky film and rapid resoiling | Stop layering products; seek finish advice | Film cannot be removed safely |
| Saturated mop | Swollen joints or edge curl | Towel-dry, fan, dehumidify | Cupping, buckling, or gaps appear |
| Abrasive pad | Fine scratches and uneven sheen | Do not continue buffing | Scratches remain after cleaning |
Steam is especially unsuitable for floors with open seams, worn finish, glue-down construction, or moisture-sensitive cores. Heat can soften some coatings while vapor pressure pushes moisture into joints, where drying is slower than on the exposed surface.
A hazy floor often has cleaner, polish, wax, or hard-water residue rather than embedded dirt. Do not begin with a strong solvent or an improvised alcohol mixture; test a manufacturer-approved residue remover in a hidden area first, because alcohol can soften or discolor some coatings.
Cupped boards have higher edges and a lower center. Stop wet cleaning, dry the room gradually with fans and a dehumidifier, and investigate plumbing leaks or subfloor humidity. Do not sand a cupped floor while moisture levels remain unequal, because sanding can create a permanently uneven surface after the boards flatten.
How Often Should You Deep Clean Hardwood Floors?
Most finished hardwood floors need a detailed damp clean every 3-6 months in homes with pets, children, or frequent outdoor traffic, and about every 6-12 months in lower-traffic rooms. Vacuuming or dust mopping should happen several times weekly, because dry grit causes more cumulative abrasion than occasional controlled damp cleaning.
| Household condition | Dry soil removal | Damp deep clean | Extra protection |
|---|---|---|---|
| One adult, low traffic | 1-2 times weekly | Every 6-12 months | Felt pads and entrance mat |
| Family with children | 3-5 times weekly | Every 3-6 months | No-shoes zone |
| Dog or cat | Daily in entry areas | Every 2-4 months | Immediate accident cleanup |
| Muddy or snowy climate | Daily at entrances | Monthly to quarterly | Absorbent washable mats |
| Retail or office traffic | Daily | Weekly to monthly | Commercial maintenance plan |
The correct frequency is determined by soil load and finish condition, not by a universal calendar. Cleaning more often with too much water can shorten floor life, while frequent dry removal allows less frequent wet cleaning.
Situational Variations for Different Wood Floors
How do you clean engineered hardwood?
Clean engineered hardwood with the same low-moisture sequence only when the manufacturer permits damp cleaning. The wear layer is real wood, but the layered construction does not make the surface waterproof, and liquid can still enter joints, edges, or damaged finish.
Avoid sanding engineered flooring unless a qualified professional confirms that the wear layer is thick enough. Repeated refinishing may remove the usable hardwood layer even when the floor looks structurally sound.
How should you clean oil-finished hardwood?
Oil-finished hardwood generally needs a maintenance soap or refresher specified by the oil-finish manufacturer, followed by controlled buffing when directed. A polyurethane cleaner may leave an uneven appearance because oil finishes are maintained by replenishing and redistributing surface oil rather than by cleaning a single impermeable film.
Apply any maintenance oil sparingly. Excess product can remain tacky, attract soil, and make later spot repairs more difficult.
What should you do with antique or unknown floors?
Use the least-liquid approach on antique or unknown floors: vacuum with a soft hard-floor attachment, dust mop, and consult a flooring conservator or refinishing specialist before using solvent, wax, or water. Historic floors may contain shellac, wax, aged varnish, or deteriorated boards that respond unpredictably to modern cleaners.
The National Wood Flooring Association describes wood as “a hygroscopic material,” meaning it exchanges moisture with surrounding air. That property explains why a floor can react to a cleaning method even when the surface appears sealed.
When Is Cleaning Not Enough?
Cleaning removes soil; it does not restore missing finish or reverse structural movement. A floor needs screening and recoating, spot repair, or full refinishing when scratches expose bare wood, the finish flakes, stains remain below the coating, boards stay cupped after drying, or the surface becomes rough and porous.
A worn finish often shows gray traffic lanes, darkened edges, or water that repeatedly darkens the same places. A deep clean may make those defects more visible by removing the film that previously disguised them.
Professional inspection is warranted when:
- Water entered beneath several boards or remained overnight.
- Boards buckle, peak, split, or separate after drying.
- Pet urine odor returns after surface treatment.
- Black staining extends into seams or subflooring.
- The finish is unknown and the floor is historically significant.
- A chemical spill changes color or softens the coating.
- Sanding, recoating, or solvent stripping appears necessary.
Frequently Asked Questions
Can I use dish soap to deep clean hardwood floors?
Dish soap is formulated to remove grease from washable surfaces, not to maintain a wood-floor finish. Even a small amount can leave surfactant residue that attracts soil and produces streaks. Use a cleaner labeled for finished hardwood instead, diluted exactly as directed, and avoid adding extra soap because more concentrate does not produce a deeper clean.
Should I mop hardwood floors with hot water?
Use cool or lukewarm water unless the product manufacturer specifies otherwise. Hot water does not compensate for an unsuitable cleaner, and heat can soften some finishes while increasing evaporation at the surface before moisture leaves plank seams. The safer variable is a barely damp microfiber pad, followed by prompt airflow and drying.
Can baking soda remove stains from wood floors?
Baking soda can scratch or dull some finishes because its particles are mildly abrasive, and a paste introduces unnecessary moisture. Do not use it as a general hardwood-floor stain remover. Identify whether the mark is on the finish or in the wood, then use a product and method approved for that finish.
How long should I wait before putting rugs back?
Wait until the floor and joints are completely dry, commonly 2-24 hours depending on airflow, humidity, and the amount of solution used. Rubber-backed rugs should not return to a damp floor because they can trap moisture and transfer compounds. Follow the flooring and rug manufacturers’ instructions when they specify a longer interval.
Why does my hardwood floor look dull after mopping?
Dullness usually comes from cleaner buildup, incompatible polish, fine abrasion, or a worn finish rather than insufficient scrubbing. Stop adding products, let the floor dry, and test a small area with the manufacturer’s recommended residue-removal procedure. If the sheen remains uneven, cleaning has exposed a finish problem that may require professional recoating.
Is deep cleaning hardwood floors worth paying a professional to do?
Professional cleaning is most valuable for large areas, textured flooring, commercial traffic, recurring contamination, or floors whose finish cannot be identified safely. Manual cleaning is usually sufficient for a small sealed residential room. Request an inspection, equipment details, moisture-control process, and a written price before authorizing extraction or refinishing.
The Bottom Line
To deep clean hardwood floors safely, remove all dry grit first, identify the finish, use only a compatible hardwood cleaner, damp-mop small sections with a microfiber pad, and dry the surface promptly. Avoid steam, vinegar, ammonia, oil soap, paste wax, abrasive tools, and saturated mops. If boards move or the finish is worn, stop cleaning and arrange an inspection.
Title tag: How to Deep Clean Hardwood Floors in 6 Safe Steps
Meta description: Clean hardwood floors safely with six low-moisture steps, finish checks, drying times, stain fixes, and typical DIY costs. Start now.