
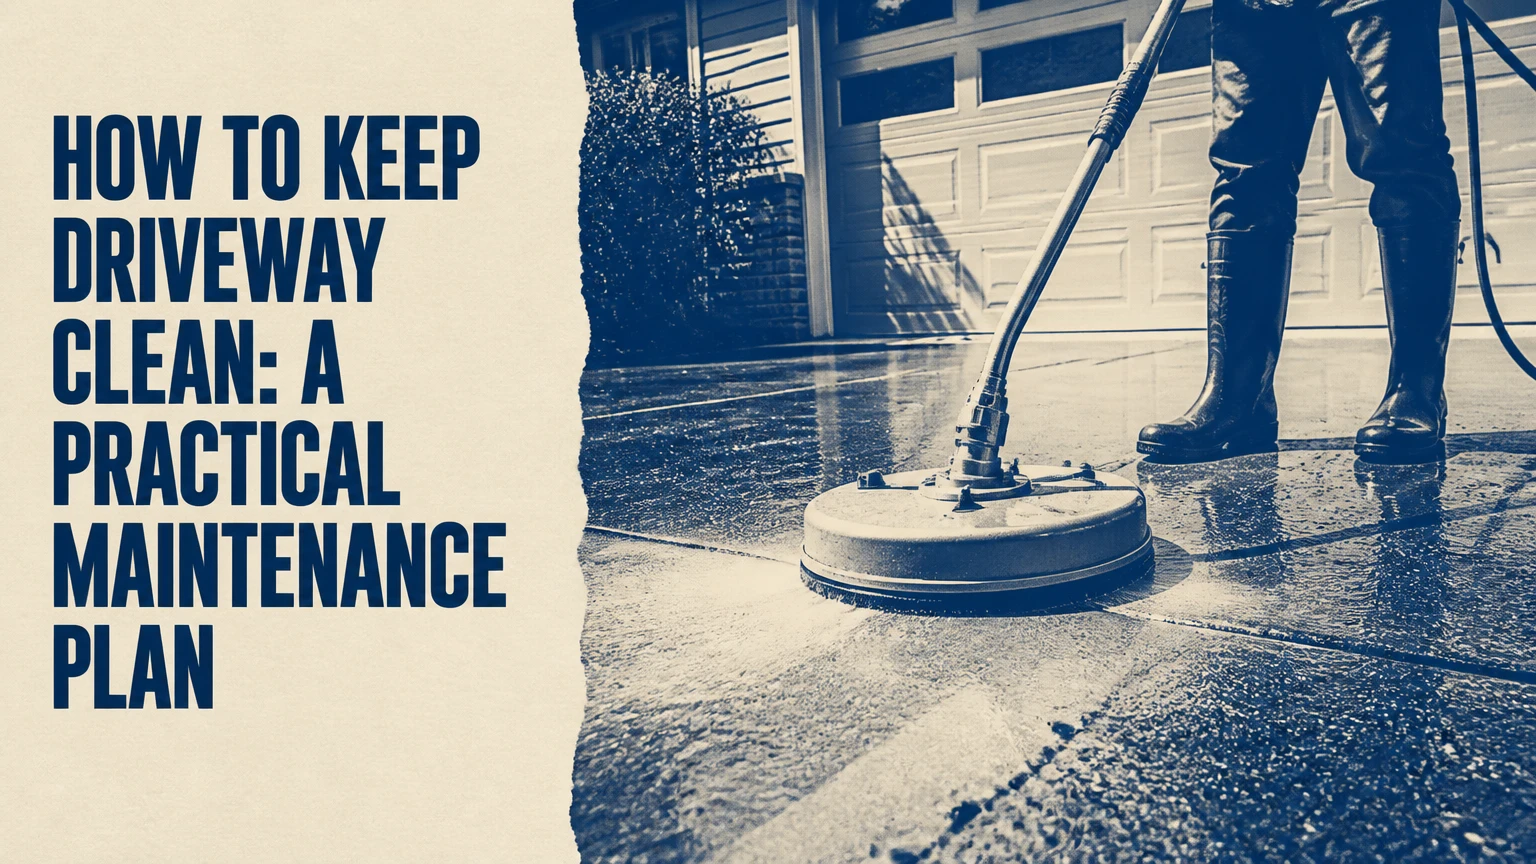
To keep a driveway clean, remove loose debris weekly, treat oil and organic stains immediately, and deep-clean the surface one or two times yearly. Use a stiff nylon brush and material-safe detergent first, then pressure-wash at the lowest effective setting. Concrete, asphalt, pavers, gravel, and resin-bound driveways require different cleaning methods.
Key Facts at a Glance
Weekly sweeping and prompt spill treatment prevent most driveway stains from becoming embedded.
Concrete usually tolerates more pressure than asphalt, pavers, or resin-bound aggregate, but surface condition matters more than a universal PSI number.
A pressure washer removes dirt mechanically; detergent or biocide is needed when oil, algae, or moss has bonded to the surface.
Never direct oily or chemical wastewater into a storm drain, pond, or neighboring property.
Keep vehicles off a freshly washed surface until it is dry, and follow the sealer manufacturer’s longer curing period.
Sealing reduces absorption; it does not repair cracks, remove existing stains, or make a neglected driveway maintenance-free.
What Does Driveway Cleaning Remove?
Driveway cleaning removes loose soil, leaf tannins, algae, moss, lichen, tire residue, oil, grease, rust, bird droppings, chewing gum, and winter de-icing salt. The correct treatment depends on whether the contaminant is biological, petroleum-based, mineral-based, or simply loose surface dirt.
A clean driveway is also a maintained driveway. Sweeping prevents grit from being ground into the surface by tires, while early oil treatment limits migration into porous concrete. Keeping vegetation trimmed improves airflow and reduces the damp, shaded conditions that encourage moss and algae.
Driveway appearance can reveal structural problems. Standing water, widening cracks, settled pavers, loose aggregate, and crumbling asphalt edges should be recorded during cleaning rather than hidden under sealer. Cleaning cannot correct a failing base or drainage defect.
How Does Driveway Cleaning Work?
Driveway cleaning combines four actions: dry removal, chemical reaction, agitation, and rinsing. Dry sweeping removes particles without spreading water, a degreaser loosens petroleum residue, brushing breaks the bond between soil and the surface, and controlled water carries the loosened material away.
Concrete and pavers are porous, so oil can travel below the visible mark. Asphalt contains bitumen, an oil-derived binder that can soften or deteriorate when exposed to petroleum solvents, excessive heat, or aggressive mechanical cleaning. Resin-bound surfacing has a resin matrix that can be damaged by harsh solvents and concentrated pressure.
A penetrating sealer reduces absorption by occupying or modifying surface pores. A film-forming coating changes the surface appearance and can peel if applied over moisture, dirt, or salts. Neither product eliminates the need for sweeping and spill response.
Before You Start: Tools, Time, and Safety
A typical two-car driveway takes 2-4 hours for a careful DIY deep clean, excluding drying and curing. The routine costs about $20-$60 when you already own a hose and brush, or roughly $60-$180 when you add rented pressure-washing equipment and surface-safe chemicals.
| Requirement | Typical amount or setting | Practical purpose |
|---|---|---|
| Stiff nylon push broom | 18-24 inch head | Removes dry leaves, grit, and loose soil |
| Nylon hand brush | 1 brush, medium or stiff | Agitates oil spots and edges |
| Neutral or material-safe cleaner | 1-2 gallons diluted product | Cleans general surface contamination |
| Oil absorbent | 2-5 pounds for a fresh spill | Limits petroleum spread before washing |
| Garden hose | 25-50 feet | Pre-wets plants and performs final rinsing |
| Pressure washer | 1,500-2,500 PSI adjustable | Provides controlled mechanical cleaning |
| Surface cleaner attachment | 12-16 inches for residential work | Reduces striping on sound concrete |
Wear waterproof gloves, eye protection, non-slip footwear, and clothing that can tolerate dirty runoff. Keep children and pets away until the surface is rinsed and no chemical residue remains.
Pre-wet nearby plants with clean water, cover delicate foliage temporarily, and rinse vegetation again after cleaning. Do not mix bleach with acids, ammonia, vinegar, or other cleaners. The CDC’s household cleaning guidance states, “Never mix household bleach or any disinfectant with other cleaners or disinfectants.”
What Should You Check Before Washing?
Inspect the driveway for cracks, loose stones, deteriorated asphalt, missing joint sand, exposed aggregate, rusting metal, and drainage outlets. Test any cleaner on a small inconspicuous area for five minutes, rinse it, and check for color change, whitening, softening, or loss of aggregate.
Choose a cool, overcast day with low wind when possible. Avoid cleaning during freezing weather, intense midday heat, or rain that will dilute the product and carry untreated runoff across the property.
How to Keep Driveway Clean in Six Steps
The safest sequence is to sweep, contain runoff, pretreat stains, wash in sections, rinse completely, and allow full drying before sealing. Work from the highest point toward the drainage area, but never push contaminated water into a storm drain without confirming local requirements.
Step 1: Clear and Dry-Sweep the Driveway
Remove vehicles, bins, toys, hoses, planters, and loose objects. Sweep the entire surface with a stiff nylon broom, including the edges where soil and leaves accumulate.
Collect the debris instead of washing it into the gutter. Clear nearby downspouts and confirm that runoff will not enter a basement, garage, pond, or planted bed.
You will know it worked when loose gravel no longer moves ahead of the broom and the surface has no leaf layer hiding stains.
Common mistake: Wetting the driveway before sweeping turns dry dirt into a slurry and increases water use.
Step 2: Absorb Fresh Oil and Protect the Drainage Path
Cover a fresh oil spill with clay cat litter, commercial absorbent, or another non-combustible absorbent. Leave it for at least 30 minutes, and longer for a large spill, then sweep it up and dispose of it according to local waste rules.
For an older stain, apply an alkaline concrete-safe degreaser or a product labeled for asphalt or pavers. Avoid gasoline, kerosene, paint thinner, acetone, and petroleum solvents because they can spread oil or damage the binder and sealer.
Block the nearest drain with a temporary absorbent sock where permitted, but do not obstruct a route that could cause flooding. Keep the contaminated wash water contained for disposal or direct it to a vegetated area only when local rules and the product label allow it.
You will know it worked when the degreaser wets the stain evenly instead of beading on a waxy film.
Common mistake: Using baking soda alone on an old oil stain. Baking soda can absorb a fresh surface spill, but it rarely extracts petroleum that has penetrated concrete.
Step 3: Apply a Material-Safe Cleaner
Pre-wet the driveway and adjacent vegetation. Dilute the cleaner exactly as its label specifies, then apply it to a manageable 10-by-10-foot section so the product remains wet during its dwell time.
Use an alkaline degreaser for oil and grease, a neutral detergent for ordinary dirt, and a labeled outdoor biocide for persistent algae or moss. Sodium hypochlorite can remove organic growth, but its concentration, contact time, runoff, and plant exposure require strict label control. Household bleach is not a universal driveway cleaner.
Allow the product to dwell for approximately 5-15 minutes unless the label specifies another interval. Do not let it dry on concrete, asphalt, pavers, painted surfaces, or resin.
You will know it worked when dirt changes from a bonded film to a visibly mobile slurry during brushing.
Common mistake: Applying a stronger mixture to speed up cleaning. Higher concentration can discolor surfaces and damage plants without improving removal of mineral or petroleum stains.
Step 4: Agitate the Surface
Scrub general dirt with a stiff nylon brush or use a pressure-washer surface cleaner on a sound, compatible surface. Use a hand brush around walls, garage thresholds, joints, edges, and oil spots.
If using a wand, begin with a wide spray pattern at least 12 inches from the surface. Move continuously in overlapping passes. Test pressure at the edge before working across the visible area.
| Surface | Starting approach | Typical upper starting range | Main restriction |
|---|---|---|---|
| Sound concrete | 25-degree nozzle or surface cleaner | 2,000-2,500 PSI | Avoid etching the cream layer |
| Aged or weak concrete | 40-degree nozzle, lower flow | 1,000-1,500 PSI | Stop if aggregate becomes exposed |
| Asphalt | 40-degree nozzle, broad fan | 1,000-1,500 PSI | Avoid soft binder, gouging, and heat |
| Concrete pavers | 40-degree nozzle, angled spray | 1,000-1,500 PSI | Protect joint sand |
| Clay brick pavers | Low pressure and neutral cleaner | 800-1,200 PSI | Prevent mortar and face damage |
| Resin-bound aggregate | Hose, soft brush, low pressure | Under 1,000 PSI | Prevent resin or stone displacement |
These are conservative starting ranges, not guarantees. A pressure washer’s nozzle size, water flow, distance, surface age, and operator speed determine the actual force at the surface.
You will know it worked when the cleaned section matches the surrounding texture without pale wand marks, exposed aggregate, loose sand, or displaced stones.
Common mistake: Holding a narrow nozzle close to the concrete. That can permanently cut stripes into the surface.
Step 5: Rinse and Inspect
Rinse each section thoroughly with clean water, directing the slurry toward an approved collection or treatment area. Do not allow oil foam or concentrated chemical solution to cross a sidewalk, enter a storm drain, or reach a stream.
Inspect while the surface is wet and again after partial drying. Dark patches may be residual oil, but they can also be normal moisture differences in porous concrete. Spot-treat only the remaining stain instead of recoating the entire driveway with stronger chemical.
Rinse plants, walls, garage doors, and tools. Remove temporary drain protection only after contaminated water has been collected or diluted according to local rules.
You will know it worked when rinse water runs mostly clear and no slippery detergent film remains.
Common mistake: Stopping when the driveway looks clean but leaving detergent in pores. Residue can attract dirt and create a slick walking surface.
Step 6: Dry, Repair, and Seal Only When Appropriate
Allow the driveway to dry fully before applying any coating. Concrete may need 24-48 hours of dry weather, while the exact requirement depends on humidity, shade, temperature, and the sealer label.
Repair cracks and loose paver joints before sealing. Do not seal asphalt that is soft, actively raveling, structurally cracked, or freshly installed without following the paving contractor’s cure guidance.
| Task | Typical duration | Vehicle guidance |
|---|---|---|
| Surface cleaning | 2-4 hours | Keep vehicles off during washing |
| Air drying after washing | 24-48 hours | Park only when visibly dry |
| Concrete penetrating sealer | 24-72 hours | Follow product cure instructions |
| Asphalt sealer | 24-48 hours | Avoid turning stationary tires |
| Paver joint-sand replacement | 1-2 days including cure | Keep traffic off until joints set |
| Resin-bound repair or recoating | Product-specific, often 24-48 hours | Avoid foot and vehicle traffic |
A penetrating silane-siloxane sealer can reduce water and salt absorption in suitable concrete, but it will not conceal an oil mark. Film coatings can alter color and become slippery or cloudy if moisture remains underneath.
Which Cleaner and Method Suit Each Driveway?
Material determines the safest chemistry and pressure. Concrete permits more mechanical cleaning than asphalt, pavers, or resin-bound aggregate, while gravel requires grading rather than pressure washing.
| Driveway material | Suitable cleaner | Safer equipment | Cleaning interval |
|---|---|---|---|
| Concrete slab | Alkaline degreaser, neutral detergent, labeled biocide | Nylon brush, surface cleaner, wide nozzle | Deep clean every 6-12 months |
| Asphalt blacktop | Asphalt-safe detergent, mild degreaser | Nylon brush, hose, low-pressure fan | Wash every 6-12 months |
| Concrete pavers | Neutral detergent, polymeric-sand-safe cleaner | Low-pressure surface cleaner, angled wand | Clean every 6-12 months |
| Clay brick | Neutral pH cleaner | Soft nylon brush, low-pressure rinse | Clean every 12 months |
| Gravel or crushed stone | Mechanical raking, selective weed treatment | Landscape rake, shovel, grading tool | Rake monthly in heavy-use seasons |
| Resin-bound aggregate | Neutral detergent | Soft brush and hose | Wash every 3-6 months |
Is Pressure Washing Better Than Scrubbing?
Pressure washing is faster for broad, sound concrete surfaces, while manual scrubbing gives better control on weak asphalt, delicate pavers, resin, and isolated stains. Chemical soft washing is useful for algae and moss because the biocidal product addresses growth that water pressure alone may leave behind.
| Method | Typical time for 400 square feet | Best use | Main risk |
|---|---|---|---|
| Manual scrubbing | 3-6 hours | Small stains and fragile surfaces | Physical fatigue |
| Pressure washing | 2-4 hours | Sound concrete and heavy soil | Etching or striping |
| Chemical soft washing | 2-4 hours | Algae, moss, and lichen | Plant and runoff damage |
| Hot-water cleaning | 1-3 hours | Grease and chewing gum | Equipment cost and heat damage |
| Professional cleaning | 1-3 hours on site | Large or difficult driveways | Service cost |
Hot water can improve grease removal, but commercial hot-water machines are expensive and unnecessary for ordinary dirt. A surface cleaner usually creates a more even result than a wand because multiple nozzles maintain a consistent distance.
How Do You Remove Common Driveway Stains?
Treat the contaminant according to its chemistry. Oil needs absorption and emulsification, organic growth needs a labeled biocide or oxidation treatment, and rust needs a compatible acid-based rust remover rather than chlorine bleach.
| Stain | First treatment | Contact time | Avoid |
|---|---|---|---|
| Fresh motor oil | Clay absorbent or litter | 30 minutes to overnight | Washing directly into drains |
| Old oil | Label-approved alkaline degreaser | 5-20 minutes | Gasoline and paint thinner |
| Algae or moss | Labeled outdoor biocide | Product label, often 5-15 minutes | High pressure alone |
| Rust | Oxalic or citric rust remover labeled for surface | Product label, often 2-10 minutes | Chlorine bleach |
| Tire marks | Mild degreaser and nylon brush | 5-10 minutes | Wire brush on asphalt |
| Leaf tannin | Oxygen-based cleaner or neutral detergent | 5-15 minutes | Strong acid on unknown stone |
| Chewing gum | Ice, scraper, or controlled hot water | Until brittle or softened | Chiseling concrete surface |
| Efflorescence | Dry brushing, then paver-safe cleaner | Product label | Sealing before salts stop migrating |
Rust removers can etch concrete and discolor natural stone, so test first and neutralize or rinse as directed. Chlorine bleach may lighten organic stains but is generally a poor choice for iron oxide.
Old oil often cannot be removed completely because petroleum has migrated below the surface. A remaining shadow is sometimes a material limitation, not evidence that more aggressive chemistry is needed.
What Mistakes Damage a Driveway?
The most damaging errors are excessive pressure, incompatible solvents, uncontrolled runoff, premature sealing, and treating every material as concrete. A visibly brighter surface is not a successful result if the operator has removed the cement cream, binder, joint sand, or resin.
- Using 3,000-4,000 PSI by default: Start lower and increase gradually after a test patch.
- Using a wire brush on asphalt: Wire can tear the fine aggregate and accelerate raveling; use nylon.
- Sealing damp concrete: Moisture trapped under a coating can cause whitening, blistering, or peeling.
- Applying acid to oil: Acid does not dissolve petroleum and may roughen concrete.
- Killing moss without fixing shade and moisture: Growth returns when drainage and light conditions remain unchanged.
- Blowing out paver joints: Replace lost joint sand and compact it before applying a compatible sealer.
- Cleaning in full sun: Cleaner dries before it works, leaving uneven patches.
- Ignoring garage thresholds: Water can push dirt and chemicals into the garage or toward electrical equipment.
An expert rule of thumb is to choose the least aggressive method that produces a clean test patch. Increasing dwell time and improving agitation is often safer than increasing chemical concentration or pressure.
How Can You Prevent Dirt From Returning?
Preventive maintenance works best when it removes the source of contamination rather than repeatedly treating symptoms. Sweep once weekly, remove leaves before they become wet tannin stains, clean vehicle leaks immediately, and keep irrigation heads from spraying the driveway.
Use a drip tray beneath vehicles with known leaks and repair the leak promptly. Trim plants away from the pavement edge, clean roof runoff paths, and correct low spots where water remains for more than 24 hours after rainfall.
A Practical Maintenance Schedule
| Frequency | Action | Trigger for extra work |
|---|---|---|
| Weekly | Sweep grit, leaves, and branches | Heavy tree cover or gravel tracking |
| After every spill | Absorb and spot-clean oil or coolant | Spill larger than 1 square foot |
| Monthly | Inspect cracks, joints, edges, and drainage | Standing water or loose aggregate |
| Spring | Deep-clean organic growth and winter residue | Salt scaling or persistent algae |
| Autumn | Remove leaves and clear drains | Wet leaf accumulation |
| Every 3-5 years | Assess suitable concrete sealer | Water darkens the surface rapidly |
Winter salt should be removed with repeated clean-water rinsing when temperatures permit. Avoid metal shovels and aggressive de-icing chemicals on concrete exposed to freeze-thaw cycles; use a plastic shovel and follow the pavement manufacturer’s guidance.
How Much Does Driveway Cleaning Cost?
Typical DIY driveway cleaning costs $20-$60 for detergent, absorbent, brushes, and hose use, or $60-$180 when equipment rental is included. Professional cleaning commonly costs about $150-$400 for a small residential driveway, while sealing may add approximately $300-$1,000 depending on material, repairs, and local labor.
| Service | Typical residential price | Typical duration | Usually includes |
|---|---|---|---|
| DIY spot treatment | $10-$35 | 30-90 minutes | Absorbent, degreaser, brush |
| Pressure-washer rental | $40-$90 per day | 2-4 hours | Machine only or basic accessories |
| Professional washing | $150-$400 | 1-3 hours | Pre-treatment, washing, rinse |
| Concrete sealing | $300-$1,000 | 1-2 days including cure | Cleaning, sealer, minor preparation |
| Paver joint restoration | $400-$1,200 | 1-3 days | Cleaning, sand replacement, sealer |
Prices vary with driveway area, access, stain severity, repairs, regional labor rates, and wastewater requirements. A quote that excludes crack repair, joint sand, or runoff handling may not represent the final cost.
When Should You Hire a Professional?
Hire a professional when the driveway has widespread oil contamination, fragile or decorative concrete, extensive moss, failing asphalt, difficult drainage, or a large area that requires wastewater recovery. Professionals can match surface pressure and chemical dwell time more consistently, but a contractor still needs to explain the products and protect runoff routes.
Ask for the cleaning method, proposed pressure range, chemical name, plant protection plan, and insurance details. Avoid contractors who promise that every oil stain will disappear or who use the same high-pressure setting on concrete, asphalt, pavers, and resin.
Professional cleaning is not automatically better for a structurally damaged driveway. Cleaning can expose deterioration that needs a paving, masonry, or drainage contractor rather than another wash.
FAQ
Can I clean a driveway without a pressure washer?
Yes. Sweep the surface, pretreat stains with a compatible cleaner, scrub with a stiff nylon brush, and rinse with a garden hose. Manual cleaning works well for small concrete areas, asphalt, resin-bound aggregate, and isolated stains, although a large or heavily soiled driveway requires more time and physical effort.
Is bleach safe for concrete driveways?
Diluted, label-approved sodium hypochlorite can remove algae and organic growth from some concrete surfaces, but bleach is not a universal cleaner. Protect plants, control runoff, ventilate the area, and never mix bleach with vinegar, acids, ammonia, or other cleaning products. A neutral or alkaline product is usually better for routine dirt and oil.
Can vinegar remove weeds between driveway pavers?
Vinegar can damage or kill contacted foliage, but household vinegar may not control established roots and concentrated acetic acid can burn skin, plants, and nearby surfaces. Hand removal, joint maintenance, and polymeric sand are more durable options. Check local rules before using herbicidal-strength vinegar.
How long should I wait before parking on a washed driveway?
Wait until the driveway is completely dry, typically 24 hours after washing in ordinary weather. Follow the sealer label when a coating has been applied, because vehicle traffic may need to wait 24-72 hours. Cool temperatures, shade, high humidity, and thick coatings extend the required time.
Why does my driveway look clean but smell oily?
Residual petroleum may remain in porous concrete, trapped beneath the visible surface. Repeat a material-safe alkaline degreasing treatment rather than using solvent or acid, and inspect for an active vehicle leak. Persistent contamination, especially near a garage, may require professional extraction and wastewater control.
Should I seal a driveway after cleaning?
Seal a sound, fully dry surface only when the product matches the material and local climate. Concrete sealers can reduce water and salt absorption, while asphalt sealers protect against oxidation when the pavement is structurally sound. Do not seal active cracks, damp surfaces, soft asphalt, or dirty paver joints.
The Bottom Line
To keep driveway clean, build a small routine around weekly sweeping, immediate oil absorption, seasonal deep cleaning, and material-specific tools. Start with the least aggressive cleaner and pressure that works, control wastewater, and delay sealing until the surface is clean, repaired, and completely dry. That approach protects appearance without trading short-term brightness for permanent surface damage.