
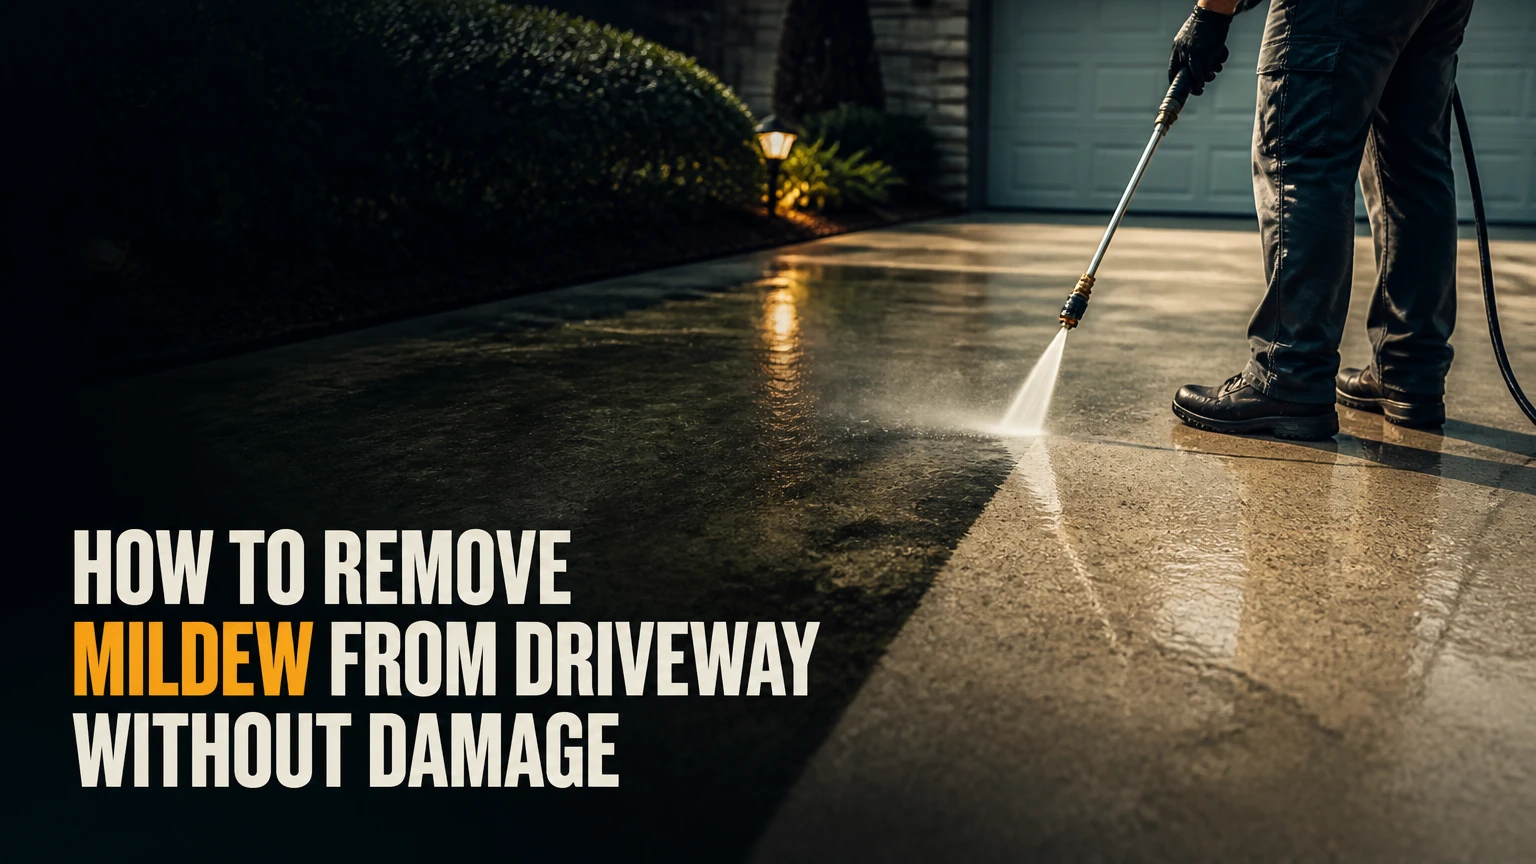
To remove mildew from a driveway, apply a surface-safe cleaner, keep it wet for 10-15 minutes, scrub with synthetic bristles, and rinse thoroughly without sending concentrated runoff into plants or storm drains. The best method depends on whether the driveway is concrete, asphalt, brick, or pavers, because pressure and chemical tolerance differ.
Key Facts at a Glance
- Mildew is usually a shallow fungal surface growth, but dark driveway staining can also come from algae, moss, rust, or efflorescence.
- Sodium hypochlorite removes heavy organic discoloration quickly, but it can damage vegetation, corrode metal, and irritate skin and lungs.
- Sodium percarbonate, commonly called oxygen bleach, is slower and usually requires more scrubbing, but it avoids chlorine fumes.
- A pressure washer removes dead growth and embedded dirt; it does not replace adequate chemical dwell time.
- A typical DIY cleaning session takes 1-3 hours, including preparation, treatment, agitation, and rinsing.
- Persistent mildew usually indicates shade, poor drainage, leaf buildup, or a surface that remains damp for much of the day.
What Is Mildew on a Driveway?
Mildew on a driveway is a thin fungal growth or fungal discoloration that develops where moisture, shade, soil, and organic debris remain on the surface. Mildew commonly appears as powdery white, grey, green, or black patches, although color alone cannot identify the organism.
Concrete and pavers are porous, so fungal residue can lodge in surface texture and joints. Asphalt is less porous at the binder layer, but its rough aggregate, dust, and accumulated organic matter can still support surface growth.
Mildew, Mold, Algae, Moss, or Efflorescence?
Driveway stains need identification before treatment because a disinfectant will not remove every type of discoloration. Green slippery film often indicates algae, raised leafy growth indicates moss, and chalky white deposits usually indicate mineral salts rather than mildew.
| Appearance or texture | More likely cause | Useful first response | Treatment limitation |
|---|---|---|---|
| Powdery grey, white, or black film | Mildew or fungal residue | Oxygen bleach or labeled exterior biocide | Heavy pigment may remain after killing |
| Slimy green coating | Algae | Cleaner plus stiff synthetic scrubbing | Wet algae creates a slip hazard |
| Raised green strands or cushions | Moss | Remove growth, then treat remaining roots | Cleaner alone may not remove the mass |
| White crystalline haze | Efflorescence | Dry brushing and mild water rinse | Bleach does not dissolve mineral salts |
| Orange or brown spots | Iron or rust staining | Rust-specific concrete cleaner | Chlorine bleach can worsen some rust marks |
| Black speckled marks in paver joints | Organic growth or tire residue | Test a small area with a compatible cleaner | High pressure can remove joint sand |
Mildew is generally surface-level, but the distinction from mold is less useful than the treatment decision. Porous concrete can retain organic material below the visible surface even when growth began at the top.
How to Remove Mildew From a Driveway Safely
A five-step driveway cleaning process normally takes 1-3 hours and uses sweeping, controlled chemical treatment, 10-20 minutes of wet dwell time, synthetic-bristle agitation, and complete rinsing. Surface testing and runoff control determine success more reliably than using the strongest available chemical.
Before You Start
| Requirement | Typical specification |
|---|---|
| Working time | 1-3 hours for 20-50 square metres |
| Weather | 10-25°C, overcast if possible, no heavy rain during dwell time |
| Basic tools | Stiff nylon broom, plastic bucket, pump sprayer, garden hose, gloves, eye protection |
| Cleaner quantity | 2-4 litres of diluted solution per 10 square metres |
| Pressure washer | Adjustable unit, wide fan nozzle, test area first |
| Surface prerequisite | Remove vehicles, toys, furniture, leaves, and loose soil |
| Safety control | Keep children and pets away until the surface and runoff area are dry |
Never combine chlorine bleach with ammonia, acids, vinegar, toilet cleaner, or other household products. The U.S. Centers for Disease Control and Prevention gives the direct instruction, “Never mix bleach with other cleaners or disinfectants,” because dangerous gases can form.
Wet nearby plants with clean water before treatment, cover sensitive metal where practical, and identify where rinse water will travel. Do not deliberately direct concentrated cleaner into a storm drain, pond, vegetable bed, or neighbour’s property.
Step 1: Identify and Test the Surface
Confirm whether the driveway is concrete, asphalt, clay brick, concrete pavers, or natural stone. Check for a sealer, loose aggregate, damaged joints, cracks, previous repairs, and areas where water pools.
Apply the chosen cleaner to a hidden 30-by-30-centimetre patch. Wait the full intended dwell time, scrub gently, rinse, and allow the patch to dry before judging color change.
You will know the test worked when the growth loosens without surface whitening, binder loss, joint erosion, or unusual color change. A common mistake is testing only while the surface is wet, because wet concrete and pavers can conceal bleaching or gloss changes.
Step 2: Sweep and Pre-Wet
Sweep the entire driveway with a stiff nylon broom, paying attention to expansion joints, paver edges, cracks, and shaded margins. Remove leaves and soil rather than pushing them into a drain.
Pre-wet concrete and pavers lightly if the surface is hot or highly absorbent. Do not flood the driveway, since excessive water dilutes the cleaner and increases runoff.
Pre-wet grass, shrubs, and garden soil with clean water. The water reduces immediate absorption if diluted cleaner reaches vegetation, but it does not make chlorine harmless.
The checkpoint is a visibly clear surface with no loose leaves or dry dust. Leaving organic debris in place is a frequent reason mildew appears to return soon after cleaning.
Step 3: Apply a Suitable Cleaner
Choose one cleaner, mix it only according to the product label, and apply enough solution to keep the affected area visibly wet. A labeled exterior biocide is the most predictable option because its concentration, contact instructions, and surface restrictions are specified by the manufacturer.
For oxygen bleach, dissolve sodium percarbonate powder in warm water according to the package instructions and use the solution promptly. Typical household formulations often require more scrubbing than chlorine products because oxygen bleach releases active oxygen more gradually.
For chlorine bleach, use a product label rather than an automatic one-part-bleach-to-three-parts-water recipe. Household bleach strength varies, concentrated products vary more, and some driveway materials or sealers prohibit sodium hypochlorite entirely.
| Cleaner | Typical active chemistry | Contact time | Best use | Main limitation |
|---|---|---|---|---|
| Sodium hypochlorite | Chlorine oxidation | 5-15 minutes | Fast removal on compatible concrete | Vegetation, metal, fumes, and runoff risk |
| Sodium percarbonate | Oxygen-releasing oxidation | 15-30 minutes | Small areas and cautious maintenance | More agitation and slower visible results |
| Labeled exterior biocide | Product-specific fungicide or surfactant | 10 minutes to several days | Recurring growth and low-pressure cleaning | Label may require rain or extended drying |
| Mild detergent | Surfactant and soil suspension | 5-10 minutes | Dirt mixed with light organic film | Does not reliably kill established growth |
| White vinegar | Acetic acid | 15-30 minutes | Small, isolated non-stone spots | Inconsistent on porous hardscape and may harm plants |
Do not use vinegar on acid-sensitive natural stone, and do not assume baking soda is a fungicide. Baking soda can provide mild surface cleaning, but its removal power depends mainly on scrubbing.
You will know the application is adequate when the whole patch glistens and no area has dried. A common mistake is spraying a thin mist that evaporates before the chemistry has time to work.
Step 4: Maintain Dwell Time and Scrub
Keep the cleaner wet for 10-15 minutes for a typical labeled treatment, or follow the product’s longer contact instruction when the label requires it. Scrub with a stiff nylon or polypropylene brush, using overlapping passes across the growth and into textured areas.
Do not use a steel wire brush. Wire can scratch concrete, damage coatings, remove pigment from pavers, and leave particles that later rust.
Scrubbing is not merely cosmetic. Chemical treatment weakens or kills organic growth, while agitation breaks the material away from microscopic depressions and surface pores.
The checkpoint is a grey, brown, or green slurry lifting from the surface rather than a firm black film remaining in the texture. A common mistake is extending chemical dwell time while skipping agitation, which can kill the growth but leave its pigment attached.
Step 5: Rinse Without Spreading the Problem
Rinse from the highest part of the driveway toward a controlled collection or drainage area, using a wide spray pattern and enough clean water to remove cleaner and loosened residue. Keep the spray away from plant beds, open soil, ponds, and storm drains whenever possible.
For a garden hose, use a high-flow fan nozzle and make several passes. For a pressure washer, begin at low pressure, hold the nozzle 30-45 centimetres from the surface, and move continuously rather than concentrating on one spot.
Rinse nearby plants again after cleaning. Keep pets away until the driveway is dry and no visible residue remains.
The surface is adequately rinsed when no foam, slippery film, or cleaner odor remains. A common mistake is rinsing only the dark patch, leaving diluted chemical and dead organic matter around its perimeter.
Which Driveway Cleaner Works Best?
Sodium hypochlorite is usually the fastest option for severe organic staining on compatible concrete, while oxygen bleach is the more conservative choice near household activity and sensitive landscaping. A labeled commercial biocide is preferable when recurrence is frequent or the manufacturer specifies a no-rinse application.
| Method | Typical material cost | Visible result | Scrubbing needed | Principal risk |
|---|---|---|---|---|
| Chlorine solution | $5-$20 | 15 minutes to 2 hours | Moderate | Plant injury and corrosion |
| Oxygen bleach | $10-$30 | 30 minutes to 4 hours | Moderate to high | Residue if poorly rinsed |
| Commercial biocide | $20-$60 | Hours to several weeks | Low to moderate | Slow results and label restrictions |
| Hose and detergent | $5-$15 | 1-3 hours | High | Incomplete fungal control |
| Pressure washer rental | $40-$100 per day | 1-4 hours | Low to moderate | Surface or joint damage |
| Professional cleaning | $150-$600 typical | Same day | None for homeowner | Variable chemical and pressure practices |
Prices are typical homeowner ranges in the United States and vary by region, driveway size, product concentration, and access. A large driveway, severe growth, or difficult runoff route can raise labor costs.
When Is Pressure Washing Appropriate?
Pressure washing is appropriate for removing dead mildew, dirt, and residue after chemical treatment, but pressure alone is unreliable against growth embedded in porous concrete. A machine rated at 2,500-3,000 PSI does not mean the operator should apply that pressure directly to every driveway.
| Surface | Starting approach | Common working range | Nozzle or tool guidance | Main concern |
|---|---|---|---|---|
| Sound concrete | Cleaner first, then fan spray | 1,500-2,500 PSI | 25° or 40° tip, 30-45 cm away | Etching and striping |
| Aged or cracked concrete | Low-pressure rinse | 1,000-1,500 PSI | 40° tip, wider distance | Crack enlargement |
| Asphalt | Soft wash and gentle rinse | 500-1,000 PSI | 40° tip, never a tight jet | Binder and aggregate loss |
| Concrete pavers | Low-pressure rinse | 800-1,500 PSI | 25° or 40° tip, joints avoided | Joint-sand displacement |
| Clay brick | Low-pressure fan spray | 500-1,000 PSI | 40° tip, test first | Spalling and mortar damage |
| Sealed natural stone | Manufacturer-approved method | Often under 1,000 PSI | Wide fan, test patch | Sealer whitening or failure |
The exact working pressure depends on nozzle size, flow rate, distance, and surface condition. The practitioner rule is simple: start low, test a hidden area, and increase only until residue moves without visible surface change.
How Should You Clean Concrete, Asphalt, and Pavers?
Concrete tolerates more controlled rinsing than asphalt, while pavers require special attention to joint sand and sealers. The same cleaner may work chemically across several surfaces, but application strength, pressure, and runoff handling must be adjusted for each material.
Concrete Driveways
Use a compatible oxygen bleach or labeled exterior cleaner, allow 10-15 minutes of wet contact, scrub, and rinse with a wide fan. Concrete can show tiger stripes when a narrow pressure-washer tip is held too close.
Avoid acid-based cleaners unless the product specifically targets mineral deposits and the surface test confirms compatibility. Acid can etch cement paste and create a lighter patch that resembles fresh cleaning damage.
Asphalt Driveways
Use a low-pressure soft-wash method and keep chlorine exposure short when the product label allows it. Asphalt contains a bituminous binder that can soften, fade, or lose aggregate when exposed to excessive pressure, heat, or aggressive chemicals.
Do not use a rotating turbo nozzle on asphalt. Do not aim at cracks, edges, or repaired patches, because these areas can release aggregate or enlarge under concentrated spray.
Pavers and Brick
Sweep pavers first, treat the growth, and rinse across the joints rather than directly into them. Replace displaced joint sand after the surface dries, then reseal only if the paver manufacturer approves the product.
Clay brick and some natural stones respond poorly to strong acids and high pressure. A neutral or manufacturer-approved cleaner is safer than assuming a concrete cleaner is universally suitable.
Why Does Mildew Return So Quickly?
Mildew returns when a driveway stays damp long enough for new growth to establish, especially under shade, leaking downspouts, parked vehicles, dense vegetation, or accumulated leaves. Cleaning removes existing growth, but it does not correct the moisture source.
Inspect the driveway after rainfall and record where water remains 24 hours later. Trim branches that block drying, redirect downspouts away from the slab, clear nearby gutters, remove leaf piles weekly, and improve drainage where practical.
Sealing can slow water absorption on suitable concrete and pavers, but sealers do not fix standing water or eliminate shaded humidity. Apply a sealer only to a clean, fully dry surface and follow its required curing period.
A practical prevention schedule is to sweep monthly during wet seasons and inspect shaded edges every four to six weeks. Re-treat small patches early rather than waiting for a continuous film.
What Should You Do About White, Yellow, or Brown Residue?
White powder after cleaning is usually efflorescence or dried mineral residue, not surviving mildew. Yellow or pale organic residue may be dead pigment and soil, while orange-brown marks often indicate iron or rust and require a different product.
Let the driveway dry completely before diagnosing residue. Dry-brush white crystals with a nylon broom, then use clean water; vinegar may help some mineral deposits, but acid-sensitive stone and cement paste require caution.
If a dark patch turns pale but remains physically attached, repeat a compatible cleaner and scrub rather than automatically increasing chemical strength. If the stain does not change after a test treatment, stop applying biocide and investigate rust, tire rubber, oil, algae, or permanent discoloration.
How Can You Tell the Cleaning Failed?
A cleaning attempt failed when the surface remains slippery, the organic film is still raised, or growth returns from the same damp edge within several weeks. Color loss alone does not prove that the driveway is clean.
Inspect the surface by touch only after wearing gloves and rinsing thoroughly. Look for remaining material in cracks, joints, and shaded borders, because those locations often reseed the visible area.
What Mistakes Damage Driveways?
The most damaging driveway-cleaning mistakes are excessive pressure, incompatible chemicals, dry-out during dwell time, uncontrolled runoff, and treating stains without identifying their cause. Stronger treatment is not automatically better because concrete, asphalt, sealers, plants, and joint sand have different failure thresholds.
- Using a narrow pressure tip: Move farther away and switch to a 25° or 40° fan tip.
- Blasting asphalt: Stop immediately if aggregate loosens or the surface turns fuzzy; use low-pressure chemical cleaning instead.
- Allowing cleaner to dry: Re-wet the section, reduce the working area, and clean during cooler, shaded conditions.
- Using a wire brush: Replace it with nylon or polypropylene bristles to prevent scratches and rust marks.
- Rinsing into plants: Use clean water to dilute foliage and redirect future rinse water away from beds.
- Mixing products: Stop, leave the area, and ventilate it if fumes develop; never attempt to neutralize a mixed chemical with another product.
A practitioner rule of thumb is to clean sections small enough to finish before they dry. On a sunny concrete driveway, that may mean working in 5-10 square metre sections rather than treating the entire surface at once.
When Should You Hire a Professional?
Hire a professional when mildew covers most of the driveway, runoff cannot be controlled, the surface is historic or heavily damaged, or repeated DIY cleaning has not identified the moisture source. Professional cleaning is also sensible when the driveway borders a pond, sensitive landscaping, or a shared drainage system.
Ask the contractor which chemical is being used, whether the surface will be pressure-washed or soft-washed, how plants and storm drains will be protected, and whether the quote includes post-treatment rinsing. A responsible contractor should test a small area and explain the risk to asphalt, pavers, coatings, or joint sand.
Professional cleaning does not guarantee permanent prevention. Recurring growth still requires drainage correction, shade management, and debris control.
FAQ
Is bleach or vinegar better for driveway mildew?
Bleach is generally faster and more effective on heavy organic growth when the driveway and surrounding environment can safely tolerate it. Vinegar is a weaker, less predictable option for porous hardscape and may damage acid-sensitive stone or nearby plants. Never mix vinegar with chlorine bleach.
Can I remove mildew without a pressure washer?
Yes. Apply a compatible oxygen bleach or labeled exterior cleaner, keep it wet for 10-30 minutes, scrub with a stiff nylon broom, and rinse with a high-flow garden hose. Manual cleaning works well for small or moderate patches, although large textured areas require more labor.
Is driveway mildew dangerous to pets?
Wet cleaning chemicals and loosened organic residue can irritate pets, and concentrated runoff can harm animals that drink from puddles. Keep pets away during application and until the driveway is rinsed and dry. Store all products securely and follow the product label’s re-entry instructions.
Should I seal a driveway after removing mildew?
Seal concrete or pavers only after the surface is clean, dry, structurally sound, and free from active growth. Sealing a damp or contaminated surface can trap moisture, create cloudy areas, and shorten sealer life. Asphalt sealcoating requires separate product and curing guidance.
Why does my driveway smell after cleaning?
A lingering odor usually comes from retained organic residue, cleaner residue, or damp material in cracks and joints. Rinse again with clean water, improve drying, and inspect shaded edges. Do not add another chemical merely to mask the smell.
Can I use a steam cleaner on driveway mildew?
Steam can loosen organic residue, but it is rarely the most practical driveway treatment because outdoor surfaces dissipate heat quickly and the method does not correct moisture problems. Use a compatible cleaner and controlled rinsing first, then reserve specialized equipment for delicate or heavily contaminated surfaces.
The Bottom Line
To remove mildew from driveway surfaces safely, identify the material, test one small patch, apply a compatible cleaner, keep it wet for 10-15 minutes, scrub with nylon bristles, and rinse without contaminating plants or drains. Use low pressure on asphalt and pavers, treat residue according to its cause, and correct shade or drainage problems so mildew does not return.