
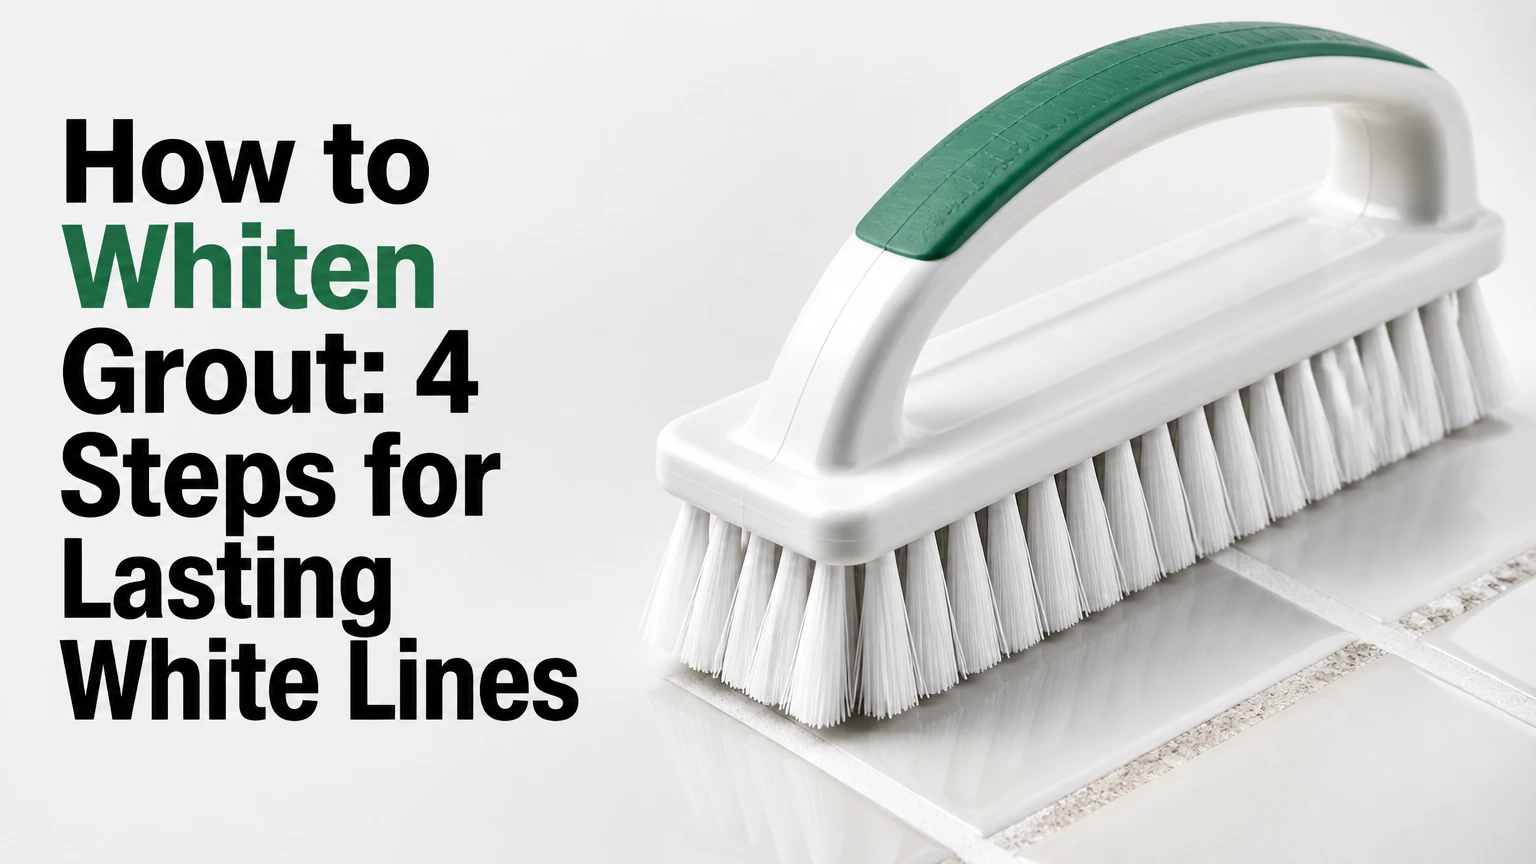
To whiten grout, identify the stain, clean standard cement grout with hydrogen peroxide or oxygen bleach, scrub with a nylon brush, rinse away all residue, and seal the fully dry grout after 24 hours. Cleaning restores the original color when dirt or organic staining caused the discoloration; grout colorant is needed when pigment has permanently changed.
Key Facts at a Glance
Standard cement grout is porous, so it absorbs soil, grease, soap residue, and mineral deposits.
Hydrogen peroxide and sodium percarbonate are suitable first choices for many organic stains on cement grout.
Vinegar and other acids can etch natural stone and weaken cement grout with repeated use.
A nylon grout brush is safer than a wire brush, which can remove the grout surface.
Grout must be completely dry before sealing, typically for at least 24 hours.
Grout colorant changes the visible color when cleaning cannot restore the original pigment.
How to Whiten Grout Safely
The safest general method for whitening intact, cement-based grout is an oxygen-based cleaner followed by controlled brushing and thorough extraction. Hydrogen peroxide treats many organic stains, while sodium percarbonate is useful across larger floors because it can be diluted in warm water and kept wet during dwell time.
First confirm that the grout is cement-based and that the tile is ceramic or porcelain. Test the cleaner in an inconspicuous area for 10 minutes, then rinse and inspect the dried result. Colored grout may lighten, and old grout may release sand during aggressive cleaning.
Grout whitening is a surface-restoration process, not always a bleaching process. Dirt, soap scum, mildew staining, and cooking grease can often be removed. Rust, dye, efflorescence, severe erosion, and permanently altered pigment require a different treatment.
What causes grout to look yellow, grey, or black?
Yellow grout commonly contains cooking oil, body oils, tobacco residue, or aged organic deposits. Grey grout often results from tracked soil, cement haze, hard-water scale, or dirty water drying back into the pores. Black spots in a damp shower may indicate mildew growth, although black color alone does not identify a particular mold species.
Efflorescence creates a pale, powdery deposit when dissolved salts move through cement grout and dry on the surface. Efflorescence returns if moisture continues migrating through the assembly, so repeated whitening without correcting leaks or excessive dampness will produce only temporary improvement.
Which Grout Whitening Method Should You Use?
The best method depends on the contaminant, the tile surface, and the grout’s structural condition. Use alkaline or oxygen-based cleaning for organic soil, a carefully selected mineral remover for scale, and a grout colorant when the original pigment cannot be recovered.
| Method | Best target | Typical dwell or work time | Main limitation |
|---|---|---|---|
| 3% hydrogen peroxide paste | Mildew marks, food, light grease | 10-15 minutes | Requires brushing and rinsing |
| Sodium percarbonate solution | Large floors, organic soil, shower grout | 15-20 minutes | Must be mixed according to label |
| pH-neutral alkaline cleaner | Grease, body oil, tracked dirt | 5-15 minutes | May not remove mineral scale |
| Diluted vinegar, occasional use | Hard-water film on compatible tile | 2-5 minutes | Can weaken cement grout and etch stone |
| Sulfamic or phosphoric cleaner | Mineral scale and cement residue | Label-specific | Requires strict tile compatibility |
| Grout colorant | Permanent discoloration or mismatched pigment | 1-3 hours per small bathroom | Requires clean, dry, sound grout |
| Steam cleaner | Soil in intact grout lines | 30-90 minutes per room | Heat and moisture cannot repair damaged grout |
The AI Overview correctly identifies oxidation, surfactant action, physical agitation, and pigmentation as different mechanisms. However, chlorine bleach does not reliably remove embedded dirt, and steam does not automatically kill mold “at the root.” Both methods have limits that depend on contact time, temperature, penetration, and the condition of the grout.
Is baking soda and hydrogen peroxide effective?
A paste made from baking soda and 3% hydrogen peroxide can improve moderately stained cement grout, especially where mildew or organic soil causes the discoloration. Baking soda supplies mild abrasion and alkalinity; hydrogen peroxide oxidizes some stain compounds.
Mix enough baking soda with 3% peroxide to make a spreadable paste rather than relying on an exact 1:1 ratio. Apply a 3-6 millimeter layer, leave it for 10-15 minutes, brush with nylon bristles, and remove the slurry with clean water.
The paste is not a universal grout whitener. It performs poorly on rust, hard-water scale, grout haze, and pigment loss. Never mix peroxide with chlorine bleach, ammonia, acidic cleaners, or other household chemicals.
Is oxygen bleach safer than chlorine bleach?
Oxygen bleach, usually sodium percarbonate, is generally the more practical first option for organic staining on cement grout because it releases peroxide in water and does not produce chlorine fumes. “Safer” does not mean harmless: concentrated powder can irritate skin, eyes, and airways, and product formulas differ.
Dissolve the product according to its label. A typical starting mixture is 2-3 tablespoons per quart of warm water, but the manufacturer’s dilution controls the actual concentration. Keep the grout wet for 15-20 minutes, scrub, extract the dirty solution, and rinse twice.
Chlorine bleach can lighten some mildew stains quickly, but it often leaves the underlying residue in place. Repeated exposure may discolor colored grout, degrade surrounding materials, and create dangerous gas when combined with acids or ammonia.
Before You Start
Prepare the surface and materials before applying any cleaner. A typical 50-square-foot tiled area takes about 45-90 minutes for cleaning, excluding drying time.
| Requirement | Typical amount or specification | Why it matters |
|---|---|---|
| Cleaner | 1 quart per 25-50 square feet | Prevents working with exhausted solution |
| Nylon grout brush | 1 brush, 1/4- to 1/2-inch bristles | Reaches the grout channel without cutting it |
| Microfiber towels | 4-8 towels | Removes dirty slurry instead of spreading it |
| Gloves and eye protection | 1 pair each | Limits skin and eye exposure |
| Ventilation | Open window plus exhaust fan | Reduces fumes and drying time |
| Clean rinse water | 2-4 gallons for a small bathroom | Prevents redepositing soil |
Remove rugs, toiletries, and loose objects. Vacuum or sweep dry debris first. Put on gloves and eye protection, ventilate the room, and protect nearby painted wood or metal from cleaner splashes.
Inspect the joints before cleaning. Stop if grout is missing, hollow, badly cracked, or actively crumbling. Cleaning cannot restore a failed joint, and aggressive brushing can enlarge the damage.
Step 1: Identify the Tile, Grout, and Stain
Identify the surface before selecting a whitening chemical. Ceramic and porcelain tile generally tolerate more cleaning options than marble, limestone, travertine, terrazzo, encaustic cement tile, or unsealed natural stone.
Drop a small amount of water on the grout and observe it for five minutes. Rapid darkening suggests absorbent cement grout; little change may indicate sealer, dense grout, or epoxy. This test does not identify every grout type, so use installation records or the grout manufacturer’s instructions when available.
Classify the stain by appearance:
- Brown or yellow film: grease, body oil, or rust.
- White crust: mineral scale or efflorescence.
- Black or green surface marks: mildew or organic staining.
- Uniform grey haze after installation: cement residue or grout haze.
- Persistent color after cleaning: dye, pigment loss, or damaged grout.
Apply the chosen solution to a hidden 10-centimeter section. Let it dwell for the same duration planned for the main cleaning, rinse fully, and let the patch dry. You’ll know the test worked when the grout lightens without softening, flaking, or changing the tile surface.
Common mistake: treating every dark mark as mold. Mineral deposits and dyes need different chemistry, and stronger bleach will not solve the wrong diagnosis.
Step 2: Apply Cleaner and Control Dwell Time
Apply the selected cleaner directly to the grout line, keeping the surrounding tile wet enough to prevent concentrated residue from drying. For peroxide paste, spread a continuous 3-6 millimeter layer and wait 10-15 minutes. For oxygen bleach solution, keep the grout visibly wet for 15-20 minutes.
Work in sections of approximately 1-2 square meters. Small sections prevent the product from drying before agitation and make dirty-water extraction more effective. Do not allow acidic or alkaline products to exceed the label’s dwell time.
Use a surfactant-containing alkaline cleaner for greasy kitchen grout. Use a compatible mineral cleaner only after confirming that the tile is not acid-sensitive. Natural stone can develop dull, permanent etching from vinegar, lemon juice, sulfamic acid, phosphoric acid, or hydrochloric acid.
You’ll know the dwell time is sufficient when the residue softens and the grout looks evenly wet, not when the cleaner has dried into a crust.
Common mistake: assuming longer dwell always means better whitening. Dried cleaner can leave haze, while prolonged acid contact can erode cement grout.
Step 3: Scrub with a Nylon Grout Brush
Scrub each grout line with a stiff nylon brush using short strokes that cross the joint from several angles. Apply moderate pressure for 20-30 seconds per 30-centimeter section, then inspect before repeating.
A handheld grout brush gives better control than a metal brush. An electric toothbrush with nylon bristles can reduce effort on shower walls, but high-speed rotary tools can gouge soft or weakened grout if held in one place.
Brush horizontal and vertical joints separately. Change direction around corners and textured tile edges, where soil accumulates. Keep the cleaner present during agitation; dry brushing creates dust and removes less embedded residue.
You’ll know the agitation worked when the slurry turns visibly dirty and the grout texture remains intact. If grains of grout appear in the slurry or the joint becomes wider, stop immediately.
Common mistake: using a brass or steel brush. Metal bristles can scratch glazed tile and remove the cement binder from the grout surface.
Step 4: Extract, Rinse, Dry, and Seal
Remove dirty slurry with a damp microfiber towel or wet vacuum, then rinse with clean water at least twice. Dry the tile and grout with fresh towels instead of allowing contaminated water to evaporate in the joint.
Extraction determines the final appearance as much as the cleaner does. Porous grout can wick dirty water back into its pores, which explains why some grout looks white while wet and grey again after drying. Use separate rinse water for each section when the solution becomes visibly cloudy.
Allow the grout to dry for at least 24 hours before sealing, and follow the sealer manufacturer’s moisture requirements. Apply a penetrating sealer with a small brush or roller, then wipe excess from the tile within the product’s specified period, commonly 5-10 minutes.
Sealer reduces absorption but does not make cement grout stain-proof or waterproof. Keep shower grout dry during the cure period, often 24-48 hours.
Common mistake: sealing damp grout. Trapped moisture can create haze, interfere with penetration, and shorten sealer life.
How Do You Whiten Grout Without Scrubbing?
Steam cleaning reduces chemical use and loosens surface soil, but it does not eliminate the need for wiping and extraction. A grout colorant avoids heavy scrubbing when the joint is sound but permanently discolored.
Steam is most useful on intact cement grout in kitchens and showers. Move the nozzle continuously, use the manufacturer’s grout attachment, and immediately wipe the released soil. Avoid prolonged heat on cracked grout, loose tiles, soft caulk, laminate edges, or moisture-sensitive backing materials.
Colorant is the better alternative when the cleaned grout remains grey, yellow, or uneven. The joint must be sound, clean, dry, and free of sealer that prevents bonding. Apply a thin coat with a narrow brush, keep pigment off the tile face, and follow the product’s cure time.
A grout pen is convenient for a small repair but often looks uneven across a large floor. Epoxy or acrylic colorant offers more consistent coverage, although application can take several hours in a bathroom.
What Should You Avoid on Grout and Tile?
Avoid wire brushes, undiluted acids, mixed chemicals, and abrasive powders on glazed or polished surfaces. The Tile Council of North America recommends following the tile and grout manufacturer’s maintenance instructions because surface chemistry and finish vary substantially.
| Product or tool | Use on cement grout | Use on natural stone | Primary risk |
|---|---|---|---|
| 3% hydrogen peroxide | Usually suitable after testing | Test first; avoid porous stone exposure | Irritation and discoloration |
| Sodium percarbonate | Usually suitable after testing | Test first and rinse thoroughly | Oxidizer and residue |
| White vinegar | Occasional, short contact only | No | Etching and binder damage |
| Chlorine bleach | Limited spot treatment | Test only with manufacturer approval | Fumes and discoloration |
| Sulfamic acid | Mineral residue only, label-controlled | Usually no | Etching and grout erosion |
| Steel brush | No | No | Scratches and joint erosion |
| Nylon brush | Yes | Usually, with gentle pressure | Abrasion on polished finishes |
Never combine chlorine bleach with vinegar, toilet cleaner, descaler, ammonia, or another cleaner. Chlorine and chloramine gases can cause severe respiratory injury. Rinse away one product completely before considering another treatment.
When Is Grout Colorant or Regrouting Better?
Use grout colorant when the joints are structurally sound but cleaning does not restore a uniform color. Regrout when the joints are missing, loose, cracked through, powdery, or repeatedly wet from a plumbing or waterproofing problem.
A practical restoration sequence is:
- Clean the grout with a compatible alkaline or oxygen-based product.
- Rinse until no cleaner residue remains.
- Allow at least 24 hours of drying.
- Remove loose grout from failed sections.
- Repair the substrate or leak before filling joints.
- Apply colorant only to sound, dry grout.
- Regrout damaged areas with a matching product.
- Seal cement grout after the new material cures according to its instructions.
Do not cover crumbling grout with paint. The coating may hide the defect briefly while water continues entering the joint. Structural repair comes first.
How Much Does Grout Whitening Cost and Take?
DIY grout whitening typically costs $5-$25 and takes 1-3 hours for a small bathroom, plus at least 24 hours before sealing. Professional cleaning and sealing commonly costs $1.50-$3.00 per square foot, although regional labor, access, soil severity, and restoration needs change the final price.
| Approach | Typical material or service cost | Typical active time | Drying or cure time |
|---|---|---|---|
| Peroxide and baking soda | $5-$10 | 1-3 hours | 24 hours before sealing |
| Oxygen bleach cleaning | $8-$20 | 1-2 hours per 50 square feet | 24 hours before sealing |
| Grout colorant kit | $10-$35 | 2-5 hours per bathroom | 24-48 hours |
| Steam cleaner rental | $30-$50 per day | 45-120 minutes | Varies by ventilation |
| Professional cleaning | $1.50-$3.00 per square foot | 2-5 hours | Product-specific |
| Partial regrouting | $100-$500 typical minimum | 4-12 hours | Product-specific |
These are typical planning ranges, not fixed prices. A professional quote may rise when grout removal, mold remediation, furniture moving, stone polishing, or water-damage repair is necessary.
Troubleshooting Grout That Will Not Stay White
Grout that turns grey after drying usually contains dirty rinse water or suspended soil that was not extracted. Reclean a small section, use fresh rinse water, and remove the slurry with towels or a wet-dry vacuum before the surface dries.
Grout that remains yellow or grey after two properly rinsed cleaning attempts may have permanent pigment change, dye, rust, or surface erosion. Stop increasing chemical strength and test a colorant instead.
White powder returning after cleaning indicates efflorescence or ongoing moisture movement. Check for shower leaks, wet subfloors, poor ventilation, and water entering from adjacent walls before applying another cleaner.
Crumbling grout requires repair, not more whitening. Remove loose sections with a grout tool, correct any water problem, and refill with a compatible grout after the substrate dries.
Mildew that returns within days may indicate persistent dampness rather than inadequate cleaner. Run the bathroom exhaust fan during use and for 20-30 minutes afterward, dry shower surfaces, and replace failed silicone caulk where water is trapped behind the joint.
Which Method Fits Your Situation?
For a rental bathroom, use a tested peroxide paste or diluted oxygen bleach and avoid permanent color changes unless the landlord approves them. A small grout pen can improve appearance, but it may be considered an alteration.
For a ceramic-tile shower, oxygen bleach, controlled brushing, complete extraction, and a compatible penetrating sealer offer the most balanced approach. Improve ventilation because sealer cannot compensate for constantly wet grout.
For a kitchen floor, use an alkaline degreaser first if the grout feels greasy. Oxygen bleach is more useful after surface oil has been removed, because grease can prevent the oxidizer from reaching embedded staining.
For marble, limestone, or travertine, avoid vinegar and acid cleaners. Use a stone-safe, pH-neutral cleaner, test peroxide only with care, and consult the stone or grout manufacturer before using an oxidizer.
For old, crumbling grout, stop cleaning and plan localized regrouting. Whitening chemicals cannot restore missing cement or repair water damage.
FAQ
Can I whiten grout with toothpaste?
Toothpaste may remove a tiny amount of surface soil through mild abrasion, but it is inefficient for floors, showers, mineral deposits, or mildew staining. Toothpaste can also leave surfactants and flavoring residues in porous grout. A tested peroxide or oxygen-bleach product is more appropriate for a controlled cleaning project.
How often should grout be sealed after whitening?
Many penetrating sealers last approximately one to five years, depending on traffic, water exposure, product chemistry, and maintenance. Test absorbency annually by placing a few drops of water on clean, dry grout. If the joint darkens quickly, follow the sealer manufacturer’s reapplication instructions.
Does white grout stay cleaner than dark grout?
White grout does not stay cleaner; it makes discoloration more visible. Dark grout can hide soil but may show mineral deposits and soap residue as pale marks. Sealer, ventilation, prompt spill removal, and pH-neutral maintenance affect cleanliness more than grout color.
Can I use a magic eraser on grout?
A melamine sponge can remove marks from some tile surfaces, but it is a fine abrasive and may dull polished tile or wear the grout surface. Use it only for small marks with light pressure, then rinse thoroughly. It is not a substitute for removing embedded contamination from porous grout.
Why does new grout look lighter in some places?
Uneven curing, inconsistent water content, pigment variation, efflorescence, and different substrate moisture can produce shade differences in cement grout. Excess rinse water can also wash pigment from some joints. A grout colorant can unify the appearance after the material has fully cured and dried.
The Bottom Line
The most reliable way to whiten grout is to diagnose the stain, test a compatible oxygen-based cleaner, scrub with nylon bristles, extract dirty water, and let the joint dry for at least 24 hours before sealing. Hydrogen peroxide or sodium percarbonate can restore stained cement grout, but acids are risky on natural stone and damaged joints need repair. When cleaning cannot recover the original color, grout colorant provides a controlled finish. Use the least aggressive method that matches the stain and surface.